MacroSystem PiP-Studio 3D User Manual
Page 17
16
17
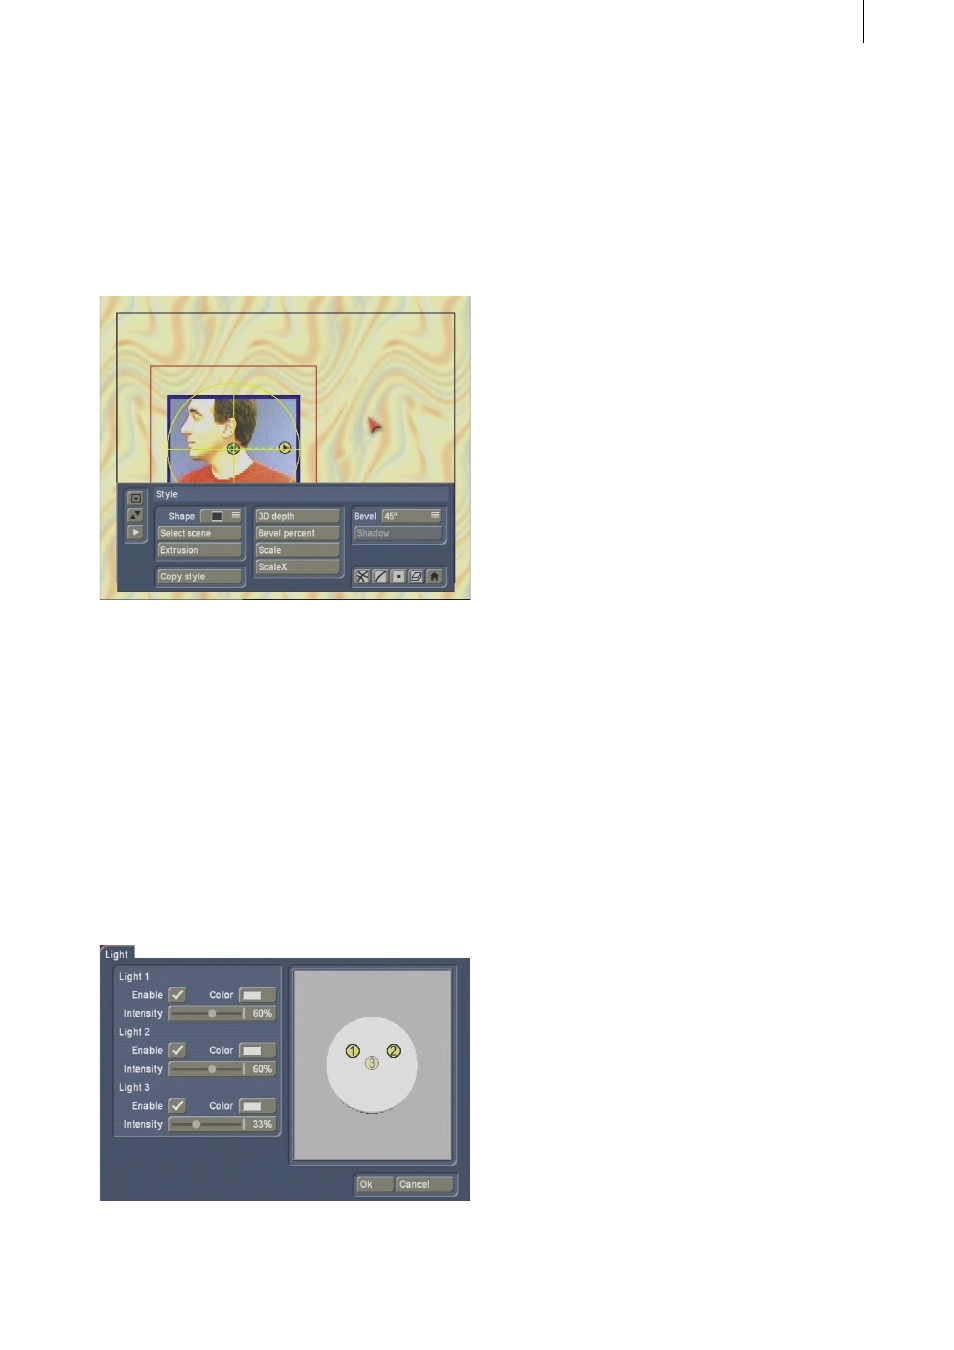
Pull up the Style menu and set the Scale to 40.
If you are working with an HDV project, set the
size value to 125.
Note: The size has now been set globally, ie. it
applies to all route points.
Finally, reduce the 3D depth value to a value
between 5 and 10 so that the PIP is not too wide.
Then pull up the Scene menu and select the
Light button.
A window appears where you can set the
lighting of the PIP.
Position lights 1 and 2 more towards the middle
than they are currently shown.
Light 3 should also be placed in the middle but
behind the circle. (For more details on the Light
window, please see Chapter 4.2.1.)
The Intensity of lights 1 and 2 should be
changed so that the PIP is well lit in the finishing
point. Close the window by clicking on Ok.
Now you need to insert a way point between the
start and finishing point.
To do so, click on the line which is between the
two points so that a way point can be inserted.
In order to then change this way point, you need
to pull up the Waypoint menu and click on the
Convert waypoint button. The way point has
now been changed into a route point and can be
edited.
Place this route point accurately on top of the
finishing point and apply the same settings to it:
To do so, click on the green route point so that
it changes to blue and then move the trackball
until the point is on top of the finishing point
and covers it. Confirm by clicking the left button.
Then set the value of the y axis to 58 degrees.
To do so, click on the axis and move the ball
until the Rot Y: function displays a value of 58°.
Confirm by clicking the left button again.
The Scale of the image has already been set
since you performed a global setting in the Style
menu.
Then pull up the Waypoint menu and move the
Time slider control to the maximum possible
time, in this case 9:23 (scene length of 10
seconds minus 1 image).
Once you have completed these settings, you
can set the IN point.
To do so, activate the starting point by clicking
twice onto it so that it first of all changes to
green and then blue.
Then move the point in the bottom left hand
corner so that the PIP grid is just outside the
scene.
The PIP will later on fly into the image from the
point which is selected here.
Then save the settings for the first path so as to
take on as many of the settings for the second
path.
To do so, pull up the Scene menu, click on the
Archives button and save the Current style.
(For example, use the name “Scene 1 Style”.)
Stay in the Scene menu and add a new path to
add the second scene on the right hand side of
the image.