MacroSystem PiP-Studio 3D User Manual
Page 19
18
19
Also change the property of the path from
rounded to square (Current path menu, Path
button), so that there is no more movement
between the middle point and the finishing
point.
Now pull up the Scene menu and use the Next
path button to switch over to your second path.
Here, proceed in the same way with the middle
point as you did for the first path. But make sure
that the same time is set for the middle point as
was set for the middle point of the first path.
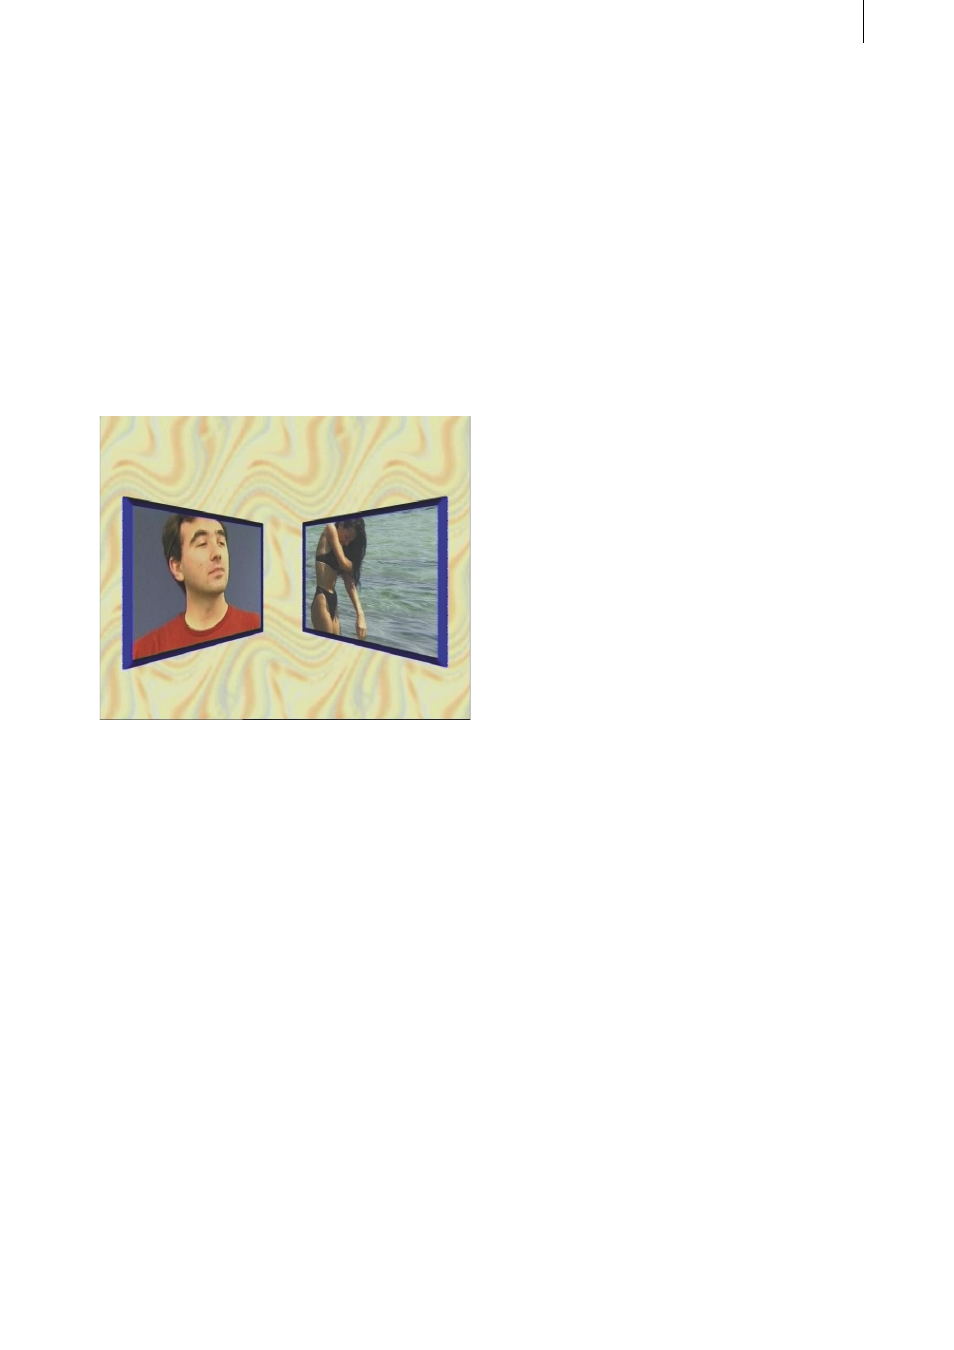
Note(s): If both PIPs are not exactly opposite
each other at the finishing point of the final
calculated scene, then you can adapt the
finishing point and the middle point of a path to
the points of the other path.
If the flight paths of both scenes are not
synchronous but match in the finishing point,
then the starting point of both paths is not at the
same height.
You can also load the full example exercise. To
do so, activate your first (left) path and load the
active path from the archives, bearing the name
“Lesson 1b Path 1”.
If you have not set the individual properties of
the PIP or have not already loaded the current
style from the archive, then you will notice that
once you have loaded the exercise that you
cannot see the outline properties. In order to
display them, you need to select the current
style from the archives and for each path, load
the entry “Lesson 1 Style”.
Proceed in the same way for your second (right)
path. But in this case, load “Lesson 1b Path 2”
and “Lesson 1 Style”.