MacroSystem PiP-Studio 3D User Manual
Page 15
14
15
Open the Waypoint menu, click on the Scale
keyframe button and move the trackball until
you reach the value 1.
If you now click on the Play symbol on the
left hand side of the screen, you will see in
the preview that the scene is zoomed in from
behind, rotates and then becomes bigger.
The increase in size of the image at the end
should also be inverted so that the PIP becomes
smaller.
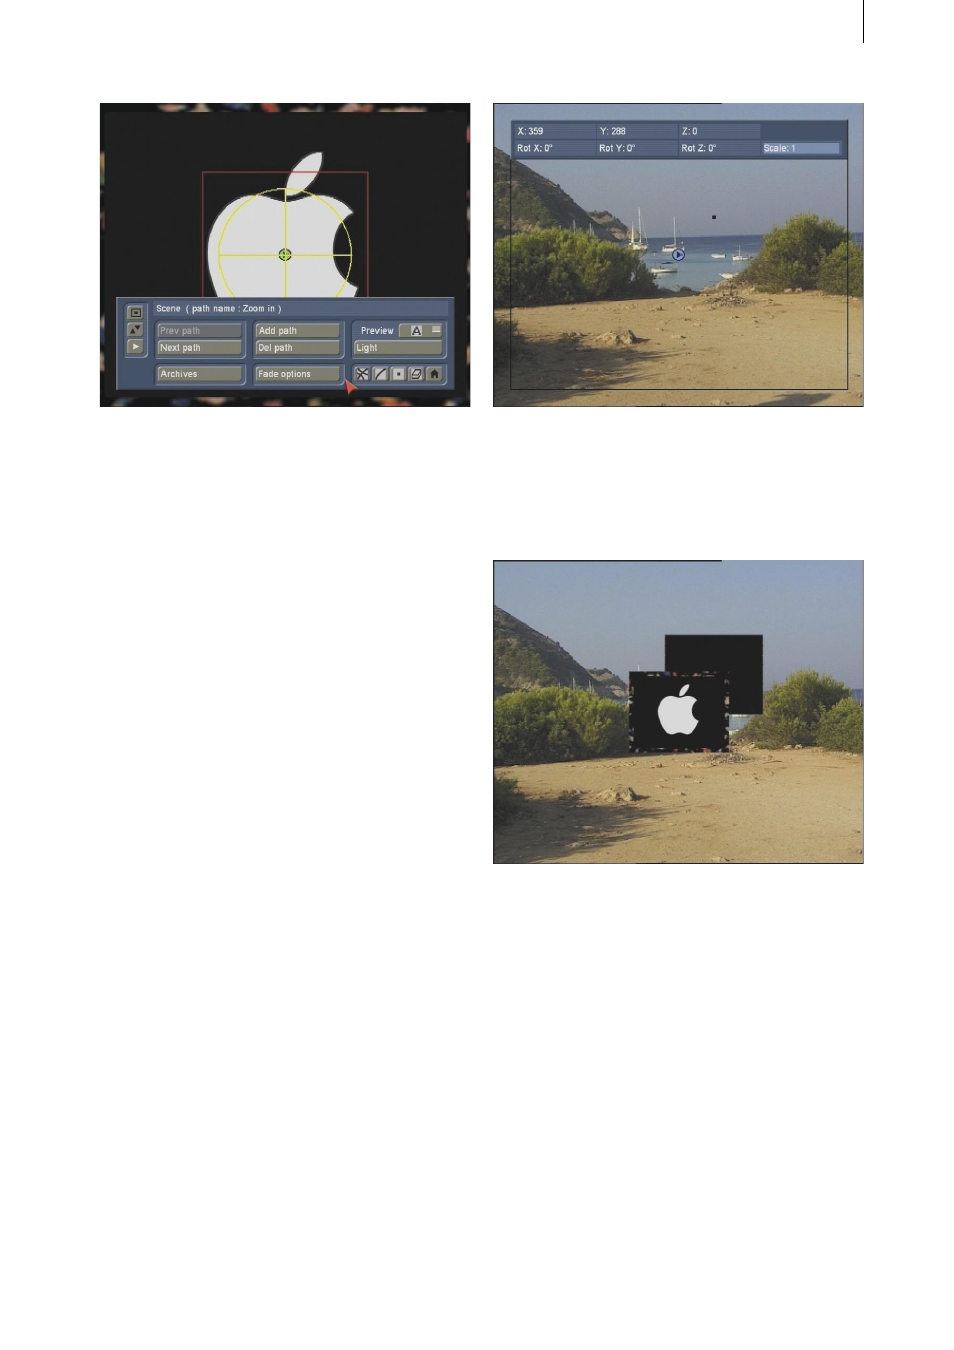
To do so, open the Scene menu. There are three
paths on the scene here, of which only one can
be seen since they overlap each other.
Use the Next path button to change over to the
middle path. In this case it is the path in which
the PIP is rotating.
Since this area should not be changed, click
again on Next path to pull up the third path
which is responsible for fading out.
You will now see that the PIP fills the image
again. But since it is also supposed to become
smaller again, you need to open the Waypoint
menu again and reduce the Scale keyframe
again.
Then exit the PIP-Studio 3D program by
selecting the menu symbol in the bottom
right hand corner of the toolbar and start the
calculation of the effect.
Done!
Secondary option:
The PIP is not only to become smaller when
zooming out, but it is also to “fold away”
horizontally.
To do so, pull up the Scene menu and mark the
last route point in the third path (fade-out). At
this point in time you won’t see a PIP, as it has
been reduced in size.
Pull up the Waypoint menu and then under
Rotation, set the selection Camera: x axis by
changing the rotation to –90° by clicking onto
the axis and moving the trackball.
You can see the changes already in the preview.
To visually support the effect of the scene