MacroSystem PiP-Studio 3D User Manual
Page 13
12
13
different to the inclination at the finishing point.
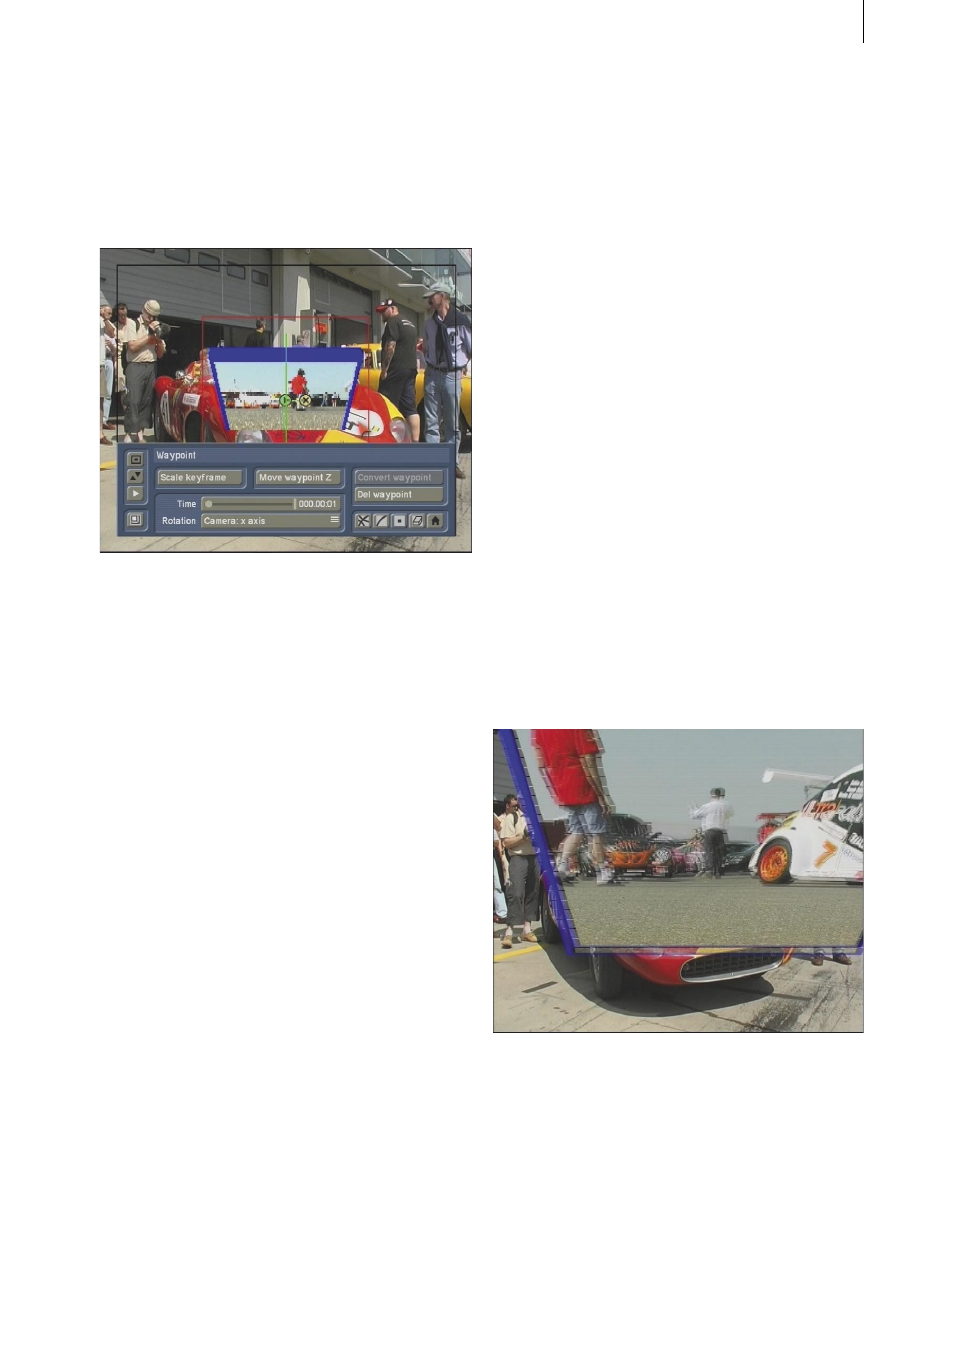
Make your selection from the Rotation menu,
click on an axis and move the trackball (eg.
vertical axis, Red X: – 50°). The setting in the end
is irrelevant since the image size is reduced later
on and the starting point cannot be recognised.
Then access the Style menu and create the
Bevel of the scene using the different function.
Make sure though that you do not change the
Shape of the scene!
To then create the path, switch over to the
Waypoint menu and make sure that the starting
point of the path is still activated (green).
Click on the Scale keyframe function and change
the value of this PIP to 1.
Then move the starting point on one edge of
the image, from which the PIP is to fly into the
image (eg. bottom right).
The path now displays a straight line between
the start and finishing point.
Add other points and change the path in
whichever way you like by moving the points to
other positions.
Once you are happy with the course of the path,
please activate the end of the path.
Finally, activate the Option reset (symbol at
the bottom left of the Waypoint menu), so that
another window appears where you can select
the Full size function.
You have now created the finishing point of the
PIP.
Now click on the preview symbol and you will
see the PIP fly into the scene. Please make sure
that the PIP in the preview is represented by a
single colour, the scene cannot be seen here.
To set the rotation at this point, enter the Current
path menu and click on Section setting. Set the
Number of rotations to 2.
Confirm this setting by clicking on Ok and look
at the preview again.
You will see that the PIP is now rotating whilst in
midair.
Finally, exit the PIP-Studio 3D program by
selecting the menu symbol in the bottom
right hand corner of the toolbar and start the
calculation of the effect.
Then open the Edit menu and play the
storyboard.
You will see your scene fly into the image. Once
it has reached its full image size, the second part
of the scene follows (6 seconds) as the complete
video frame.
You will then see a 3D transition to the next
scene without going stepwise from one size to
another.
5.2 Zooming in and out of a scene
In this tutorial, a scene appears from behind
from the centre of the image, rotates on the spot
and then shrinks.