Other options menu, Default setup menu, Other options menu default setup menu – ROTEL RSP1066 User Manual
Page 30
30
OTHER OPTIONS Menu
OTHER OPTIONS
RECORD: CD
DYNAMIC: Max
MULTI INPUT: Off
CINEMA EQ: Off
POWER: Direct
OSD: On
LANGUAGE: ENGLISH
ENT KEY=MAIN MENU UP KEY=up
+/– KEY=change DWN KEY=down
This menu, accessed from the MAIN menu,
provides access to several miscellaneous set-
tings as follows:
RECORD: Select a signal for the record out-
puts by choosing one of the input sources.
DYNAMIC: steps through the three dynamic
range settings available in digital modes:
• MAX (no compression/full dynamic range)
• MID (moderate compression)
• MIN (full compression/minimum dynamic
range).
MULTI INPUT: determines whether the MULTI
channel input is turned ON or OFF.
CINEMA EQ: determines if a special equal-
ization setting is turned ON or OFF. This equal-
ization may be desirable for playback of movie
source material to compensate for the acous-
tic differences between a commercial cinema
and a home theater environment. The CIN-
EMA EQ setting can also be changed using
the FILTER button on the remote.
POWER: This setting determines how the
RSP-1066 powers up. With the default DIRECT
setting, the unit is fully activated when AC power
is applied and the front-panel POWER button
is pressed in; however, it may be put in
STANDBY mode using the remote POWER
button. With the STANDBY setting, the unit pow-
ers up in standby mode when AC is applied
and the front-panel POWER button is in the
ON position. The unit must be activated us-
ing the remote control POWER button. In AL-
WAYS-ON mode, the unit remains fully active
whenever AC is present and the front-panel
POWER button is pressed in; the remote
POWER button is disabled and the unit can-
not be put in standby mode.
OSD: Determines whether the ON-SCREEN
DISPLAYS are shown on your TV monitor dur-
ing operation.
LANGUAGE: Selects one of the several lan-
guages for all of the ON-SCREEN MENUS.
Change settings on the OTHER OPTIONS menu
by highlighting the desired line using the UP/
DOWN buttons and using the +/– buttons to
step through the available settings. To return
to the MAIN menu, press the ENTER button.
Press the MENU key on the remote to cancel
the display and return to normal operation.
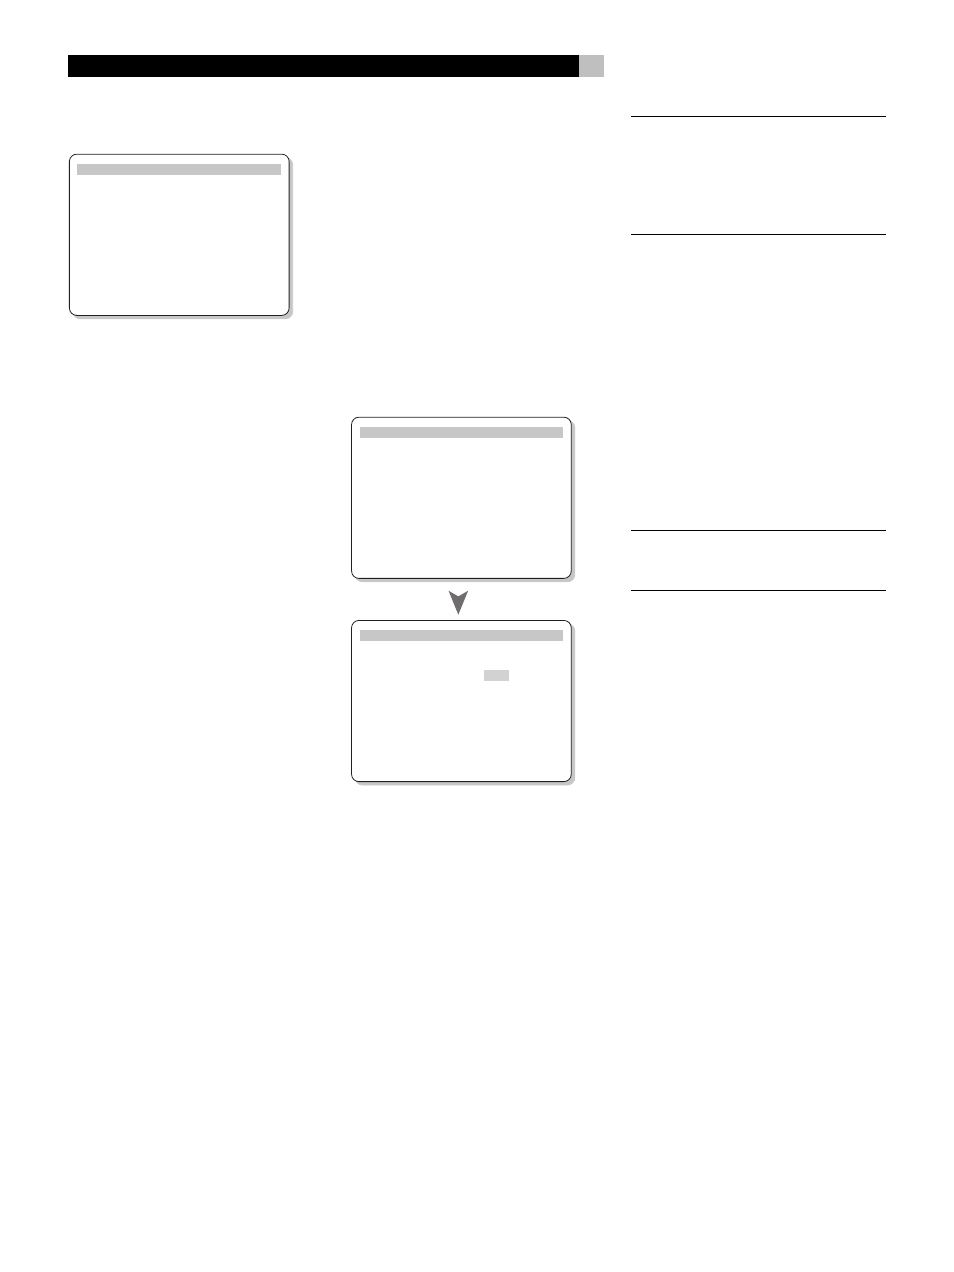
DEFAULT SETUP Menu
DEFAULT SETUP
FACTORY DEFAULT: No
USER DEFAULT: No
USER DEFAULT SET: No
ENT KEY=MAIN MENU UP KEY=up
+/– KEY=change DWN KEY=down
DEFAULT SETUP
FACTORY DEFAULT: Yes
USER DEFAULT: No
USER DEFAULT SET: No
ENT KEY=Exec. UP KEY=up
+/– KEY=change DWN KEY=down
The DEFAULT SETUP menu provides access to
three functions:
• Restoring all features and settings to the
original FACTORY DEFAULT settings.
• Memorizing a custom group of settings as
a USER DEFAULT.
• Activating the USER DEFAULT settings.
To restore the FACTORY DEFAULT set-
tings: Place the highlight on the FACTORY
DEFAULT line using the UP/DOWN buttons
and use the +/– buttons to change the setting
to YES. The screen will change to a confirma-
tion screen. Press the ENTER button to proceed
with resetting the FACTORY DEFAULT settings.
The unit will power off and then on, with the
factory settings restored. To return to the MAIN
menu without resetting the FACTORY DEFAULT
settings, change the entry to NO and press
the ENTER button.
NOTE
: Resetting to factory default settings will
erase all stored settings including delay set-
tings, speaker settings, balance settings, in-
put settings and more. You will lose ALL system
configuration settings. Be certain that you wish
to do so before resetting the factory defaults.
To save USER DEFAULT settings: Many
of the current configuration settings can be
stored as a USER DEFAULT, which can be ac-
tivated at any time from this menu screen. To
save the current settings as a USER DEFAULT
Place the highlight on the USER DEFAULT SET
line using the UP/DOWN buttons and use the
+/– buttons to change the setting to YES. The
screen will change to a confirmation screen.
Press the ENTER button to store the new USER
DEFAULT settings. To return to the MAIN menu
without saving any changes, change all en-
tries on the screen to NO and press the EN-
TER button.
NOTE
: If there is insufficient memory to store a
USER DEFAULT configuration file, the USER
DEFAULT SET option will not be available.
To activate memorized USER DEFAULT
settings: After you have stored a USER DE-
FAULT configuration file, you can activate those
settings at any time by placing the highlight
on the USER DEFAULT line using the UP/
DOWN buttons. Use the +/– buttons to change
the setting to YES. The screen will change to
a confirmation screen. Press the ENTER but-
ton to proceed with activating the USER DE-
FAULT settings. To return to the MAIN menu
without activating the USER DEFAULT settings,
change the entry to NO and press the EN-
TER button.
RSP-1066 Surround Sound Processor