Using amp recorder: local control tasks – Grass Valley Turbo iDDR v.2.3 User Manual
Page 264
264
Turbo iDDR User Guide
Chapter 5 Remote Control
Using AMP Recorder: Local control tasks
In local control mode, you can perform all the tasks locally that are available in the
standard recorder application while the record channel is still under remote control.
For a full description of all the tasks you can perform using the Recorder user
interface, refer to
“Guide to using Recorder mode” on page 128
#
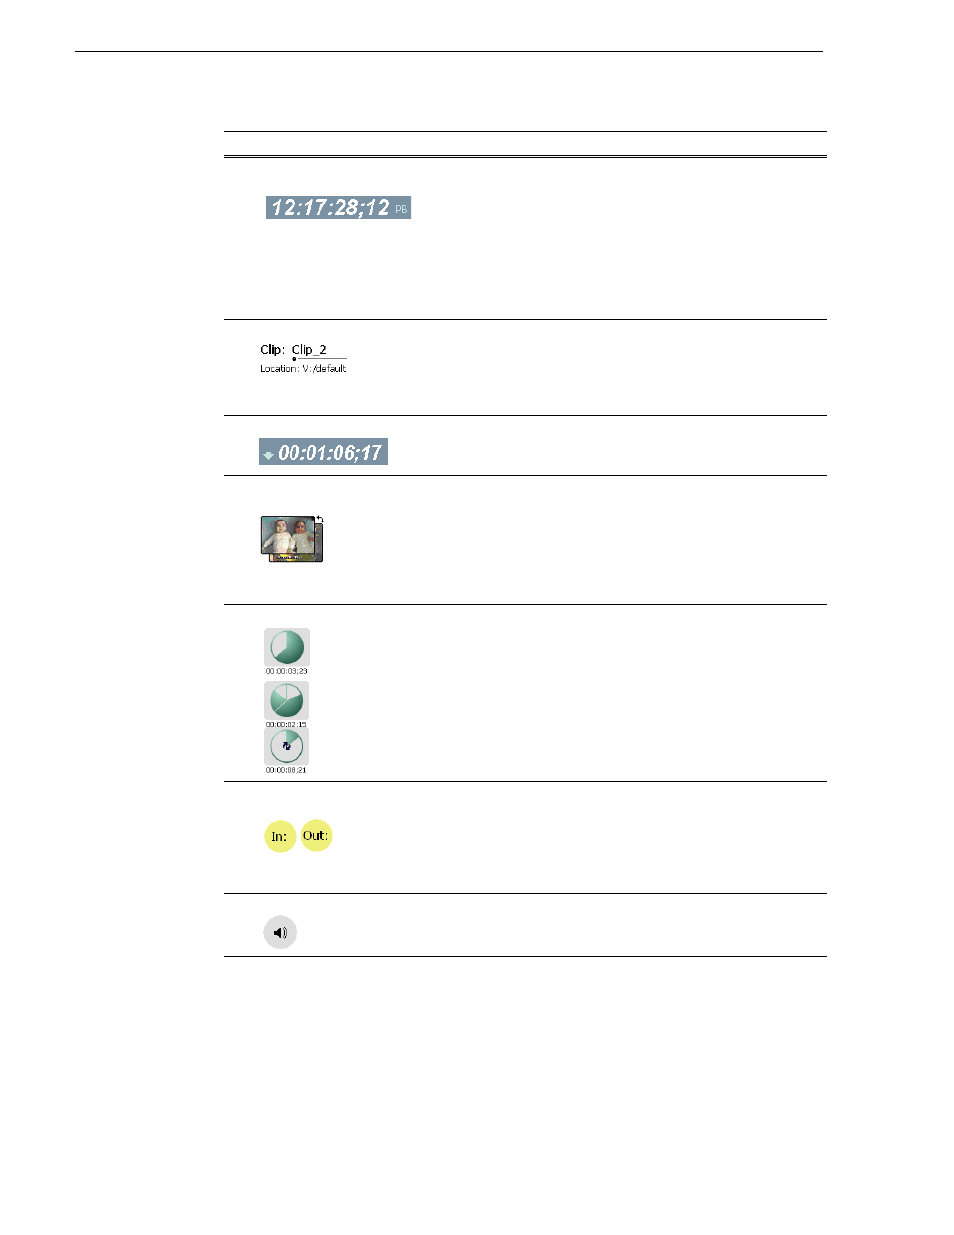
Current Frame Timecode
and Stop Mode.
Indicates the recorded timecode of the current frame being played.
The timecode value of XX:XX:XX:XX is displayed when there is no
recorded timecode.
The text displayed to the right of clip timecode indicates the
playback mode selection: EE or PB. When E to E is selected, the play
channel output switches to the record channel input when playback
is stopped. When PB is selected, play channel output freezes on the
last video frame. To select the playback mode, refer
.
$
Clip name & Current Bin
Displays the current or preview clip’s name and location in the video
storage file system. You can toggle between current and preview clip
name by clicking the thumbnail image. To rename the clip, touch or
click the clip name, then use the onscreen or external keyboard to
enter a new name.
%
Countdown Timecode
Indicates the time remaining for the clip.
&
Current and Preview Clip
Thumbnail
Used to visually identify the current clip loaded in Player. When
AMP and VDCP protocols are used, the thumbnail includes the
current and preview clip. You can click or touch the thumbnail image
to toggle between the preview and current clip thumbnails. This
allows you to identify the preview clip before it plays. Generally the
preview clip begins playing after the current clip completes, at which
point the preview clip becomes the current clip.
'
Time Dome
Progress
only
Progress
with media marks
Progress
& loop play
enabled
This control displays play progress, or play progress with media
marks which shows the relative position of mark-in/mark-out points
in the clip. The timecode underneath indicates play time remaining.
The Time Dome is also used to enable and indicate loop play mode.
Select and hold the Time Dome, then select Loop Play in the pop-up
menu.
(
Set Mark-in and Set
Mark-out
These buttons are used to set new mark-in or mark-out points.
Position the clip to the desired frame, then click or touch the In or
Out buttons. Unused media is not deleted. To clear a mark, hold
down the button for longer than one second, then choose Clear Mark
in the pop-up menu. Marks are reset to the beginning or end of
available media.
See “Editing a clip” on page 154
)
Meter Bar Button
Displays the Meterbar which contains the audio play level controls
and signal meters. Changes to the audio level can be saved with the
clip.
See “Adjusting clip audio level” on page 156
.
Control
Description and User Operation