Nexen TC920V 964356 User Manual
Page 13
10
FORM NO. L21268-C-1013
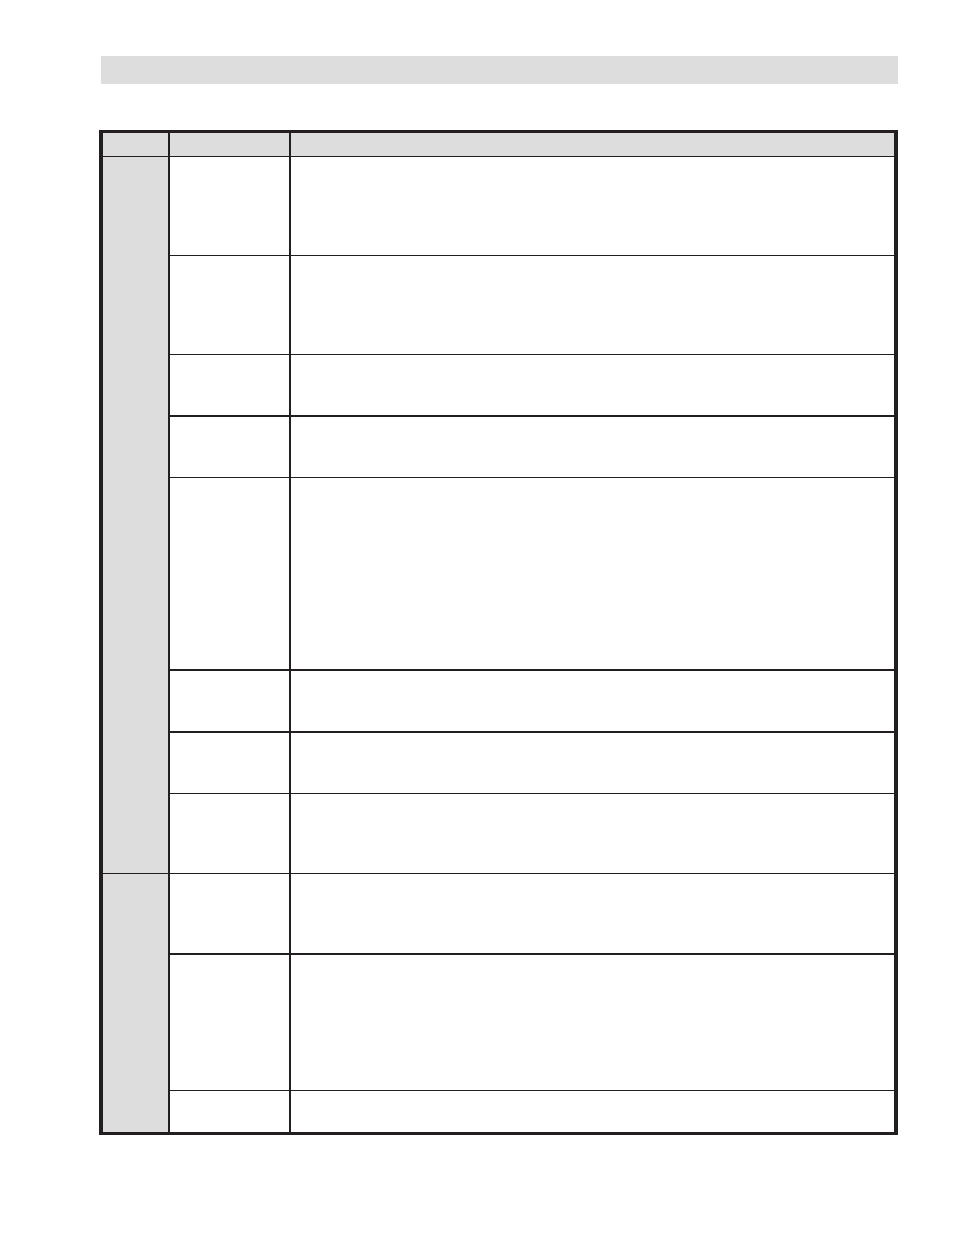
3.5 INPUT / OUTPUT CONTACT FUNCTIONS
Name
Function
Input
Auto Trigger
Controls the Start and Stop sequence. The Auto Trigger input requires a maintained
normally-open contact to be connected. When the contact is turned on, the machine
performs the selected start mode and then starts automatic operation. When the contact
is turned off, the machine performs the selected stop mode and then returns to standby
with the start status lamp lit.
Memory Reset
When the start operation uses a memory operation in mode 2, that start level stored in
memory is reset by this contact. This requires a momentary type contact to be connected.
An ON signal time of 0.5 sec to 1 sec is required to trigger the operation. After resetting
the start level, the start level can be changed manually on the front panel until the memory
is set by the next operation.
Acceleration/
Deceleration
Correction
An advanced setting that controls the Acceleration/Deceleration correction sequence.
Refer to Section 7.2 for a detailed explanation.
Splicing
Controls the splicing sequence. When the momentary contact is opened or closed, the
preset value for the paste output is applied for the pasting operation.
Refer to Section 7.3 for a detailed description.
Emergency
Stop
(External Auto/
Manual)
The operation of this input contact is controlled by the internal memory DIP switch
MSW0-1,2. Refer to Section 4.5 for a detailed explanation.
• Emergency Stop Sequence: When the contact is turned ON during an emergency
stop, extra gain is applied. Refer to Section 7.4 for details.
• External Auto/Manual: When the contact is turned ON, the Automatic mode is set, in
the same way as the AUTO key is pressed on the front panel. When the contact is
OFF, the Manual mode is set. When enabled, the AUTO and MAN function keys are
unavailable.
• Acceleration Correction: When the contact is turned ON during acceleration, extra
gain is applied. Refer to Section 7.4 for details.
Control
Output On
When the contact is ON, the Control Output is turned on regardless of the position of the
OUTPUT ON key on the front panel. When the contact is turned off, the Control Output
turns off until it is turned on again by the contact or the OUTPUT ON key on the front panel.
Diameter Reset
When the diameter measuring function is used, the diameter data is reset. An ON time
of 0.5 to 1 second is required. When the resetting function is disabled, the automatic
contact is turned on.
Diameter Hold
When the diameter measuring function is enabled, turning the contact ON will suspend
the diameter measuring function and hold the current measurement value until the contact
is turned off. This is useful for situations where incorrect diameter measurement would
occur such as a paper splice.
Output
Zero Tension
This contact is turned ON when the tension value falls below the percentage of full scale
tension set in Parameter 17 (Zero Tension). If the Over Tension alarm contact mode is
set to the Minimum Diameter alarm, the contact will also operate as the Over Tension
alarm.
Over Tension
The function of this Over Tension/Minimum Diameter contact is set by position of memory
DIP switch MSW2–1.
• OFF - Over Tension: Switches on when the measured tension value exceeds the maxi-
mum set by Parameter 18 (Upper Limit of Tension).
• ON - Minimum Diameter: Switches on when the measured diameter is less than the
value set by Parameter 26 (Minimum Diameter). The Zero Tension Alarm contact will
also double as the Over Tension Alarm.
Auto Indicator
Contact is On when the unit is in Automatic mode, the same as when the AUTO
operation mode lamp is on.
3. INSTALLATION (continued...)