Paxton Superchargers Dodge Viper RT/10 User Manual
Page 28
9-4
P/N: 4809646
©2006 Paxton Automotive
All Rights Reserved, Intl. Copr. Secured
17FEB06 v2.0 92-96Viper(4809646v2.0)
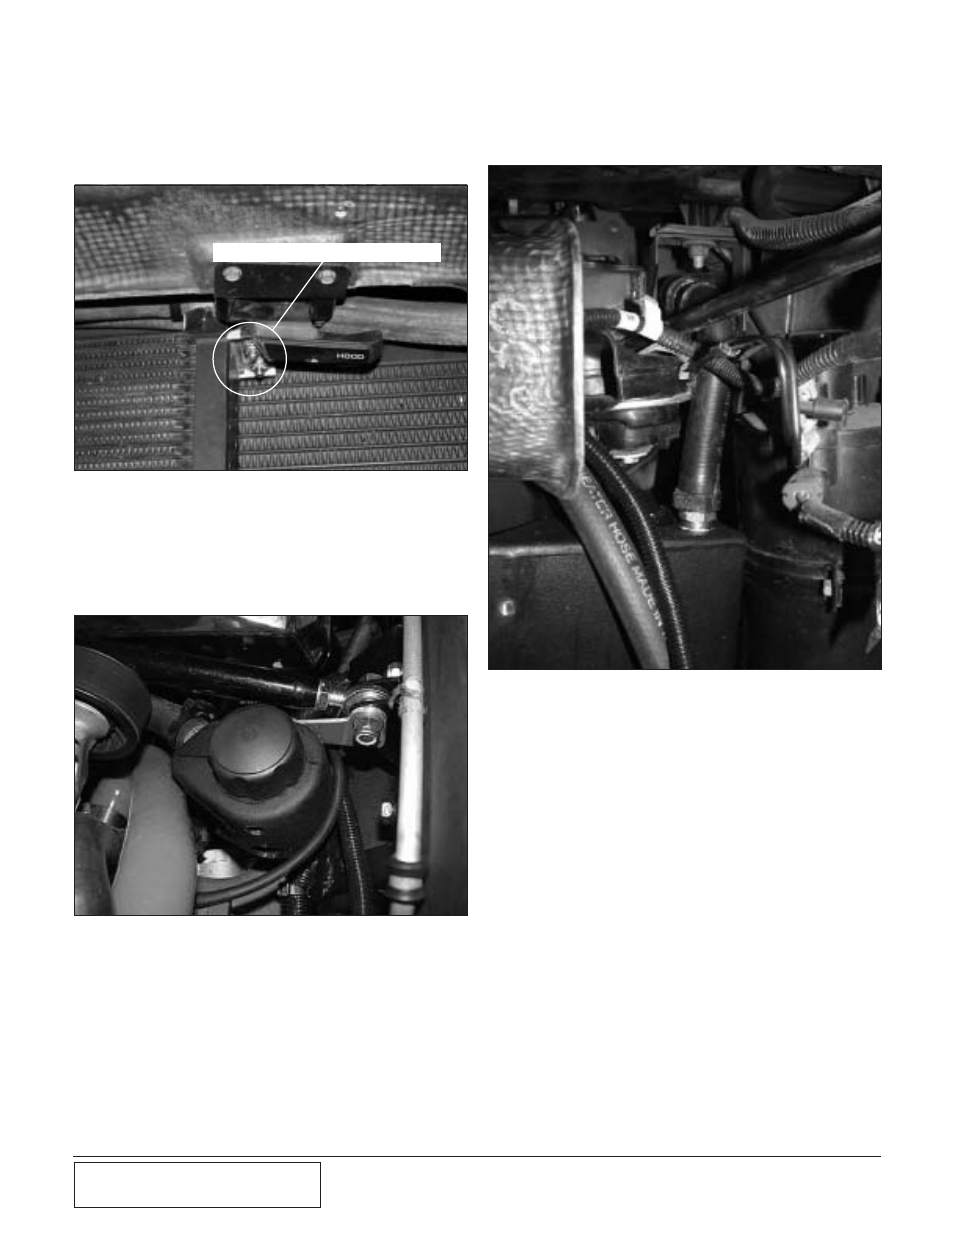
8.
Trim the hood release handle to clear
the water cooler as shown in Fig. 9-h.
If necessary, drill 1/8" holes in a new
location to remount the handle so that
its function is not impaired.
Fig. 9-h
Fig. 9-j / ('92-'95 Shown)
Fig. 9-i
E.
Surge Tank Installation
1.
Using thread sealant, install the sup-
plied 1/2"NPT to 3/4" hose barb
straight fitting into the side of the surge
tank. (See Fig. 9-i.)
2.
Install the 90° fitting into the bottom of the
surge tank so that it points the same direc-
tion as the straight fitting.
3.
Install a 90° hose onto the fitting on top
of the reservoir and secure with a
clamp. (See Fig. 9-j.)
4.
Connect the bottom surge tank fitting to
the hose elbow installed in the top of
the reservoir. (See Fig. 9-l.) Install and
tighten a clamp on each connection.
5.
Trim and connect a section of the sup-
plied hose from the 120° hose installed
on the CAC end of the tank to the
straight fitting on the surge tank that is
pointed toward the CAC. Secure the
CAC end with a clamp. Leave the surge
tank end loose until after the system is
bled.
6.
Plug the open fitting in the surge tank,
remove the cap and fill the system with
25%/75% coolant/water mix. Fill the
system slowly until it refuses to take
more coolant or coolant comes out of
the open hose.
7.
Uncap the surge tank fitting, connect
the open hose to it, and tighten with
clamp.
8.
Loosely install the plastic cap.
TRIM EXCESS HANDLE UP TO THIS POINT