Set tings set tings, Scan channels, Manage channels – Entone FusionTV User Manual
Page 43
User G
U
ide
User G
U
ide
Set
tings
Set
tings
79
78
3.
Use the telephone number listed on the screen to call your cable service
provider.
4.
In order to pair your Entone device the cable service provider will require
the Host ID, Data, and Card Serial Number (S/N). These values should be
displayed on your screen.
5.
Once the card has been paired, a message will display on your screen to
indicate that the device has been paired successfully. Press
OK
to continue.
Channels
When setting up your channels, you have two options: scan channels and
managing channels. This setting is useful if you are missing certain channels or
have changed your antenna position and need to re-scan your channels.
Scan Channels
1.
From the Main Menu, select
SETTINGS > Device > Channels
and press
OK
.
2.
Press
OK
to select “
Scan Channels
”.
3.
Settings for your Program Guide will be displayed. To change the settings
select “
CHANGE
” and press
OK
.
4.
Select your television source. FusionTV has built-in TV tuners that support
antenna (ATSC) and Digital Cable TV (Clear QAM) connection.
NOTE:
Digital Cable TV (Clear QAM) is basic unencrypted cable.
Manage Channels
1.
From the Main Menu select “
SETTINGS
”, “
Channels
”, and press
OK
.
2.
Press
OK
to select “
Manage Channels
”.
3.
You will be presented with the following options:
Disable a channel by clicking on the radio button next to the channel name.
Clear all the channels you have configured.
Edit channel info by changing a channel number or the name assignment
figured.
Cancel and not make any changes. The channel will continue to be
displayed in your Program guide.
Copyright
Display copyright information About Entone, VUDU and Opera
1.
From the Main Menu select “
SETTINGS
”, “
Device
”, “
Copyright
”, and press
OK
.
2.
Use the
ARROW KEYS
to choose the copyright information about the
respective company and Press
OK
.
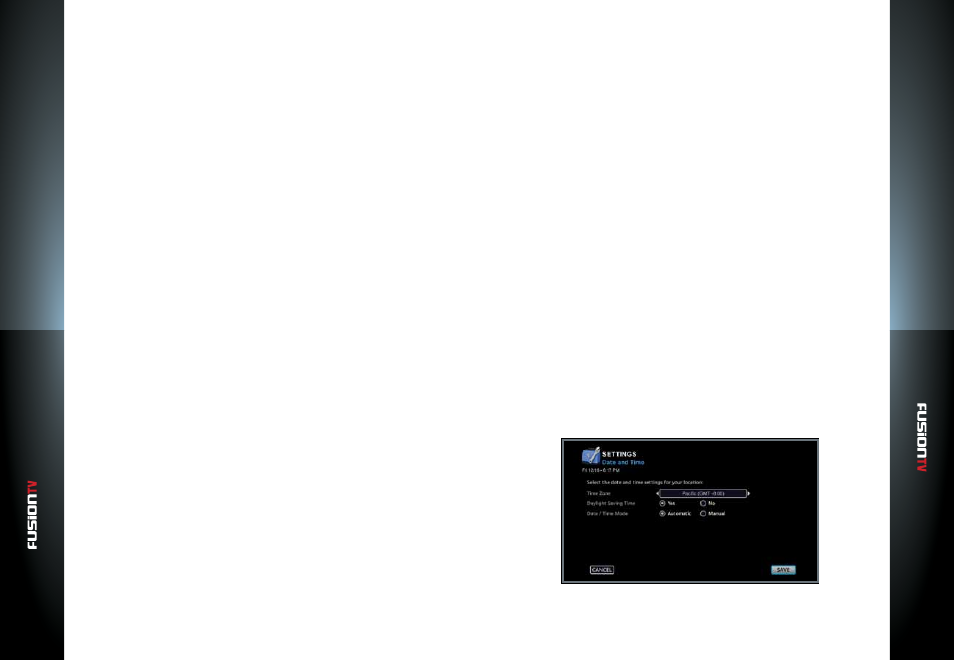
Date & Time
Choose the correct time zone for your location. This is an important step to
ensure your TV recordings are scheduled properly.
Time Zone:
1.
Press
OK
to view a list of time zones.
2.
Use the
ARROW KEYS
then press
OK
to select your time zone.
Daylight Savings Time (DST):
1.
Select “
Yes
” if your time zone observes DST.
Select “
No
” if you are located in a time zone that does not observe DST.
2.
Press
OK
to select.
Date and Time Mode:
The default mode is Automatic. Automatic mode will automatically update the
date and time each time the device is powered on. The Manual option allows
you to manually set the date and time.
1.
Choose “
Automatic
“ or “
Manual
,“ select
CONTINUE
, then press
OK
.
2.
Select “
Automatic
” (Recommended) for the device to manage the time.
The device will use your broadband connection, antenna, or cable feed
to get the most accurate time.