Gear reducer – Scotsman HID312 Service Manual User Manual
Page 33
HID312, HID525, HID540
Service Manual
April 2015
Page 33
Gear Reducer
Removal - bin removal recommended
1. Vend or melt out all ice.
Note: Only add 16 oz or 1/2 liter water to the bin at a
time, as excess water will drain out the spout.
2. Disconnect electrical power to unit.
3. Remove front, top, side and upper back panel.
4. Remove splash panel.
5. Disconnect ice level control at harness.
6. Remove ice storage bin cover, set aside.
7. Remove agitator (rotate CCW), set aside.
8. Remove 2 thumbscrews & chute cover, set aside.
9. Lift up and remove dispense rotor, set aside.
10. Remove ice sweep.
11. Remove ice delivery chute and chute cover.
12. Remove dispense motor drive pin.
13. Twist and remove the water and ice dispense
chutes.
14. Remove the chute mounting panel.
15. Locate two 3 prong knob bolts under the bin.
Remove them.
16. Locate bin drain and disconnect it from bin fitting.
17. Lift the bin up and off the chassis.
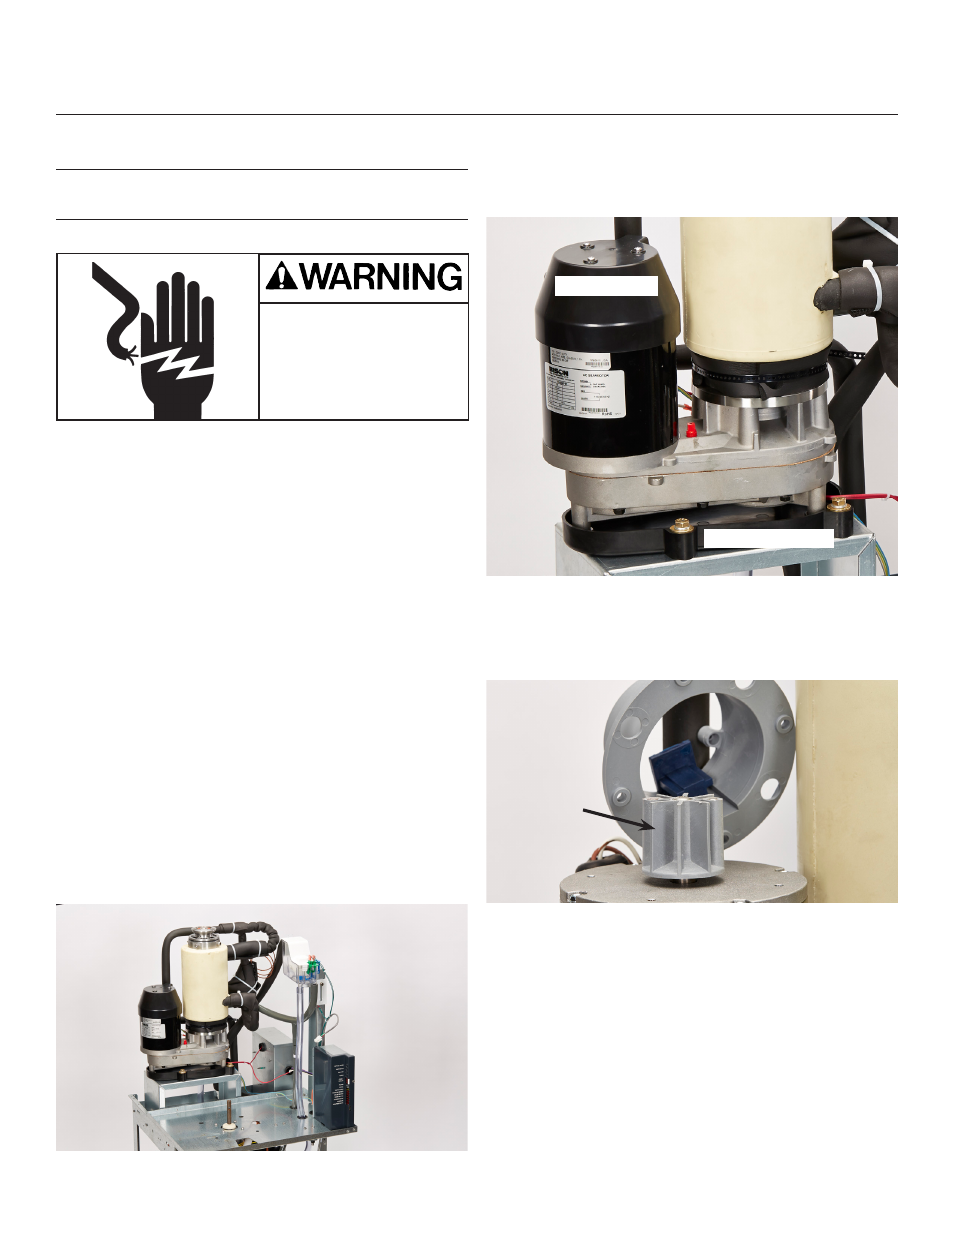
18. Disconnect wires to auger motor.
19. Remove 3 screws holding motor cover to motor.
20. Remove 4 screws holding rotation sensor holder
to motor.
21. Use a cordless impact driver to remove the screw
holding the magnet rotor. If needed use the
special thin wrench to hold motor shaft.
22. Remove four 1/2” hex head bolts securing
evaporator assembly to gear reducer cover.
23. Remove four 1/2” hex head bolts securing gear
reducer condensate pan to chassis.
24. Separate gear reducer from evaporator and lift it
from the machine.
25. Remove three 1/4 hex socket head screws
securing pan to gear reducer.
Install new gear reducer. Be sure vent plug is open
Electrical Shock Hazard
Disconnect electrical
power before beginning
Motor cover
Condensate Pan
Magnet
Rotor