Auger – Scotsman HID312 Service Manual User Manual
Page 34
HID312, HID525, HID540
Service Manual
April 2015
Page 34
Auger
It is the manufacturer’s recommendation that the top
bearing, bottom bearing and water seal be replaced at
the same time.
Extruder / Breaker
1. Remove top panel
2. Remove storage bin cover.
3. Slide chute cover back and remove.
4. Unscrew ice sweep.
5. Lift up and pull ice chute off evaporator.
6. Remove four 1/4 inch hex head socket screws.
7. Lift breaker off auger.
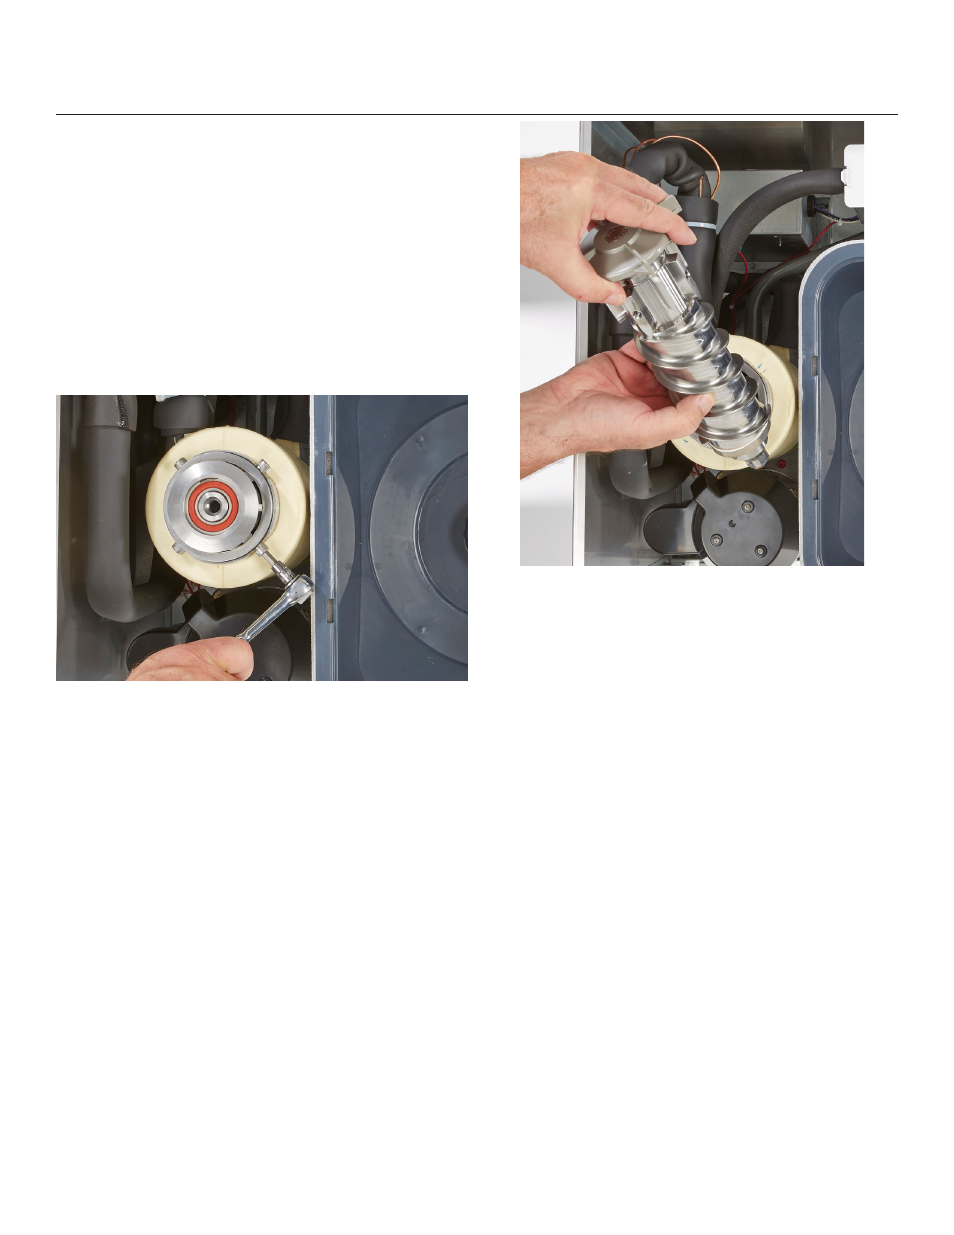
Auger
1. Shut water off to machine.
2. Disconnect electrical power.
3. Remove splash panel.
4. Drain reservoir
5. Remove top panel
6. Remove storage bin cover.
7. Slide chute cover back and remove.
8. Unscrew ice sweep.
9. Lift up and pull ice chute off evaporator.
10. Remove four 1/4 inch hex socket head socket
screws.
11. Return ice sweep to auger.
12. Lift on ice sweep to remove auger.
Auger Motor
The auger motor may be replaced without removing
the gear reducer. Due to manufacturing and testing
reasons, the replacement auger drive motor is
supplied mounted on a gear reducer cover. It is not
necessary to replace the gear reducer cover.
1. Remove 3 screws holding motor cover to motor.
2. Remove 4 screws holding rotation sensor to
motor.
3. Use a cordless impact driver to remove the
screw holding the magnet rotor. If needed use
the special thin 3/8 open end wrench to hold the
motor shaft.
4. Remove the original drive motor.
5. Separate the replacement drive motor from the
shipping casting.
6. Install the rotor of the replacement motor into the
gear reducer.
7. Attach the winding of the replacement motor to the
gear reducer.
8. Attach the magnet rotor to the new motor shaft.
9. Attach the sensor and its holder to the motor.
10. Attach the motor cover to the motor. Reconnect
wires.