Recording a take, 4 – recording – Teac DR-680 User Manual
Page 29
TASCAM DR-680
29
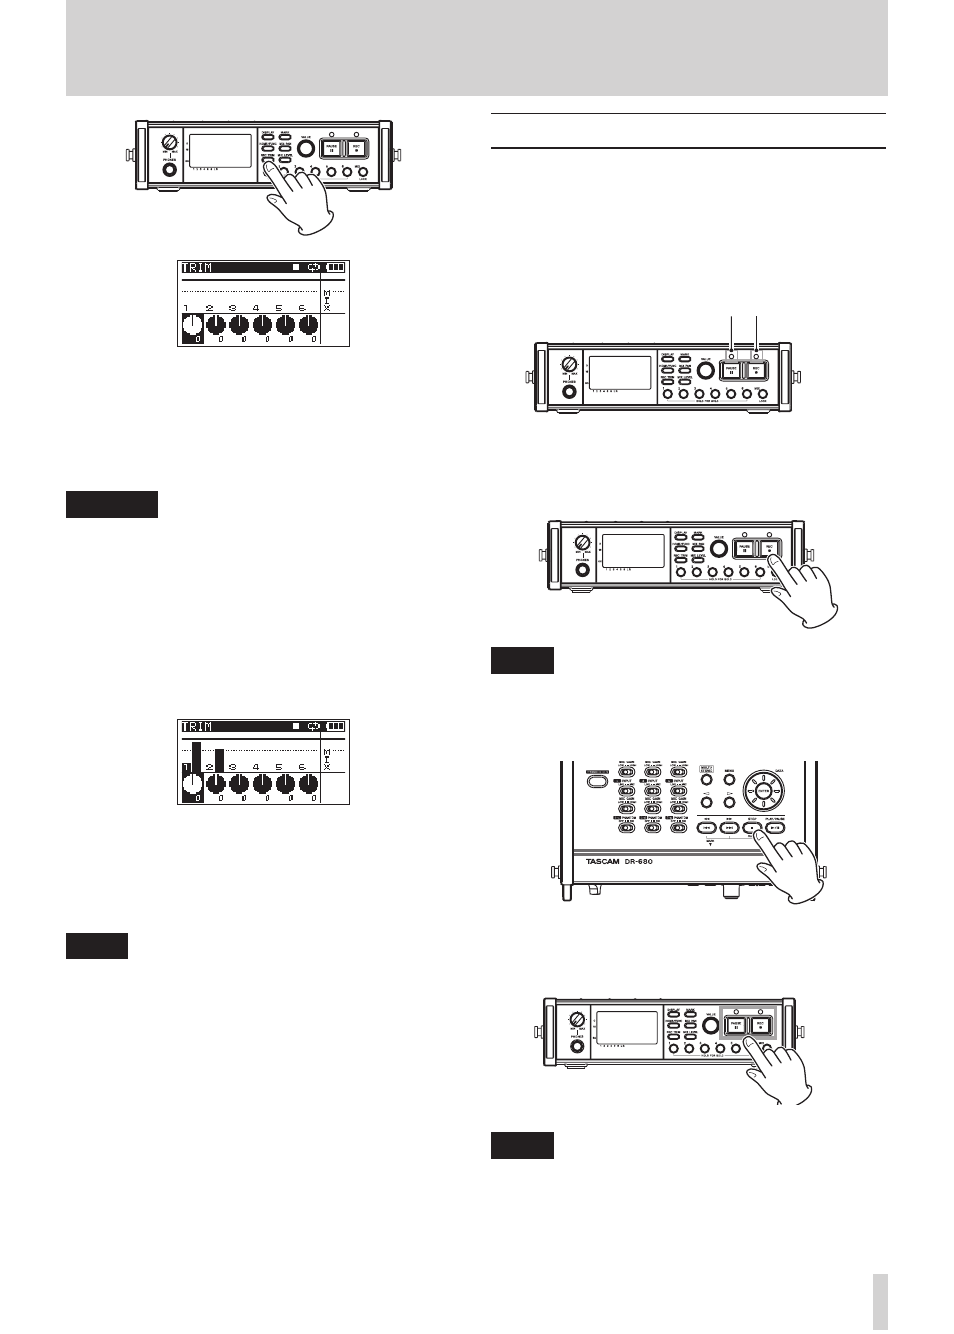
5 Use this screen to set input levels. Use the
1
–
6
keys to select the input channels that you want to
adjust.
6 Use the
VALUE
knob to adjust the input levels in
a range of ±32 dB (default value: 0).
CAUTION
When recording with microphones, please pay attention
to the following points.
Adjust the input level so that distortion does not occur
•
at the input stage. If distortion does occur at the input
stage, the channel number to the left of the meter
on the TRIM screen is shown as a light number on a
dark background. In this case, the unit might record
distorted sound even if the overload indicator for the
meter has not appeared.
When adjusting the input level, at first, set the MIC
•
GAIN switch to LOW and adjust the input level on
the TRIM screen. If the input level is still too low even
when the trim is set to maximum, set the MIC GAIN
switch to HIGH.
TIP
In addition to using the TRIM screen to adjust the
•
recording levels, try changing the orientation of the
microphones and their distances from the sources
of the sound. The orientation and distance of a
microphone also changes the sound quality.
You can use the limiter function to prevent distortion
•
when recording even when loud sounds are input.
(See “Using the limiter” on page 32.)
7 Press the
REC TRIM
or
HOME/FUNC
key to
return to the Home Screen.
Recording a take
Before starting the following procedures, input
selection and level adjustment for each track should be
completed, and the Home Screen should be open.
1 Press the
PAUSE
key to start recording standby.
The
PAUSE
and
REC
indicators light.
PAUSE indicator REC indicator
2 Press the
REC
key to start recording. During
recording, the
REC
indicator lights, and the
elapsed recording time or remaining recordable
time appear on the display.
NOTE
You can also start recording by pressing the REC key first
without pushing the PAUSE key beforehand.
3 Press the
STOP
key to stop recording.
Press the
PAUSE
key to pause recording. When
paused, you can press the
REC
key again to
restart recording.
NOTE
You can set whether recording continues in the same
take or a new take is created when you start recording
again after pausing. (See “Creation of new takes when
restarting recording” on page 25.)
4 – Recording