Making the first recording, 6 – basic recording – Teac DP-03 User Manual
Page 40
40
TASCAM DP-03
This shows the setting screen for track one (
TR1
).
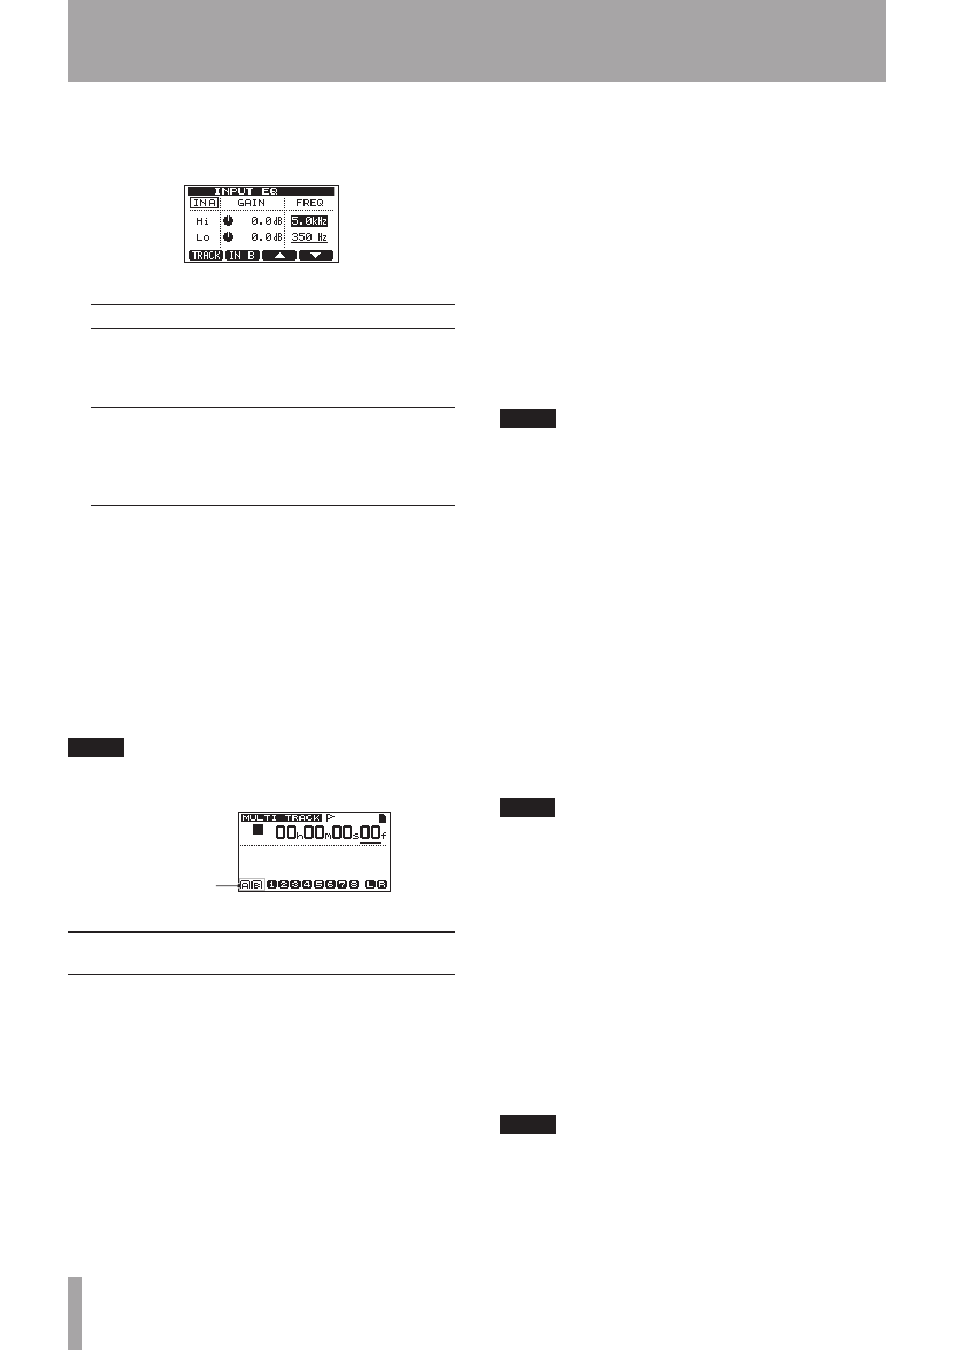
2 Press the F1 (
INPUT
) button to open the
INPUT
EQ
screen. This shows the setting screen for
IN A
.
The equalizer parameters are as follows.
GAIN
FREQ
Hi
High-frequency gain
Setting range: ±12 dB
(Default value: 0.0 dB)
High-frequency value
Setting range: 1.7–18
kHz
(Default value: 5 kHz)
Lo
Low-frequency gain
Setting range: ±12 dB
(Default value: 0.0 dB)
Low-frequency value
Setting range: 32
Hz–1.6 kHz
(Default value: 350
Hz)
Use the F2 (
IN B
) (or (
IN A
)) button to switch
between INPUT A and INPUT B.
Use the EQ HIGH knob to adjust the
Hi
gain and the
EQ LOW knob to adjust the
Lo
gain.
Use the F3 (§) and F4 (¶) button to select
Hi
or
Lo
,
and use the DATA wheel to set the
FREQ
value.
Press the F1 (
TRACK
) button to return to the
EQ
SETTING
screen.
3 After making the setting, press the HOME button
to return to the Home Screen.
NOTE
When input EQ is ON for an input, the input is shown on
the Home Screen as in the illustration below.
INPUT EQ is ON
Making the first recording
Before beginning the following recording procedures,
connect a recording source to an input, assign that input
as the recording source for a track, and prepare your
monitors (headphones).
1 Press the REC button of the track that you want to
record on. The REC indicator blinks red (this status
is called “record standby”).
A maximum of two tracks can be recorded
simultaneously. If you press a different REC button
when two track REC indicators are already blinking,
the track that was put into record standby first will
become inactive and its REC indicator will become
unlit.
For example, if you press the REC buttons for
TRACK 1, TRACK 2 and TRACK 3 in that order,
TRACK 1, which was pressed first, will no longer be
in record standby, but TRACK 2 and TRACK 3, which
were pressed afterwards, will still be in record
standby.
2 Set the recording level.
Use the INPUT A or INPUT B TRIM knob to adjust
the input level. Watch the A or B level meter on the
display and the OL indicator above and to the left
of the TRIM knob while setting the level suitably.
At the same time, confirm that sound heard from
the headphones or the monitoring system is not
distorted.
NOTE
The level meter of the track that has an input
•
signal assigned to it shows the input level after the
application of input EQ. Therefore, when using input
EQ, you should also watch the level meter of the track
that has the affected input signal assigned to it.
The
•
OL indicator lights if the input is too loud.
If the
•
OL indicator stays lit even when you lower the
TRIM knob for that input, lower the input source signal
level.
3 Press and hold the RECORD (–) button and press
the PLAY (Á) button to start recording. The
RECORD (–) button lights red and the track REC
indicator stops blinking and stays lit.
4 Press the STOP (ª) button to stop recording.
If you want to check a part of the recording, use
the REW (Ô) (TO ZERO) button, for example, to
locate to it.
TIP
Use the TO LAST REC function to locate to the last position
that recording started and the TO ZERO function to return
to the start of the song (
00:00:00
), for example, to
move through a recording easily. For information about
the forward and backward search functions, see “Locate
and search functions” on page 44.
5 Press the PLAY (Á) button to play back the
recorded track.
Use the track faders and MASTER fader to adjust
the playback level. Adjust the PHONES LEVEL
knob or the volume control on your monitoring
system to set the final monitoring volume. Use the
PAN knobs to set the stereo position of each track
between the left and right speakers.
NOTE
The track PAN knobs and level faders control that
recorded track’s playback output signal or the monitored
input signal. They do not control the signal being
recorded to the track.
If you are not satisfied with the recorded sound, follow the
procedures above again from the beginning.
6 – Basic Recording