Using mastering eq (equalizer), Using mastering compression, 9 – mixing down and mastering tracks – Teac DP-03 User Manual
Page 57
TASCAM DP-03
57
NOTE
Undo and redo cannot be used when the unit is in
MASTERING mode. Switch to MULTITRACK or MIXDOWN
mode to use these functions.
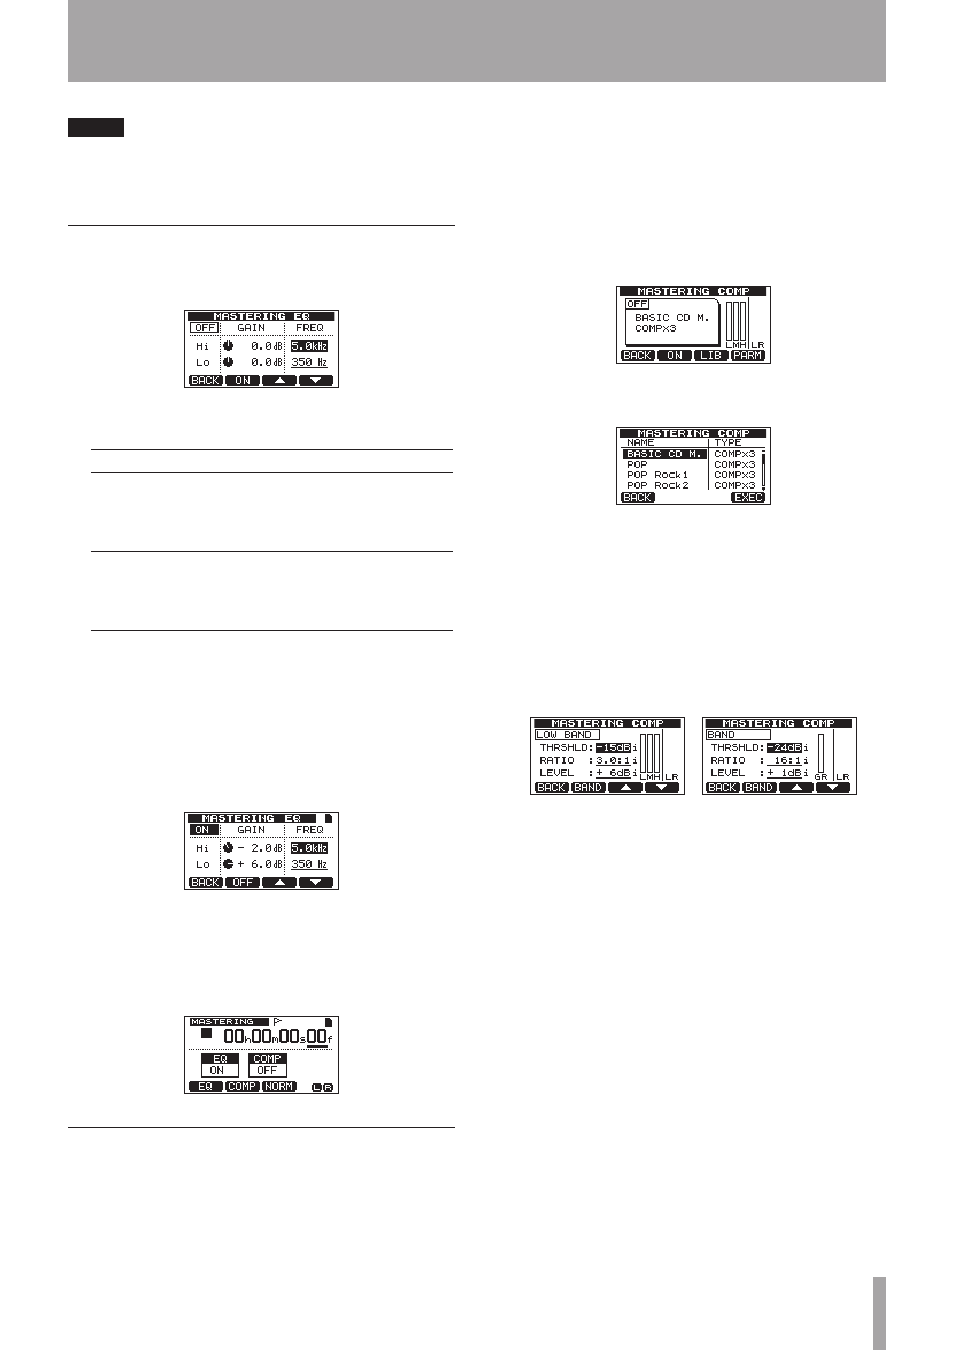
Using mastering EQ (equalizer)
1 When the
MASTERING
screen is open, press the F1
(
EQ
) button to open the
MASTERING EQ
screen.
2 Set the mastering equalizer using the following
parameters.
GAIN
FREQ
Hi
High-frequency gain
Setting range: ±12 dB
(Default value: 0.0 dB)
High-frequency value
Setting range: 1.7–18
kHz
(Default value: 5 kHz)
Lo
Low-frequency gain
Setting range: ±12 dB
(Default value: 0.0 dB)
Low-frequency value
Setting range: 32
Hz–1.6 kHz
(Default value: 350 Hz)
Use the EQ HIGH knob to adjust the
Hi
gain and the
EQ LOW knob to adjust the
Lo
gain.
Use the F3 (§) and F4 (¶) buttons to select Hi or Lo,
and use the DATA wheel to set the
FREQ
value.
Whether the mastering equalizer is
ON
or
OFF
is
shown in the upper left of the display. When
OFF
,
press the F2 (
ON
) button to turn EQ ON, and when
ON
press the F2 (
OFF
) button to turn EQ OFF.
3 After making the setting, press the F1 (
BACK
)
button to return to the Home Screen.
The
EQ
item on the
MASTERING
screen shows
whether the mastering equalizer is currently ON or
OFF.
Using mastering compression
You can select either a single band or multi-band type of
mastering compressor from the library.
Multi-band compressors divide the stereo master
track into low, mid and high frequency ranges that can
be processed using independent settings, allowing
adjustment of the overall volume balance.
By using compression, you can reduce unwanted peaks
and increase the overall gain in order to raise the volume,
creating a mastered sound with greater impact.
1 When the
MASTERING
screen is open, press the
F2 (
COMP
) button to open the
MASTERING COMP
screen.
2 Press the F3 (
LIB
) button to open the library
screen.
3 Use the DATA wheel to select an item in the library,
and press the F4 (
EXEC
) button to confirm the
selection.
Items with the
TYPE
of
COMPX3
are multi-band,
while
COMPX1
items are single band compressors.
After the item loads from the library, the
MASTERING
COMP
screen reopens.
4 Next, press the F4 (
PARM
) button to open the
parameter setting screen.
At this time, the selected band is shown in the
upper left. If it is a multi-band compressor, press
the F2 (
BAND
) button to change the band that you
are adjusting. Each time you press this button, the
band cycles through
LOW
,
MID
and
HIGH
band. For
single band types, F2 switches between
BAND
and
“
A.MAKEUP
.
5 Use the F3 (§) and F4 (¶) buttons to select the
value of the item that you want to set, and use the
DATA wheel to set it. When a setting is at its default
value, an “
i
” appears next to it.
The setting items and their ranges are as follows.
THRSHLD
: Set the threshold value that determines
when the compressor begins to operate. (Range: –32
dB to 0 dB in 1 dB steps)
RATIO
: Set the compression ratio. (1.0: 1, 1.1: 1, 1.3: 1,
1.5: 1, 1.7: 1, 2.0: 1, 2.5: 1, 3.0: 1, 3.5: 1, 4.0: 1, 5.0: 1, 6.0: 1,
8.0: 1, 16.0: 1, inf: 1)
LEVEL
: Set the output level. (Range: -20 dB to +20 dB
in 1 dB steps)
9 – Mixing down and mastering tracks