How to replace a fan tray, How to replace a power supply – Thinklogical VX640 Router Manual User Manual
Page 27
VX640 Router Manual, Rev. F
22
November, 2013
Warning!
Do not tighten the thumbscrews with a screwdriver.
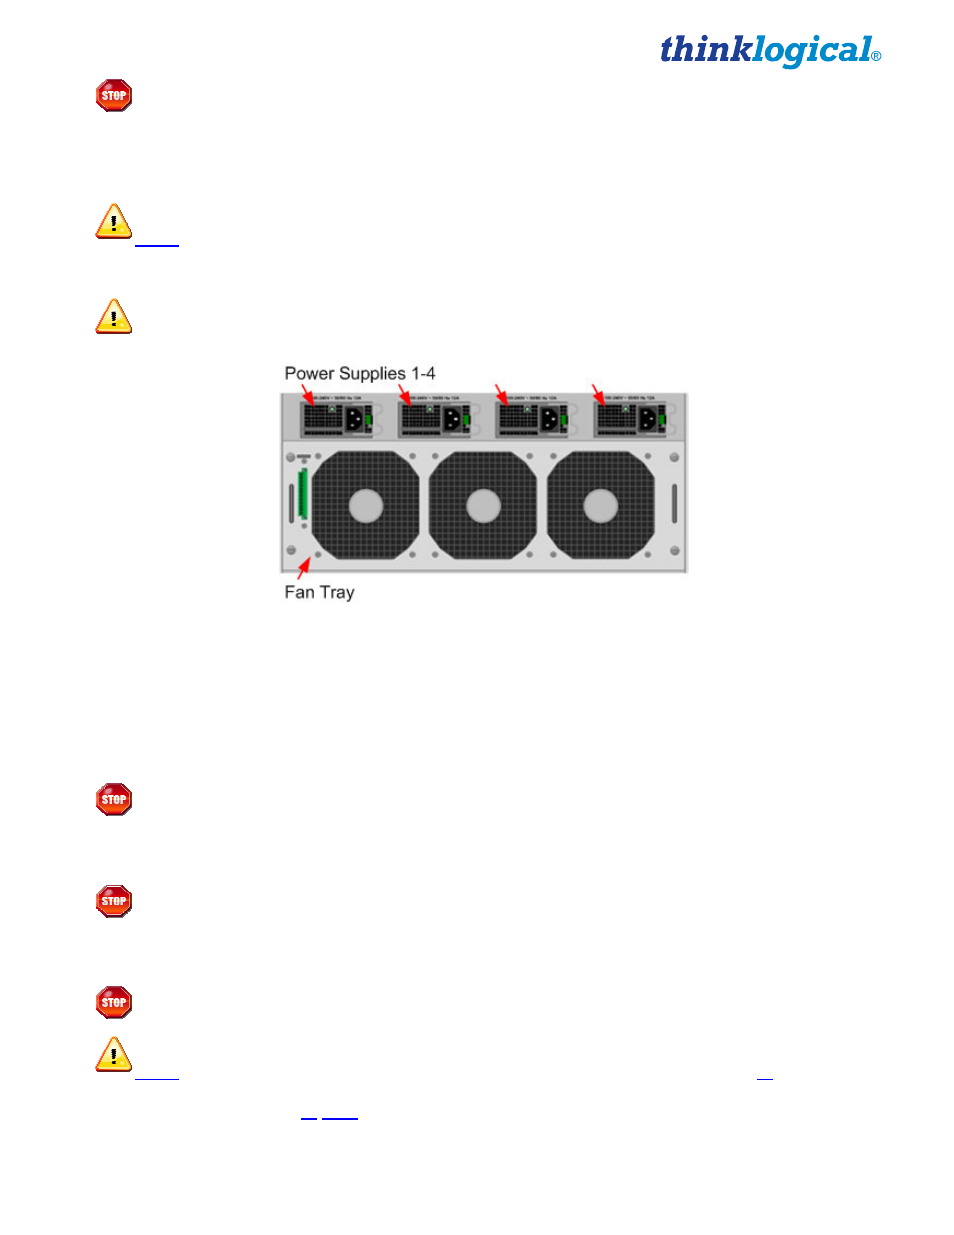
How to Replace a Fan Tray
The VX640 uses three DC fans to move air horizontally through the enclosure. Be sure to not block the
air vents on the front and rear of the unit, and leave at least 2” of space on both sides.
Note: Be sure to leave adequate ventilation space on both sides of the units (2” minimum),
especially if units (e.g. Extenders) are being stacked above or below the VX640 KVM
Matrix Switch.
Note: No shutdown is required prior to replacing the Fan Tray.
Step 1
Turn the four thumbscrews counterclockwise until they disengage from the chassis.
Step 2
Pull the Fan Tray module out using both black handles.
Step 3
Place the new module so that the aluminum housing is on the bottom. Hold the new Fan Tray by the
black handles and slide the aluminum housing into the black card guides.
Warning!
Do not operate the unit without a Fan Tray installed for more than 10 minutes.
Step 4
Hand-tighten the thumbscrews.
Warning!
Do not tighten the thumbscrews with a screwdriver.
How to Replace a Power Supply
Warning!
Disconnect the power cord before proceeding!
Note: If only TWO primary power supplies (1 & 3) are installed, shutdown IS required. If
TWO primary power supplies (1 & 3) AND TWO back-up power supplies (2 & 4) are
installed, shutdown IS NOT required.