Creating a room – Grass Valley Kaleido-IP v.6.02 User Manual
Page 32
28
Setting Up the Kaleido-IP Multi-Viewer
Creating a Room
2
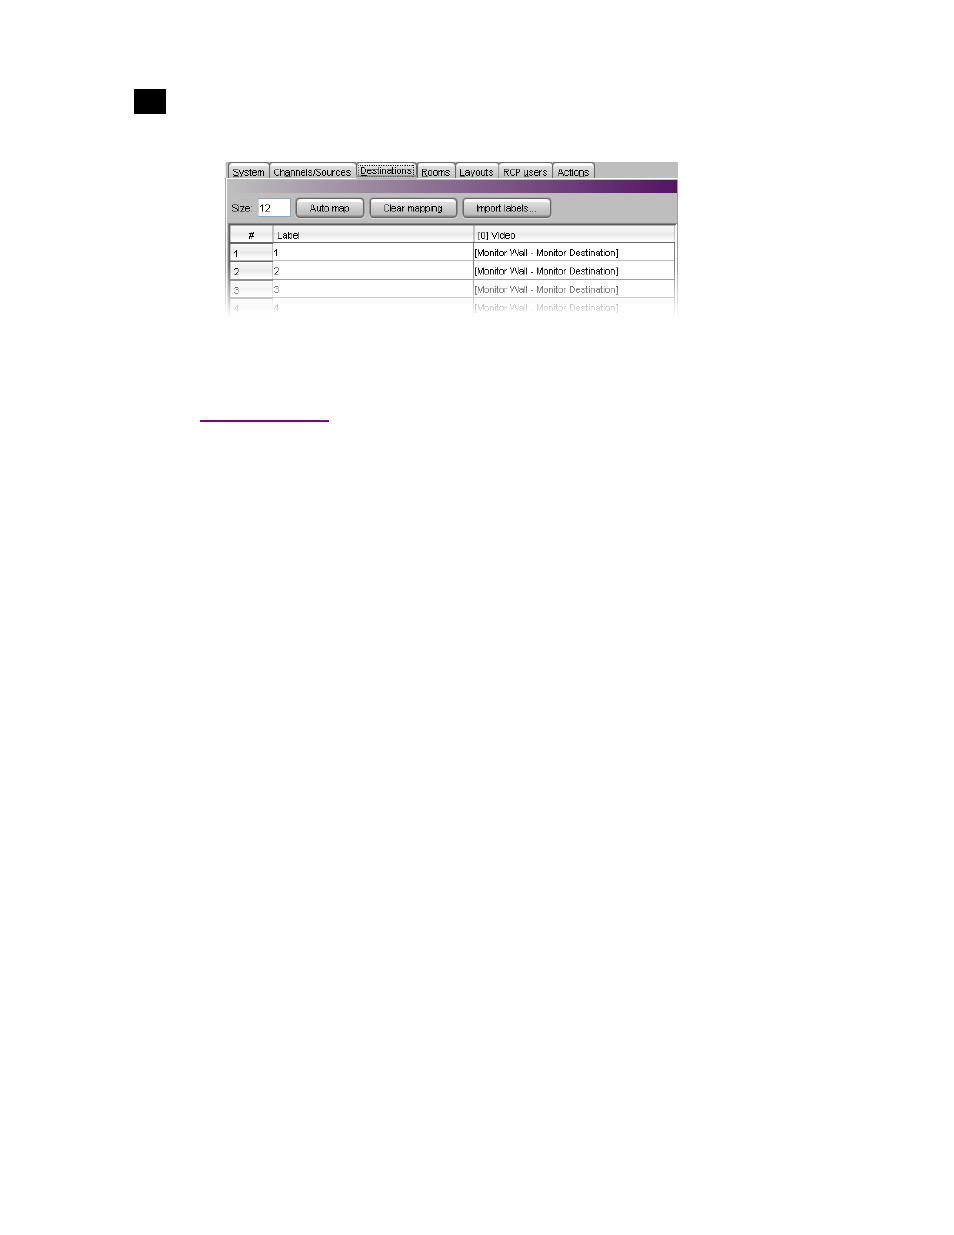
Predefined destinations are mapped to monitor wall destinations by default.
2. Adjust the number of destinations, and type (or import) labels, as required.
Creating a Room
The Kaleido-IP factory settings include one predefined room, named “ROOM”, which you can use as a
starting point. This section describes how to create a minimal room to validate your system configuration.
When you are ready to create a room with displays matching your physical installation, refer to the “Setting
Up Rooms” chapter, in the Kaleido-X User’s Manual, for more information.
To create a room:
1. In the main window, click the Rooms tab.
2. On the File menu, click New.
An empty room with a black background appears in the main window.
3. Select the appropriate display from the display library, and drag it onto the room area.
4. Click the display, and then review its attributes in the Properties pane.