Step 5: testing the monitor wall operation, Using the kaleido-rcp2 with default settings – Grass Valley Kaleido-IP v.6.02 User Manual
Page 37
Kaleido-IP
Quick Start Guide
33
4. On the File menu, click Save. Alternatively, click the Save button on the toolbar.
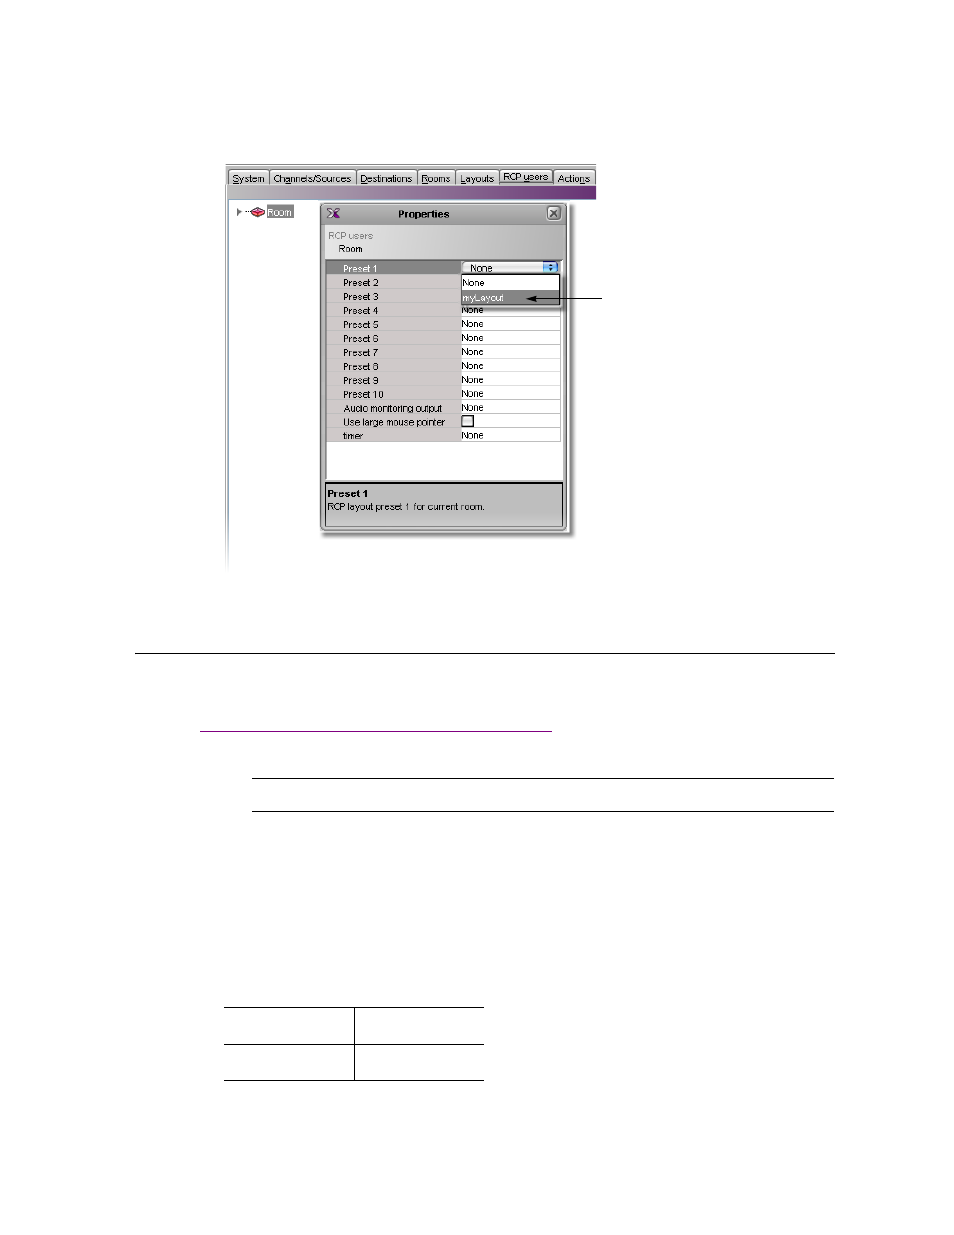
Step 5: Testing the Monitor Wall Operation
Using the Kaleido-RCP2 with Default Settings
To start using the Kaleido-RCP2 with its default settings:
1. Physically connect the Kaleido-RCP2 unit to the management network using an Ethernet cable (see
By default, the Kaleido-RCP2 is configured with DHCP enabled, so it will automatically be assigned an
IP address by a DHCP server. If no DHCP server can be found, the Kaleido-RCP2 will fall back to its
default static IP address, subnet mask, and gateway settings:
Note: The Kaleido-RCP2 unit is optional and is not included in the standard Kaleido-IP package.
Default IP address
10.0.3.191
Default subnet mask 255.255.0.0