Metasys n2 set-up, Caution, Programming the p7u drive for metasys n2 – Yaskawa P7 Metasys N2 User Manual
Page 11: Installation 1-5, A1-00 = 0, B1-01 = 2
Installation 1-5
Metasys N2 Set-Up
A Yaskawa Electric America, Inc. (YEA) representative is responsible for proper configuration of the drive for its primary application,
while a Johnson Controls, Inc. representative is responsible for field panel programming to make use of the drive’s functionality in the
building automation system as a VND device. As such, there must be coordination between the Yaskawa Electric America and Johnson
Controls representatives to ensure that the programming of the drive is consistent with the particular application requirements. After
verifying that the drive installation and wiring are correct, apply power to the drive. Table 1.1 below lists the parameters and their values
required for proper Metasys N2 communication and control.
P7U Drive Parameter Settings for Metasys N2 Communications
Table 1.1 - Drive Communication Parameter Settings
Parameter Number
Digital Operator Display
Settings for Metasys N2 Communication
b1-01
Reference Source
2: Serial Com
b1-02
Run Source
2: Serial Com
H5-01
Serial Comm Adr
Select the drive address (default = 1F hex (31 dec))
H5-02
Serial Baud Rate
3: 9600 Baud
H5-08 Protocol
Select 1: N2 (Metasys)
CAUTION
A YEA representative should set the drive parameters to their appropriate values. Changes made to
the parameters other than what is listed in the table above can result in damaging the drive or
building equipment.
Programming the P7U Drive for Metasys N2
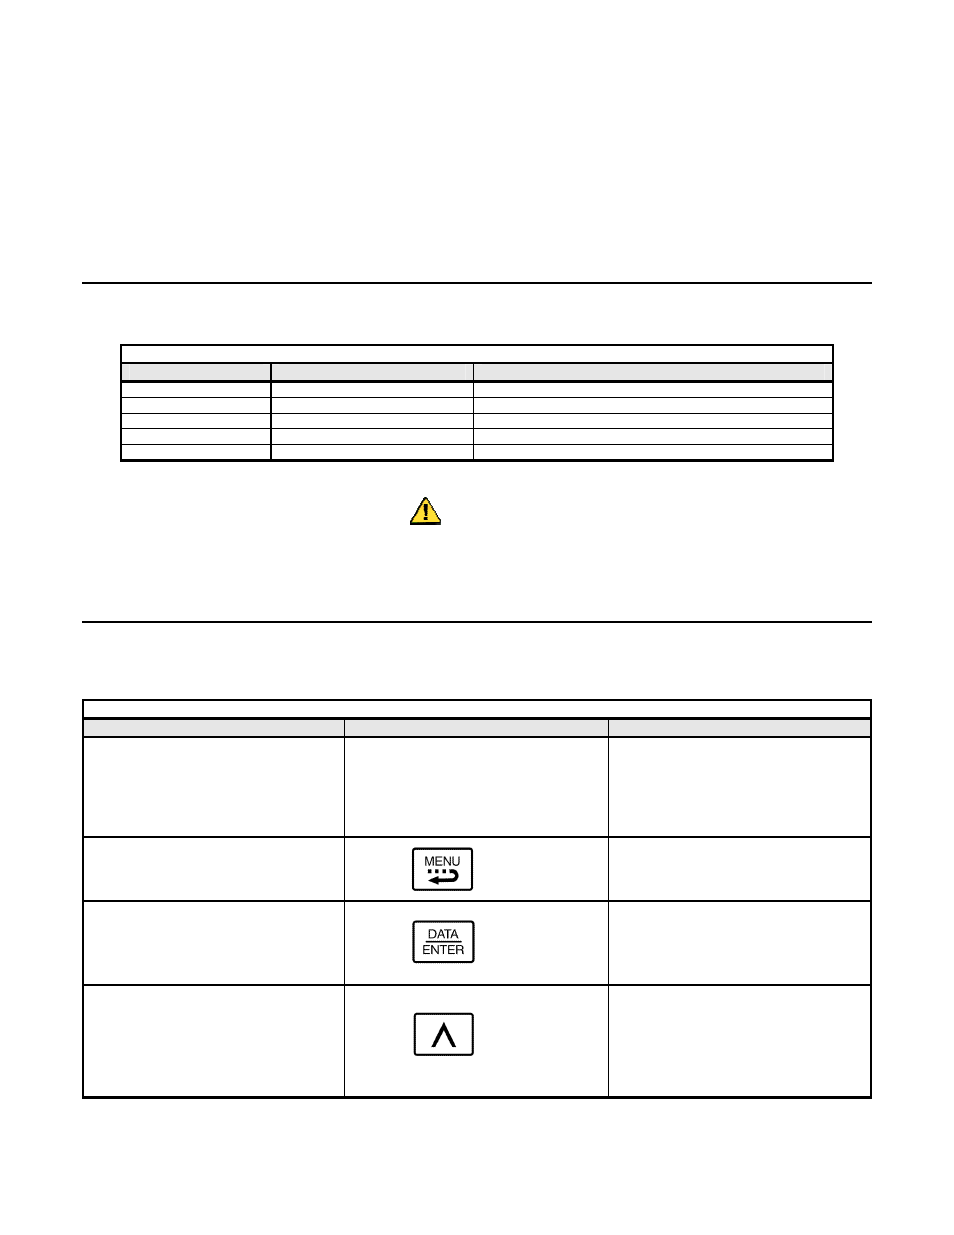
The procedure for programming the P7U drive for communication on an Metasys N2 network is shown in the table below: Refer to the
P7U User Manual, TM.P7.01, for detailed information on using the P7U Operator.
Table 1.2 - Drive Programming Procedure for Metasys N2
Description
Key Operation
Digital Operator Display
Apply Power to the drive
-DRIVE-
Rdy
Frequency Ref
U1-01 =
0.00Hz
- - - - - - - - - - - - - - - - - - - - - - - - - -
U1-02
=
0.00Hz
U1-03
=
0.00A
Select Programming Menu
Press the MENU key until the display matches
the display to the right.
x3
-ADV-
** Main Menu **
- - - - - - - - - - - - - - - - - - - - - - - - - -
Programming
Enter Programming Menu
Press the DATA ENTER key to select the
Programming Menu (A1 blinking)
-ADV-
Initialization
- - - - - - - - - - - - - - - - - - - - - - - - - -
A1-00 = 0
Select Language
Select Sequence Parameters
Press the UP ARROW key until Reference
Source is displayed (b1 blinking).
Note: The item selected will blink.
x2
-ADV-
Sequence
- - - - - - - - - - - - - - - - - - - - - - - - - -
b1-01 = 2
Reference Source