English – Epson Stylus Scan 2500 User Manual
Page 15
15
Setting up your Stylus Scan 2500
English
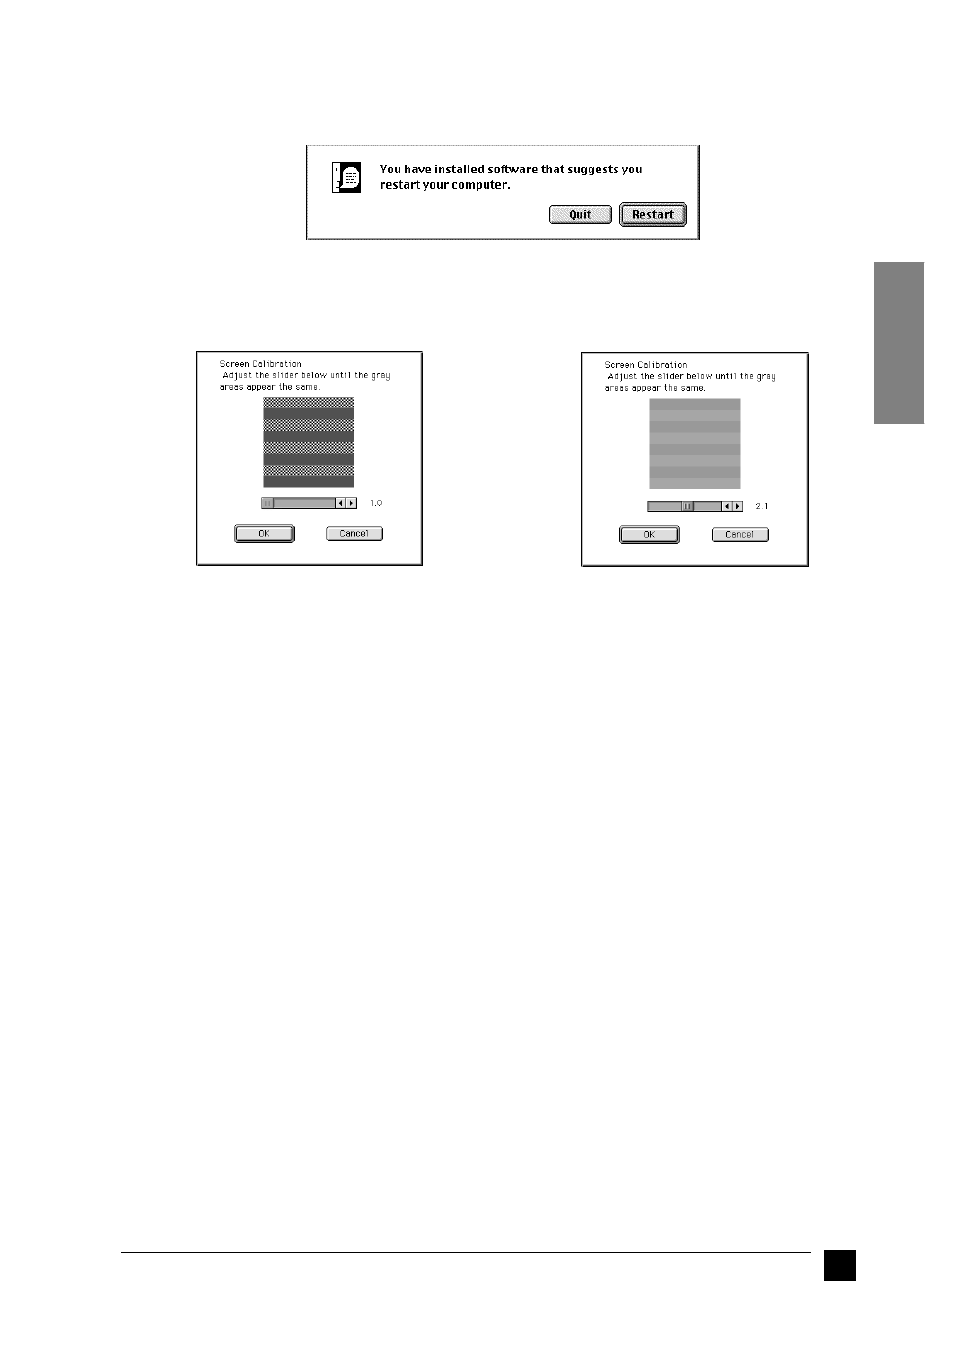
6.
When the following dialog box appears, click Restart.
7.
The EPSON Screen Calibration utility starts automatically. In the following
window, move the slider to the right or left until the two shades of the gray
horizontal stripes match.
Note:
The gray stripes will not perfectly blend together; however, try to make the two
tones match as closely as possible.
8.
Click OK to register the calibration setting. The computer restarts automatically.
9.
Turn on the Stylus Scan by pressing its
P power button.
10.
Plug the appropriate end of the USB cable into the USB port at the back of the
Stylus Scan. (The end that fits the Stylus Scan has a different shape from the end
that fits the computer.)
Note:
To connect the Stylus Scan to a USB port, use a standard shielded USB cable.
11.
Connect the other end of the cable to the computer’s USB port.
Note:
If you have more than one USB hub connected to your computer, connect the
Stylus Scan to the hub that is connected directly to your computer. If the EPSON
Stylus Scan does not work properly when connected to the hub, connect it
directly to the computer’s USB port.
■
Selecting your EPSON Stylus Scan in the Chooser
After you install the printer software in your Macintosh, you need to open the Chooser
to select your Stylus Scan. You have to choose the Stylus Scan the first time you use it
or whenever you want to switch to another printer. Your Macintosh always prints using
the last printer selected.
d