14 data set notes 5.15 finish time, Capture data with an automatic test, Before performing the automatic test – Retrotec FanTestic (ATTMA) User Manual
Page 40: 6 capture data with an automatic test, 15 finish time, 1 before performing the automatic test
rev-2014-10-27
Page 40 of 58
©Retrotec Inc. 2011-2014
Enter the indoor and outdoor temperature after a test. The final temperature is to be entered after
both the pressurization and depressurization sets. The indoor and outdoor temperature defaults to the
initial temperature values entered previously, but they can be overwritten.
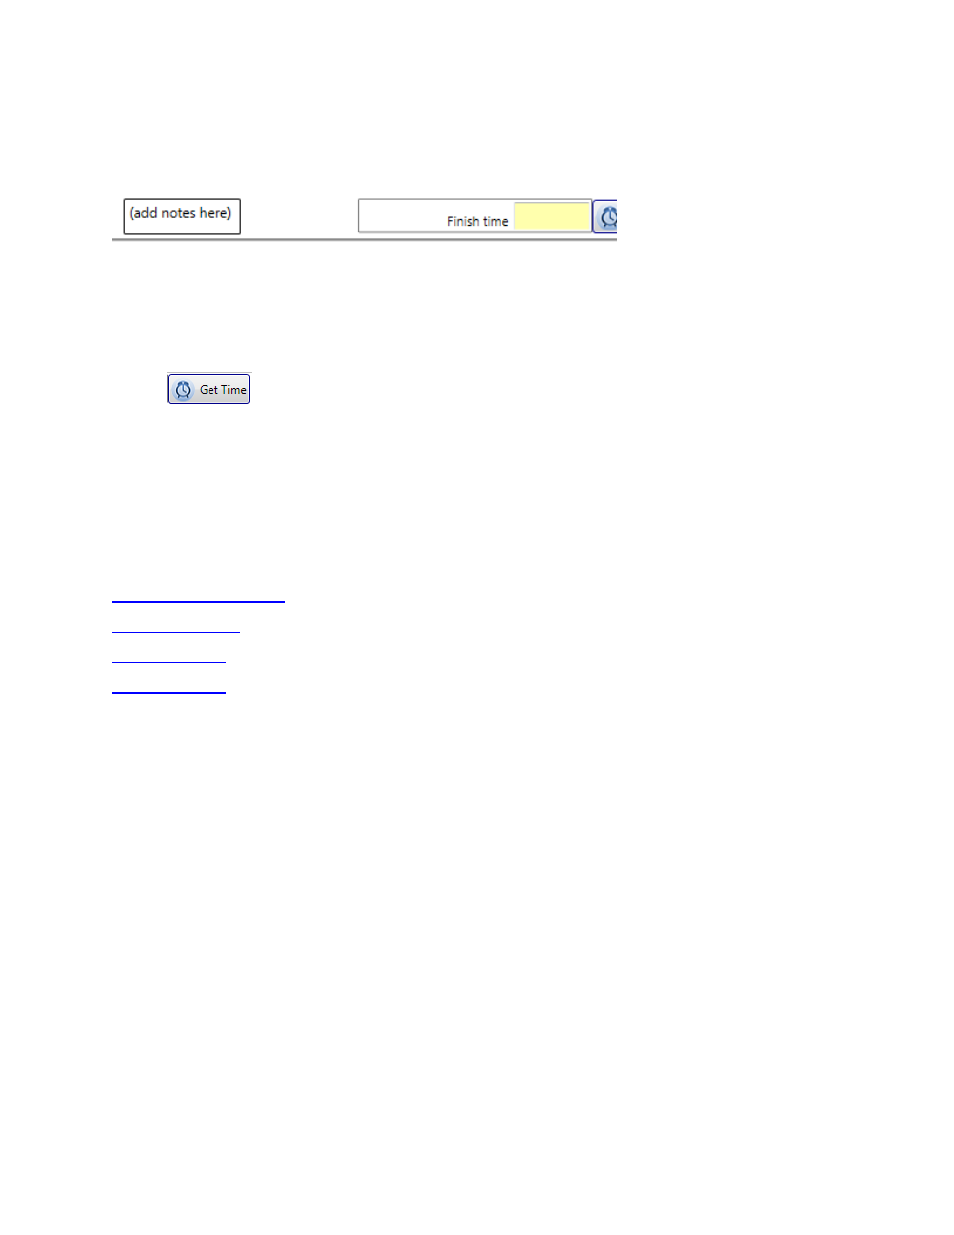
5.14 Data set notes
You can type notes with details about anything that may have happened during this specific data set
capture in the data entry box labeled “(add notes here)”.
5.15 Finish time
When you’ve finished a pressurization or depressurization test, enter the finish time of the test manually
or click
.
6 Capture Data with an Automatic Test
6.1 Before performing the automatic test
The following videos demonstrate how to run an Automatic Test (using a DM-2 gauge and an early
version of the software, but the concepts and explanations still apply).
Before performing an automatic test, ensure:
the panels, fans and gauges are be set up properly.
Prior to the test, it is recommended to manually attempt to achieve the minimum and maximum
pressures required for your automatic test, to ensure that your fan is on a test-suitable range.
Ensure that your gauge is displaying the correct device and correct range configuration. Adjust
Mode to display the maximum and minimum flows. If TOO LOW appears, you must change to a
lower range and try again since this will cause the test to pause (review quick guide for your
system and see section 5.11.4). Make sure both the building pressures and flows can be
achieved for the range of pressures required for your test before starting Auto-Test.
For the automatic test with DM-2 gauge you'll need:
A computer with a High Speed USB2.0 port
A cable to connect the USB on your computer to the mini USB on your DM-2A
A speed control Ethernet style cable to connect your DM-2 to a Retrotec fan
The Retrotec DM2DeviceDriver for USB2.0 High Speed and FanTestic installed
For the automatic test with DM32 gauge you'll need: