Selecting the reception mode, Setting the document size for scanning from, The document feeder -7 – TA Triumph-Adler DC 2023 User Manual
Page 143: Selecting the reception mode -7

6-7
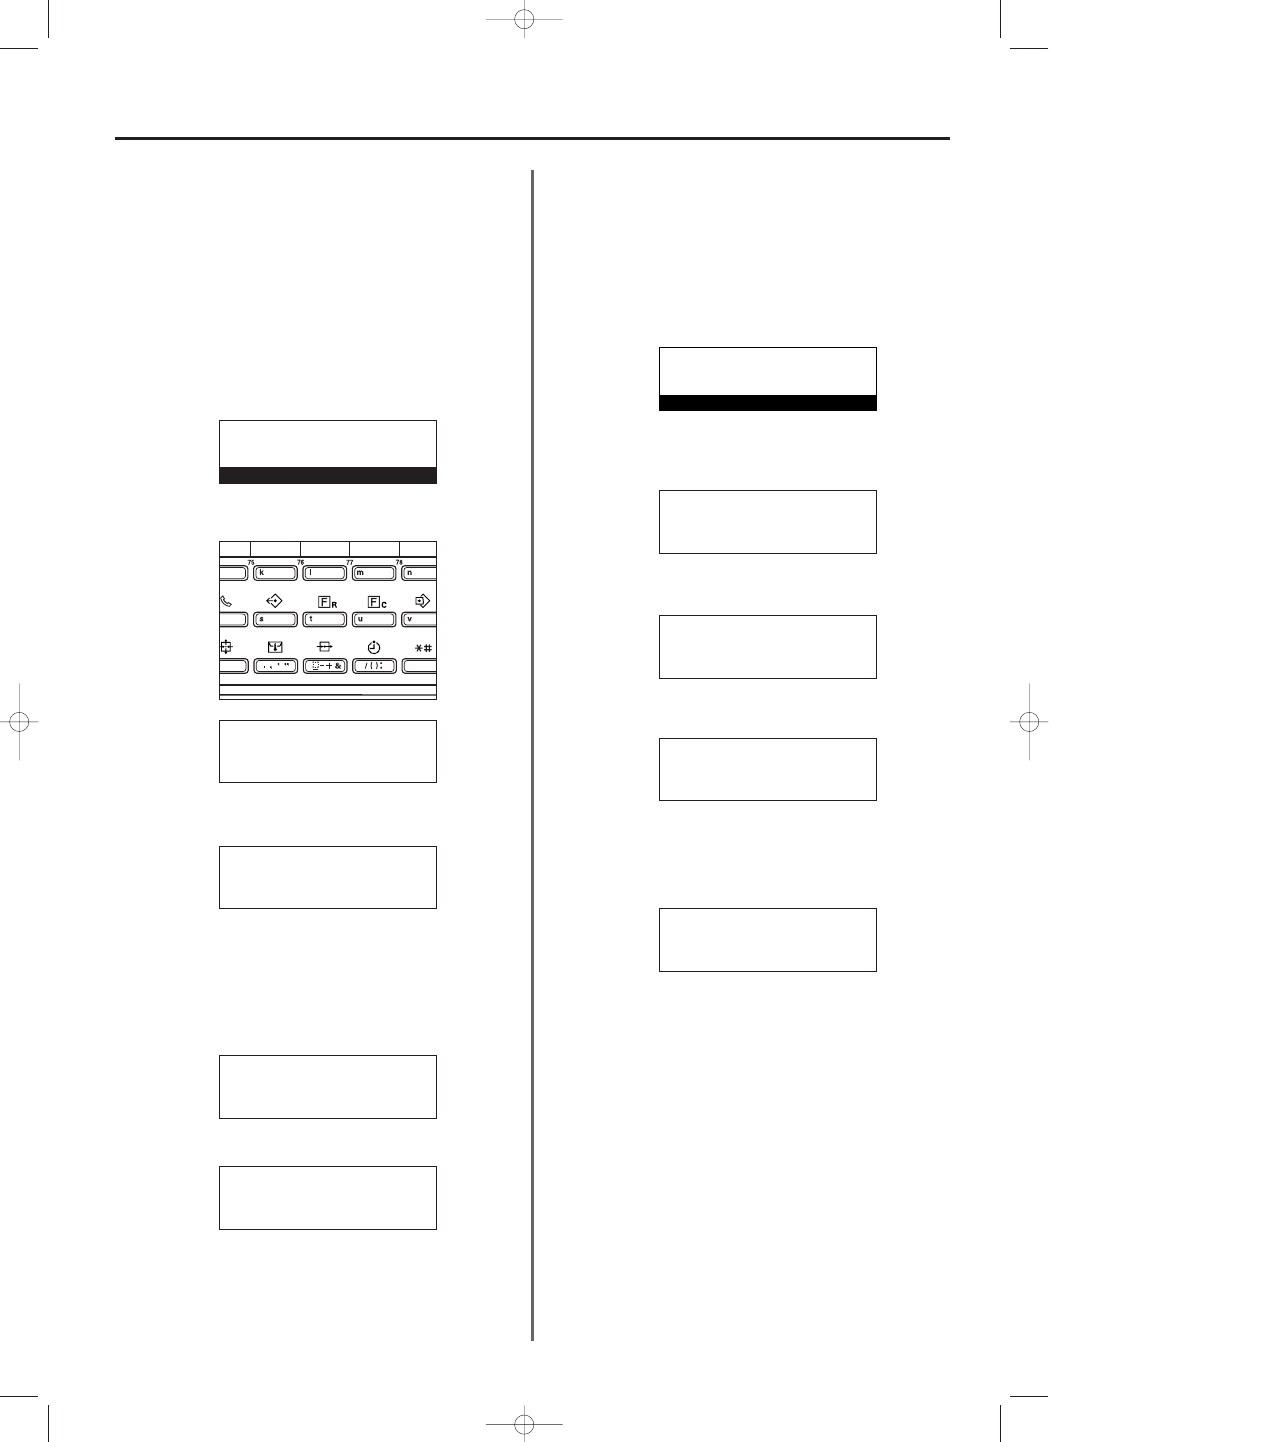
Setting the Document Size for
Scanning from the Document Feeder
Select here whether documents that are set in the SRDF will be
scanned as A4R or other such standard size paper, or as long
documents (in the direction of the paper feed).
* It is necessary to select “Standard size original” here when
transmitting both sides of duplex (2-sided) documents.
(Refer to “Duplex Transmission”, page 2-2.)
* If you select “Long original” here, it will not be possible to have
documents rotated for transmission.
(Refer to “(9) Rotate & Transmit Function”, page 1-16.)
* If you want to cancel the procedure part way through, press the
Reset key. The operation panel will return to the initial mode settings.
1. Press the CONFIGURE key.
2. Use the cursor up or the cursor down key to select “DF scanning”.
3. Press the Enter key.
4. Use the cursor up or the cursor down key to select the desired
document size setting.
* The asterisk (*) in the message display indicates the current
setting.
5. Press the Enter key. The setting for the document size is complete.
* If you are finished making settings, press the Reset key.
The operation panel will return to the initial mode settings.
Selecting the Reception Mode
This fax has 4 reception modes. However, except for Manual Fax
Reception and TAD Reception, it is necessary to select the desired
mode in advance in order to use either of the other 2 reception
modes (Automatic Fax Reception and Auto FAX/TEL Switching).
* Refer to “Manual Fax Reception”, page 2-16, and “TAD Reception”,
page 4-3, for information on selecting these two modes.
* If you want to cancel the procedure part way through, press the
Reset key. The operation panel will return to the initial mode settings.
1. Press the CONFIGURE key.
2. Use the cursor up or the cursor down key to select “Reception mode”.
3. Press the Enter key.
4. Use the cursor up or the cursor down key to select the desired
reception mode.
* The asterisk (*) in the message display indicates the current
setting.
5. Press the Enter key. The setting for the reception mode is complete.
* If you are finished making settings, press the Reset key.
The operation panel will return to the initial mode settings.
Section 6 Various Settings and Registration in this Fax
3A180100A
3A1/FaxSystem(A)/MCE-Eng
/ 164
DF scanning:
*Standard size original
➪
Long original
Set fax:
Confirm dial :On
Set volume
P
➪
DF scanning :Long orig.
Set fax:
Confirm dial :On
Set volume
P
➪
DF scanning :Std. orig.
Reception mode:
➪
*Fax reception
Auto Fax/Tel switching
Reception mode:
*Fax reception
➪
Auto Fax/Tel switching
Set fax:
Set volume
P
DF scanning :Std. orig.
➪
Reception mode:Fax recept
01-DEC-1999 12:00
Set original
01-DEC-1999 12:00
Set original
Set fax:
End
➪
TTI :Outside p.
Print report
P
Set fax:
End
➪
TTI :Outside p.
Print report
P
06/Setting/3A1/MCE/Eng.q 23-12-1999 14:29 Page 6-7