Adjusting for natural colors (white balance), Adjusting the light level (nd filter), Setting auto exposure – Sony ZV-1F Vlogging Camera (Black) User Manual
Page 31: Using the flicker reduction function
31
and speed configured using Shutter
in
the Camera menu.
Setting in the Camera menu
in the Camera menu and
set the shutter mode and speed.
Setting using the direct menu
You can also set ECS mode
on/off and
the shutter speed in the direct menu
Adjusting the light level (ND filter)
You can shoot a subject with the proper
brightness by using the ND FILTER switch
C
when the recording environment is too bright.
The camcorder features two ND filter modes.
You can switch the mode using the ND FILTER
mode switch
D
.
Preset mode
Set the ND FILTER mode switch
D
to PRESET,
then set the ND FILTER switch
C
to the
following.
CLEAR: ND filter is not used.
1: Filter density set using ND Filter >Preset1 in
the Camera menu. The default setting is 1/4.
2: Filter density set using ND Filter >Preset2 in
the Camera menu. The default setting is 1/16.
3: Filter density set using ND Filter >Preset3 in
the Camera menu. The default setting is 1/64.
Variable mode
Set the ND FILTER mode switch
D
to PRESET,
then set the ND FILTER switch
C
to the
following.
CLEAR: ND filter is not used.
1, 2, 3: You can set the filter density in a
continuous range from 1/4 to 1/128 using the ND
control dial
E
.
The ND FILTER switch
B
position (1/2/3) does
not affect the filter density adjustment.
Auto ND filter
When the ND FILTER mode switch is set to
VARIABLE and the ND FILTER switch is in
position 1 to 3, the density of the ND filter can be
adjusted automatically by setting Auto Exposure
>Auto ND Filter
in the Camera menu to
On.
You can also set Auto ND Filter on/off in the
direct menu
When Auto ND Filter is off, you can also select
the density of the ND filter in the direct menu.
Setting auto exposure
Auto exposure controls excessive brightness to an
appropriate level using auto ND filter, iris, gain,
and shutter functions.
Set the control mode using Auto Exposure
>Mode in the Camera menu, and set the
level using Level.
You can also set the control mode and correction
level in the direct menu
.
Using the flicker reduction function
Set Flicker Reduce
>Mode in the
Camera menu to Auto or On, and set Frequency
to the power supply frequency (50 Hz or 60 Hz).
Note
• If the frame rate for shooting is close to the power
supply frequency, flicker may not be completely
reduced when using the flicker reduction function. In
this case, use the electronic shutter.
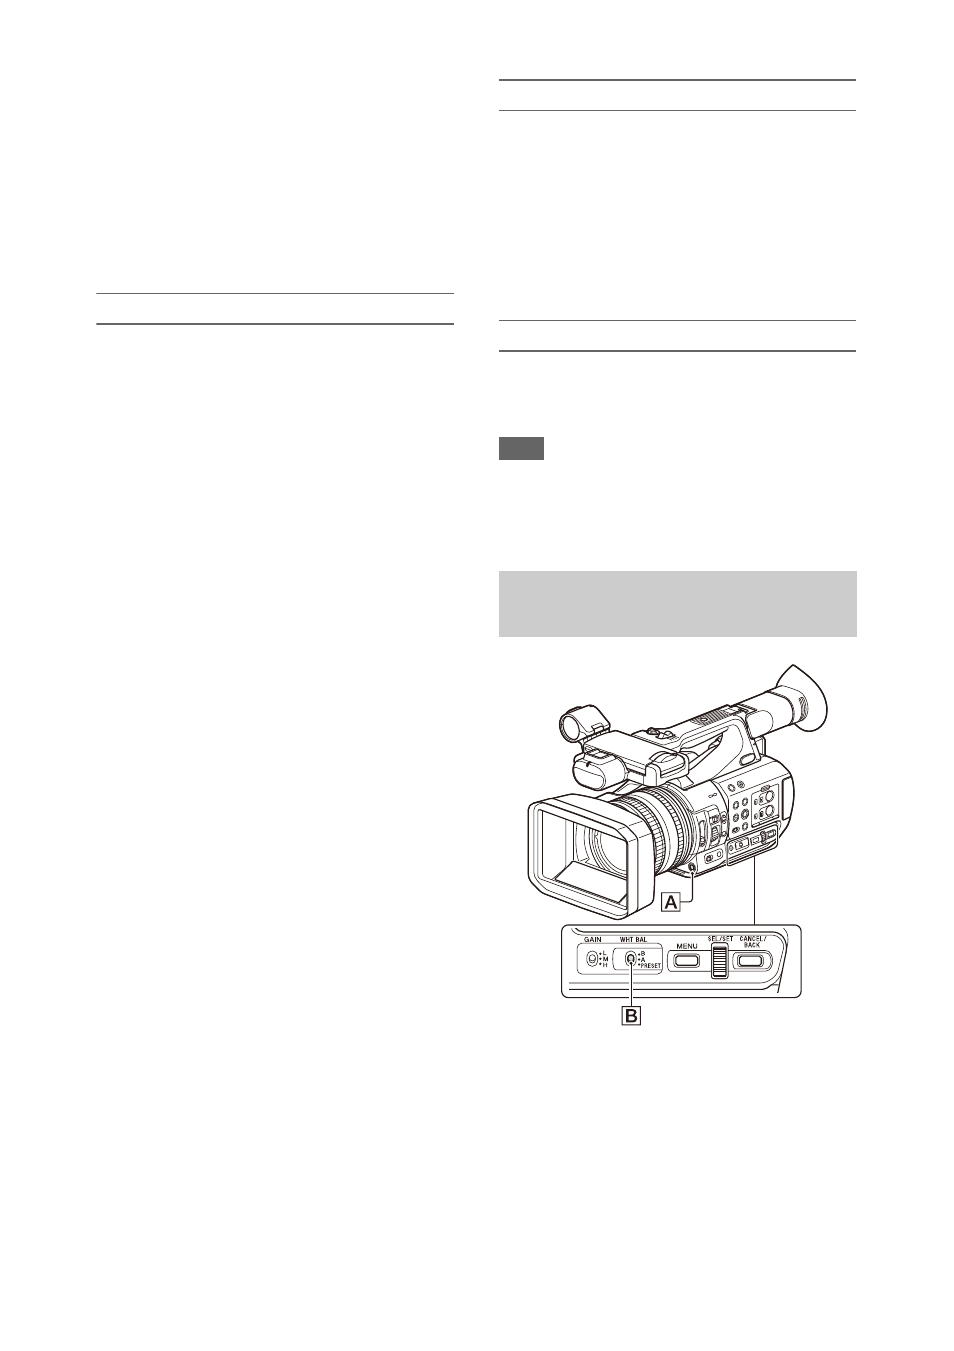
You can select the adjustment mode to suit the
shooting conditions.
Preset mode
This mode adjusts the color temperature to a
preset value (factory default is 3200K). Select this
mode when you have no time to adjust the white
balance or when you wish to fix the white balance
to the preset set using White
>Preset
White in the Paint menu.
Adjusting for natural colors (white
balance)