Selecting a file and uploading – Sony ZV-1F Vlogging Camera (Black) User Manual
Page 61
61
Upload a file that is recorded on an SD card or an
original file that is recorded on a memory card to
a server.
Uploading a proxy file on an SD card
1
Connect the camcorder and device
using a LAN connection
.
2
Launch a browser on the device and
display the web remote control
.
3
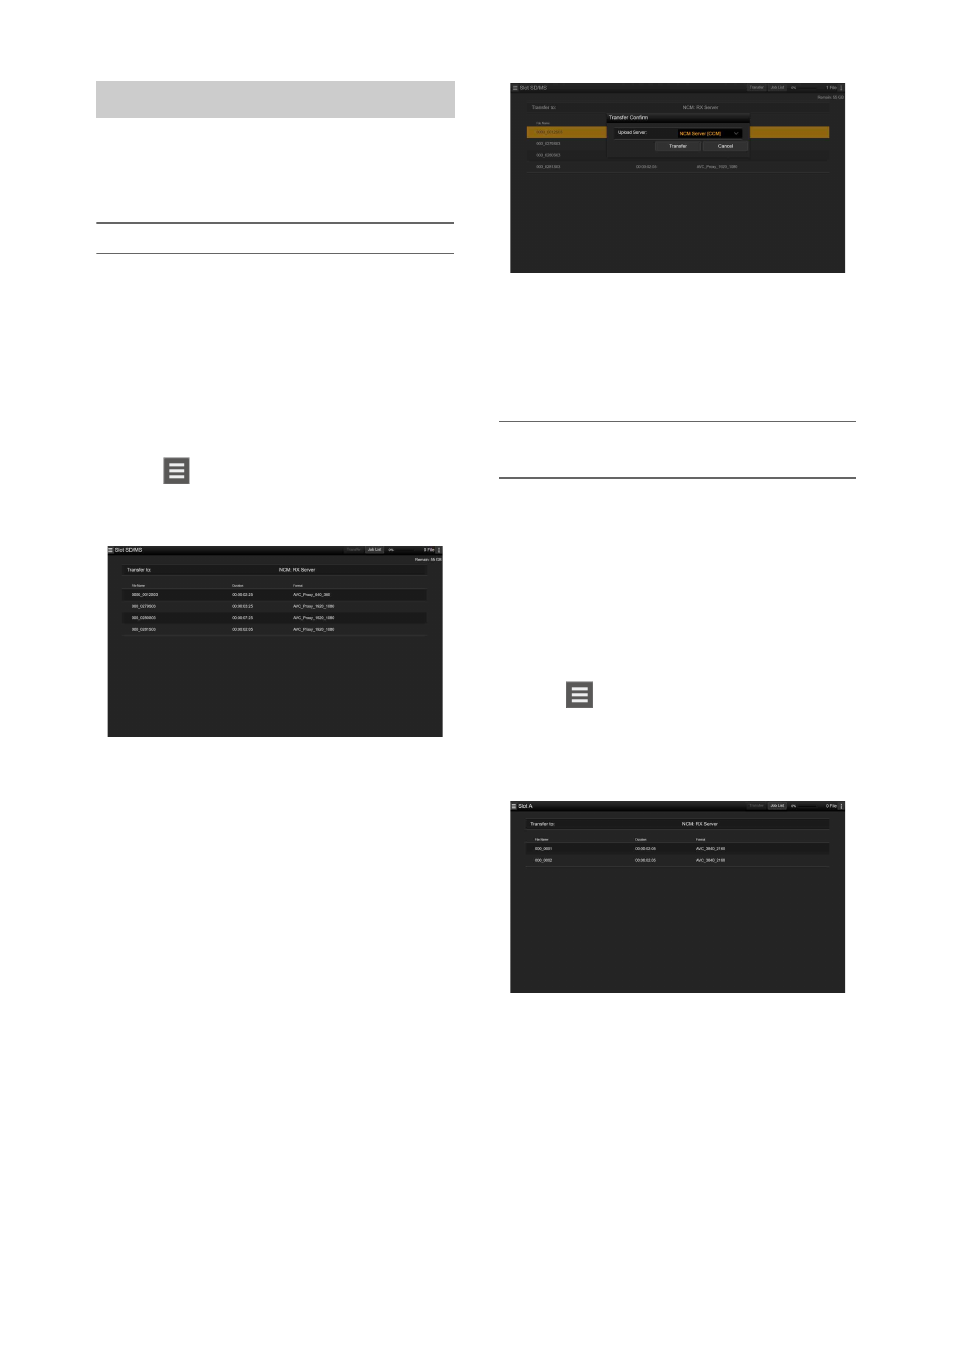
Display the file list screen to select a file.
Tap
>File Transfer >Slot SD/MS.
A file list screen for the media inserted in the
UTILITY SD slot appears.
4
Select the file to upload.
Tap the file to select it. To cancel, tap the file
again.
You can double-tap a file to play the file to
check its contents. (SD cards only)
5
Tap Transfer.
The server that you set using Default Server
in
“Registering a destination server”
appears.
To change the server, tap the server to
display the server list, then select a server.
Input the directory on the server in Directory
if necessary.
6
Tap Transfer.
The camcorder starts uploading the selected
file.
To cancel uploading, tap Cancel.
Uploading an original file on a memory
card
1
Connect the camcorder and device
using a LAN connection
.
2
Launch a browser on the device and
display the web remote control
3
Display the file list screen to select a file.
Tap
>File Transfer >Slot A or Slot B.
A file list screen for the media inserted in slot
A or slot B appears.
Example: Slot A screen
4
Select the file to upload.
Tap the file to select it. To cancel, tap the file
again.
5
Tap Transfer.
The server that you set using Default Server
in
“Registering a destination server”
appears.
To change the server, tap the server to
display the server list, then select a server.
Selecting a file and uploading