Saving images to a computer – Canon PowerShot ELPH 360 HS Digital Camera (Silver) User Manual
Page 126
126
Before Use
Basic Guide
Advanced Guide
Accessories
Camera Basics
Auto Mode /
Hybrid Auto Mode
Other Shooting Modes
P Mode
Playback Mode
Wi-Fi Functions
Setting Menu
Appendix
Index
●
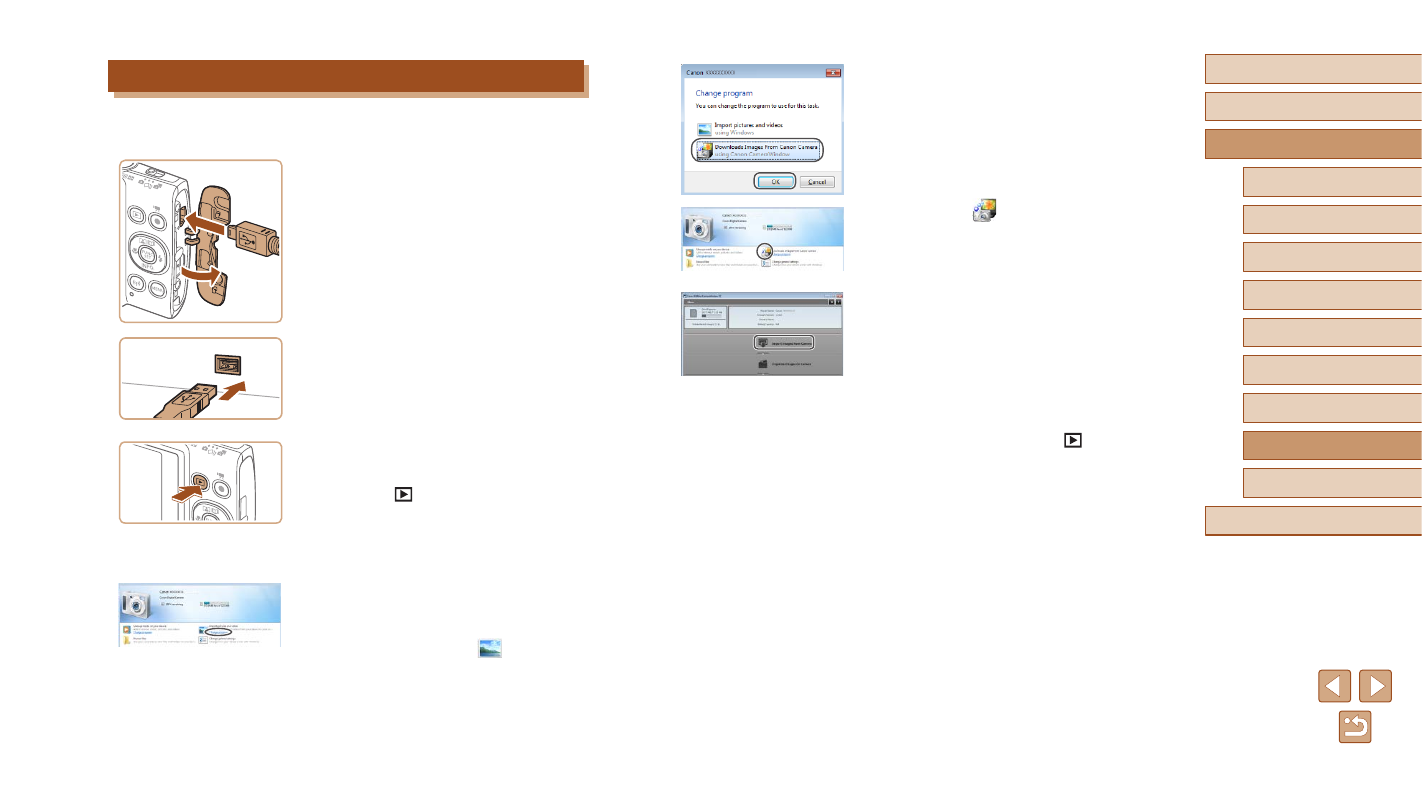
Choose [Downloads Images From Canon
Camera] and then click [OK].
●
Double-click [
].
3
Save the images to the computer.
●
Click [Import Images from Camera], and
then click [Import Untransferred Images].
●
Images are now saved to the Pictures
folder on the computer, in separate
folders named by date.
●
After images are saved, close
CameraWindow, press the [
] button to
turn the camera off, and unplug the cable.
●
To view images you save to a computer,
use preinstalled or commonly available
software compatible with images
captured by the camera.
Saving Images to a Computer
Using a USB cable (sold separately; camera end: Mini-B), you can
connect the camera to the computer and save images to the computer.
1
Connect the camera to the
computer.
●
With the camera turned off, open the
cover (1). With the smaller plug of the
USB cable in the orientation shown,
insert the plug fully into the camera
terminal (2).
●
Insert the larger plug of the USB cable
in the computer’s USB port. For details
about USB connections on the computer,
refer to the computer user manual.
2
Turn the camera on to access
CameraWindow.
●
Press the [
] button to turn the camera
on.
●
Mac OS: CameraWindow is displayed
when a connection is established
between the camera and computer.
●
Windows: Follow the steps introduced
below.
●
In the screen that is displayed, click the
change program link of [
].
(2)
(1)