Set up a document grid, Show or hide grids – Adobe InDesign CS4 User Manual
Page 62
54
USING INDESIGN CS4
Layout
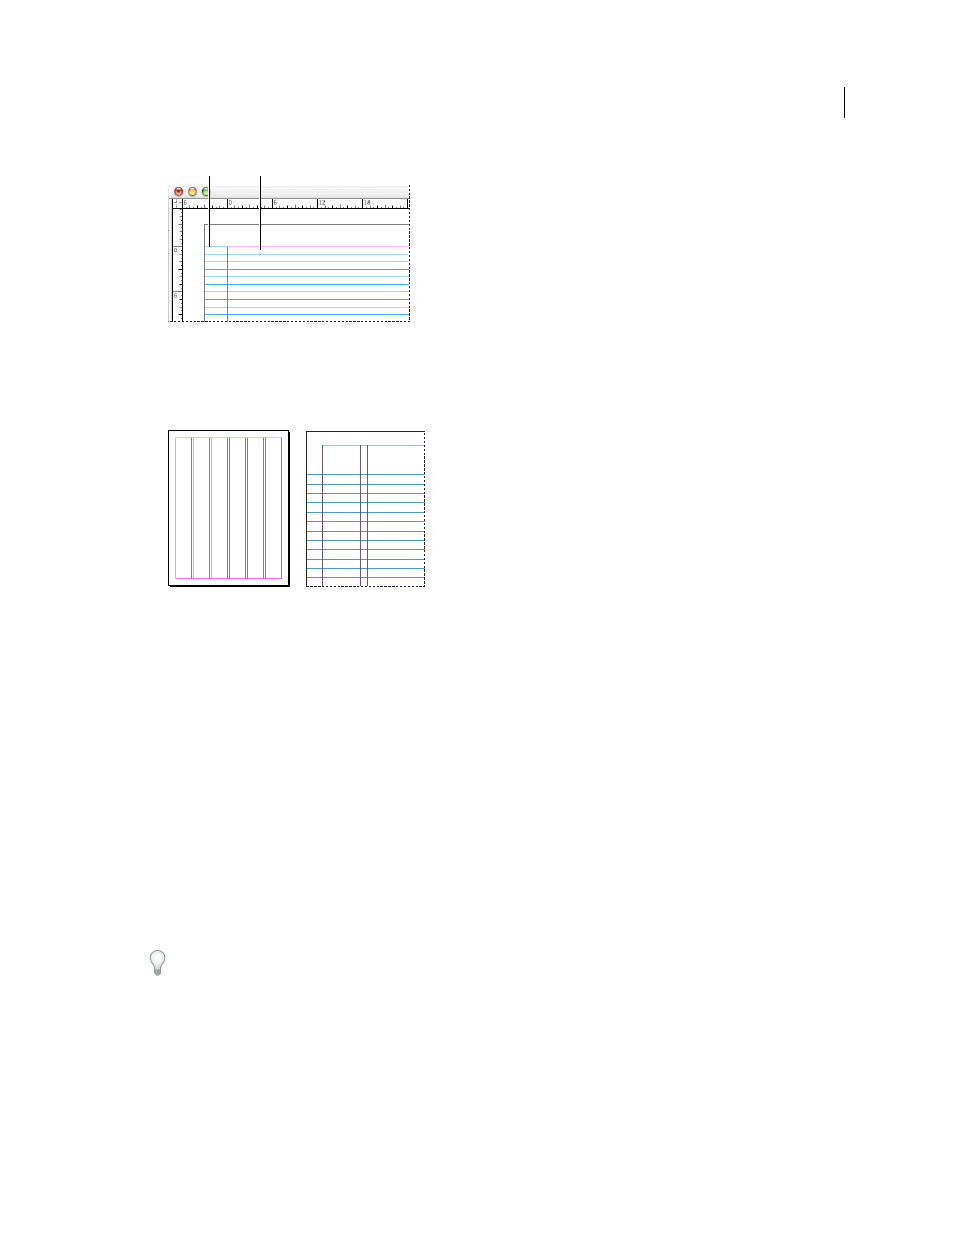
Baseline grid in document window
A. First grid line B. Increment between grid lines
6 For View Threshold, type a value to specify the magnification below which the grid does not appear. Increase the
view threshold to prevent crowded grid lines at lower magnifications.
Baseline grid at magnification below view threshold (left) and above view threshold (right)
7 Click OK.
Note: The Snap To Guides command controls both snapping to guides and snapping to the baseline grid.
Set up a document grid
1 Choose Edit > Preferences
> Grids (Windows) or InDesign
> Preferences
> Grids (Mac
OS).
2 Specify a document grid color by choosing a color in the Color menu. You can also choose Custom in the Color menu.
3 To set horizontal grid spacing, specify a value for Gridline Every in the Horizontal section of the Document Grid
section, and then specify a value for Subdivisions between each grid line.
4 To set vertical grid spacing, specify a value for Gridline Every in the Vertical section of the Document Grid section,
and then specify a value for Subdivisions between each grid line.
5 Do one of the following, and click OK:
•
To put the document and baseline grids behind all other objects, make sure that Grids In Back is selected.
•
To put the document and baseline grids in front of all other objects, deselect Grids In Back.
To put guides behind all other objects, you can also choose Guides In Back in the context menu that appears when you
right-click (Windows) or Control-click (Mac OS) an empty area of the document window.
Show or hide grids
•
To show or hide the baseline grid, choose View
> Grids & Guides
> Show/Hide Baseline Grid.
•
To show or hide the document grid, choose View
> Grids & Guides
> Show/Hide Document Grid.
A
B
Updated 18 June 2009