Edit paths with the pencil tool – Adobe InDesign CS3 User Manual
Page 310
INDESIGN CS3
User Guide
303
4
When the path is the size and shape you want, release the mouse button (but not the Alt or Option key). After the
path closes, release the Alt or Option key.
You don’t have to position the cursor over the starting point of the path in order to create a closed path; if you release
the mouse button in some other location, the Pencil tool will close the shape by creating the shortest possible line
back to the original point.
Edit paths with the Pencil tool
You can edit any path using the Pencil tool and add freeform lines and shapes to any shape.
Add to a path with the Pencil tool
1
Select an existing path.
2
Select the Pencil tool.
3
Position the pencil tip on an endpoint of the path.
You can tell you’re close enough to the endpoint when the small x next to the pencil tip disappears.
4
Drag to continue the path.
Connect two paths with the Pencil tool
1
Select both paths (Shift-click or drag around the two with the Selection tool).
2
Select the Pencil tool.
3
Position the pointer where you want to begin from one path, and start dragging toward the other path.
4
After you begin dragging, hold down Ctrl (Windows) or Command (Mac OS). The Pencil tool displays a small
merge symbol to indicate you’re adding to the existing path.
5
Drag onto the endpoint of the other path, release the mouse button, and then release the Ctrl or Command key.
Note: For best results, drag from one path to the other as if you were simply continuing the paths in the direction they
were created.
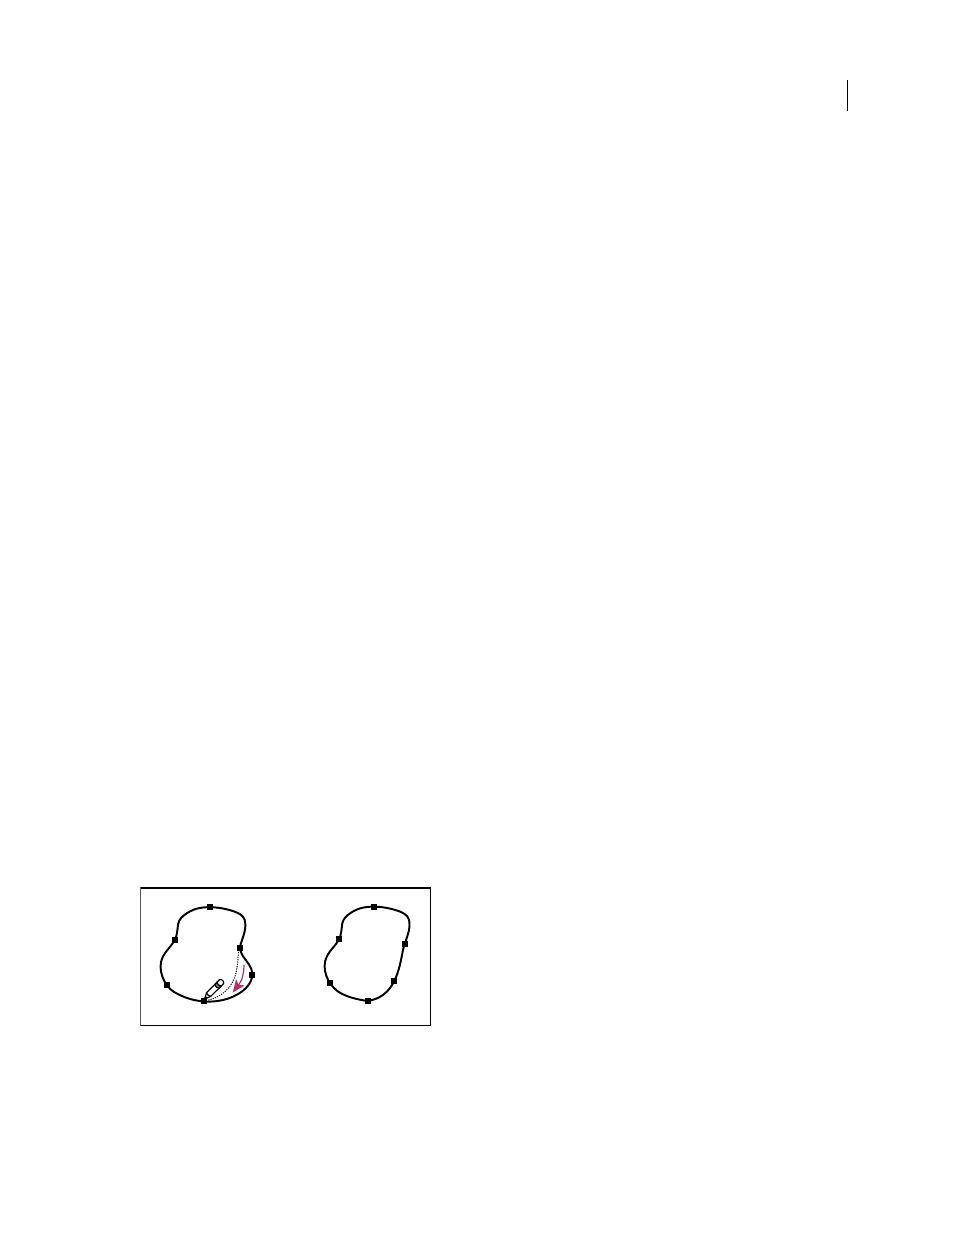
Reshape paths with the Pencil tool
1
Select the path you want to change.
2
Position the Pencil tool on or near the path to redraw.
You can tell you’re close enough to the path when the small x disappears from the tool.
3
Drag the tool until the path is the desired shape.
Using the Pencil tool to edit a closed shape