7 security, 1 enabling security – Kanguru 4HD SATA User Manual
Page 40
40
3.4.7 Security
The Security function allows you to create a four digit password that is used to prevent unauthorized
configuration changes to the KanguruClone.
3.4.7.1 Enabling Security
You can enable or disable the Security function. The Security function is disabled by default. When
enabled, the KanguruClone will request that the user input the four digit password before they can
enter the Setup Menu. The user will still be able to access the Main Menu, allowing them to perform
the currently selected COPY, DIAGNOSTIC and TOOL functions.
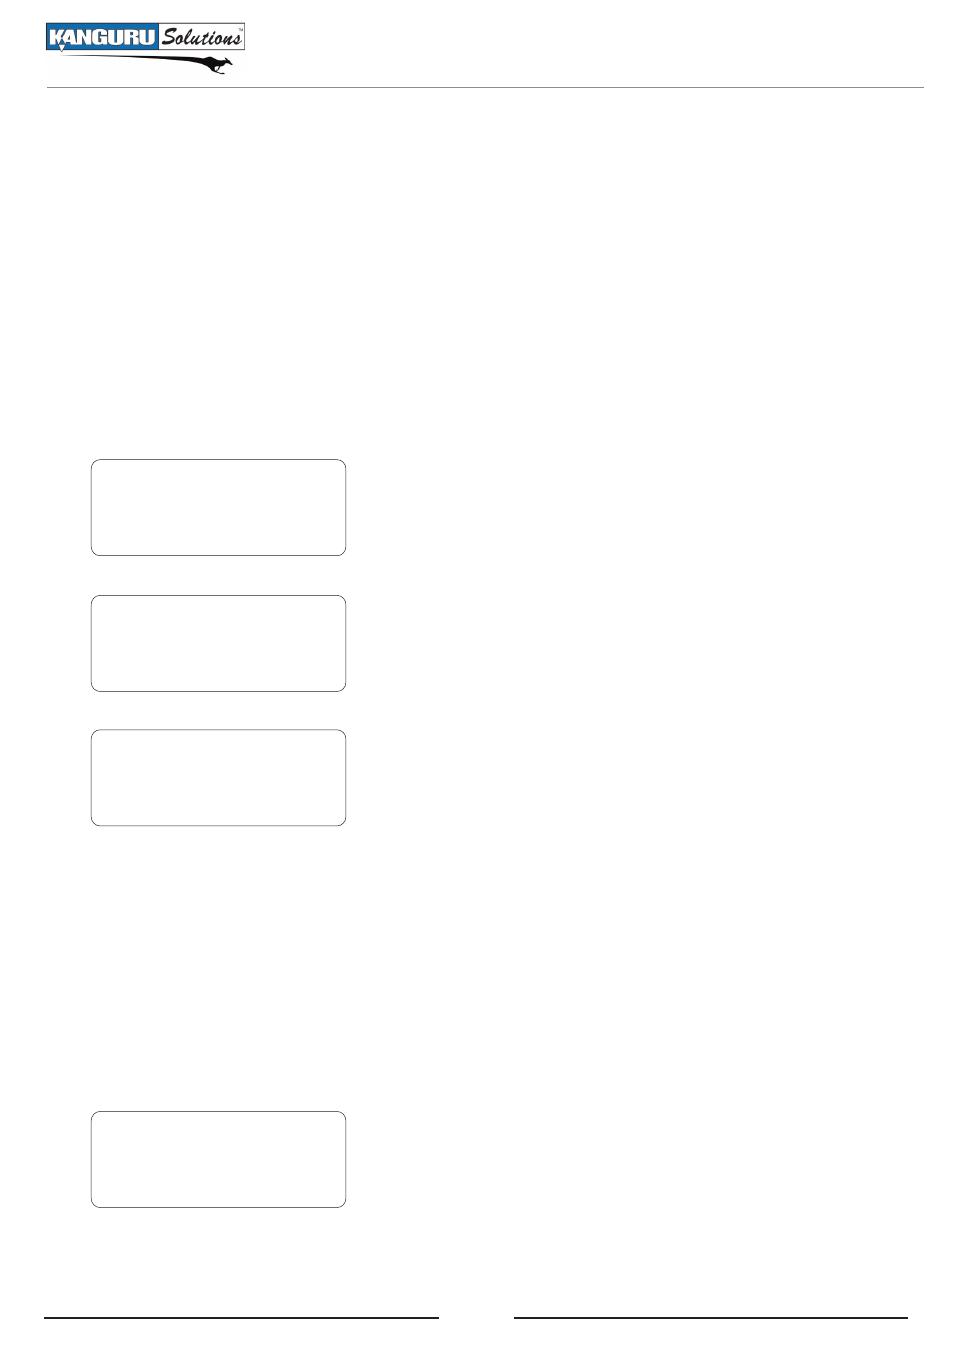
DIAGNOSTIC
TOOL
CONFIGURATION
->
<- Back UP/DN Sel ->
POWEROFF WAIT: 0s
CAP. CHK: DISABLE
Security: DISABLE
->
<- Back UP/DN Sel ->
Security:0000
<- Cancel UP/DN:CHANGE
1. From the Setup Menu, press the UP or DOWN buttons to
navigate to CONFIGURATION mode. Press the RIGHT
button to enter CONFIGURATION mode.
2. From the CONFIGURATION Function Menu, press the UP
or DOWN buttons to navigate to the SECURITY function.
Press the RIGHT button to enter the SECURITY Setup
Menu.
3. From the SECURITY Setup Menu, you will see four 0’s.
Press the UP or DOWN buttons to adjust the left most digit.
Press the RIGHT button once to move to the next digit to
the right and then use the UP or DOWN buttons to adjust it.
Continue until all four digits have been adjusted.
4. When you finish adjusting the fourth digit, press the RIGHT
button to confirm the Security password and enable the
Security function. If you want to exit the Security Setup Menu
before you enable the password, press the LEFT button until
you return to the CONFIGURATION Function Menu.
When a user tries to access the Setup menu, KanguruClone will require that they enter the
password.
INPUT PASSWORD: 0000
<- Cancel UP/DN: Change
Set ->
Press the UP or DOWN buttons to adjust the left most digit.
Press the RIGHT button once to move to the next digit to
the right and then use the UP or DOWN buttons to adjust
it. Continue until all four digits have been adjusted and then
press the RIGHT button to confirm.
Note: For information on disabling security, please see section 3.4.7.2 Disabling Security, p.41.
Security