3 layer, 4 split, Basic oper a tions – Kawai MP6 User Manual
Page 17
17
2
. Basic Oper
a
tions
2.3 Layer
Let’s try layering another sound. Turn the zone 2 on by pressing the ZONE ON/
OFF button for zone 2. The ZONE SELECT button for zone 2 is automatically
selected and the display shows the sound name for zone 2.
Select the sound for zone 2 with the SOUND SELECT buttons as shown in the
previous section.
2
String Pad
Adjust the volume balance of zone 1 and 2 with the faders for each zone.
2.4 Split
Now let’s split the keyboard and play different sounds in upper and lower
sections.
Press and hold the ZONE SELECT button for zone 1. The display shows the key
range for zone 1 as follows.
1
Key
I
A-1 >C7
Range
E
A-1 >C7
While still holding down the ZONE SELECT button for zone 1, press the lowest
note on the keyboard. The display changes as follows.
1
KeyRange(Both)
= A-1
> ----
While still holding down the ZONE SELECT button for zone 1, select the highest
note for zone 1, for example, B2 by pressing B2 key on the keyboard.
1
KeyRange(Both)
= A-1
> B2
Repeat the same procedure for zone 2 while holding down the ZONE SELECT
button for zone 2 and set the key range from C3 to C7.
2
Key
I
C 3> C 7
Range
E
C 3> C
c
7
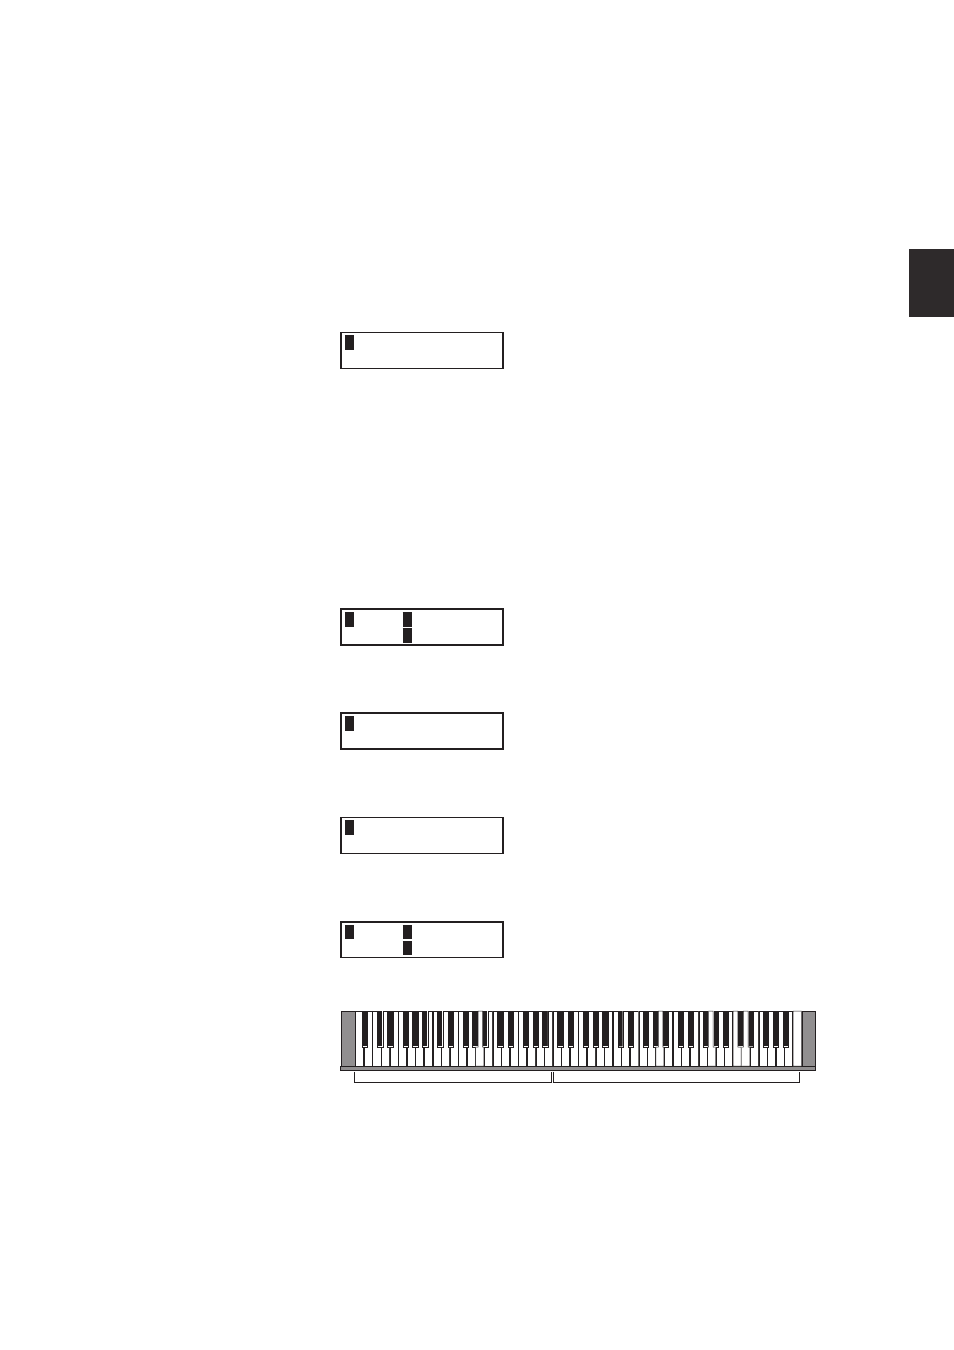
Now the keyboard is split as follows.
ZONE1
ZONE2
q
B2
q
C3
Note:
In this method, the key ranges for internal and external zones always change
together. If you want individual settings, use the Key Range Hi/Lo parameter in
MENU (see page 42).