Assembly instructions, Natural gas, Lp propane gas – Kleenmaid BBQ3BF User Manual
Page 7: For your safety, Tools required, Important, Kleenmaid professional - outdoor cooking centres 7, Fig 1 fig 2
Kleenmaid Professional - Outdoor Cooking Centres
7
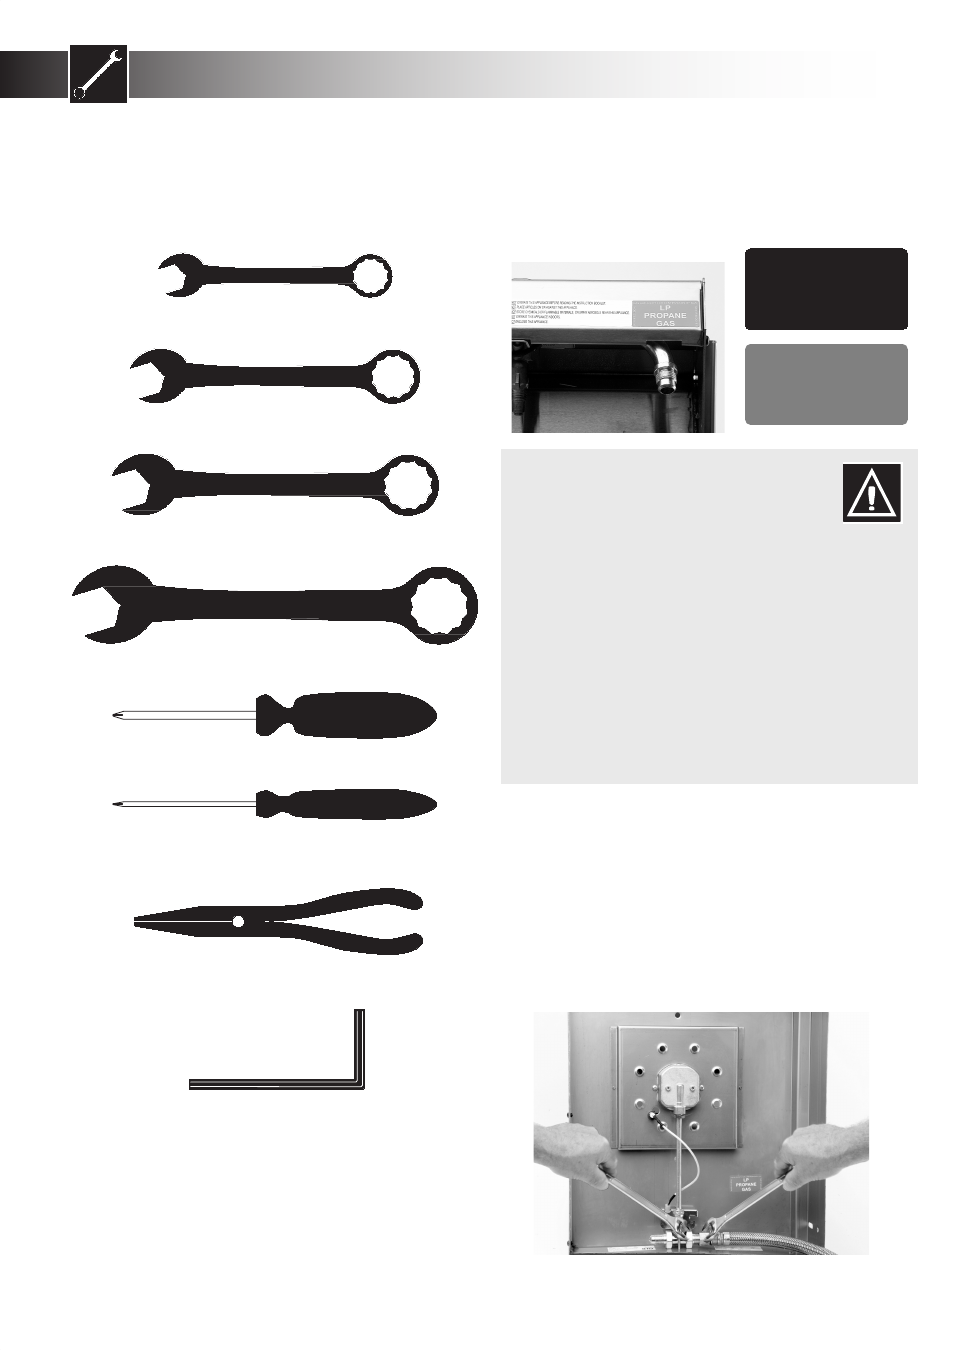
Tools Required
You will need the following tools to assemble
your barbecue.
Important:
Always check the gas label on the appliance to
ensure that you have the correct gas configuration
For Your Safety
If you smell gas:
1. Shut off gas to the appliance
2. Extinguish any open flame.
3. Open lid.
4. If odour continues, immediately call your gas
supplier or your fire department.
For Your Safety
1. Do not store or use gasoline or other flammable
vapours or liquids in the vicinity of this or any
other appliance.
2. An LPG cylinder not connected for use shall not be
stored in the vicinity of this or any other appliance.
Note:
Always use the correct size spanner (wrench) to
tighten gas fittings. Ensure that all gas fittings
are spanner tightened and then leak tested before
continuing with operation of the appliance.
Assembly Instructions
Medium Phillips Head Screwdriver
19mm
19mm Spanner - Gas Inlet Connection
Pliers - Fitting circlips and burner retaining clips
Allen Key - 4mm - Supplied
M6 Mush Head Screws
10mm
10mm Spanner - M6 body nuts
13mm
13mm Spanner - castor bolts - Pedestal trolley
17mm
17mm Spanner - M8 body nuts & bolts on Pedestal trolley
Small Phillips Head Screwdriver
- Towel rack and grease tray fascia
Fig 1
Fig 2
NATURAL
GAS
REFER
TO
LOCAL
GAS AUTHORITY FOR CONFIRMATION OF GAS
T
Y
PE
IF
IN
D
OU
BT
LP
PROPANE
GAS
REFER
T
O
LOCAL
GAS AUTHORITY FOR CONFIRMATION OF GAS
T
Y
PE
IF
IN
D
OU
BT