MacroSystem Arabesk Ver.6 User Manual
Page 10
10
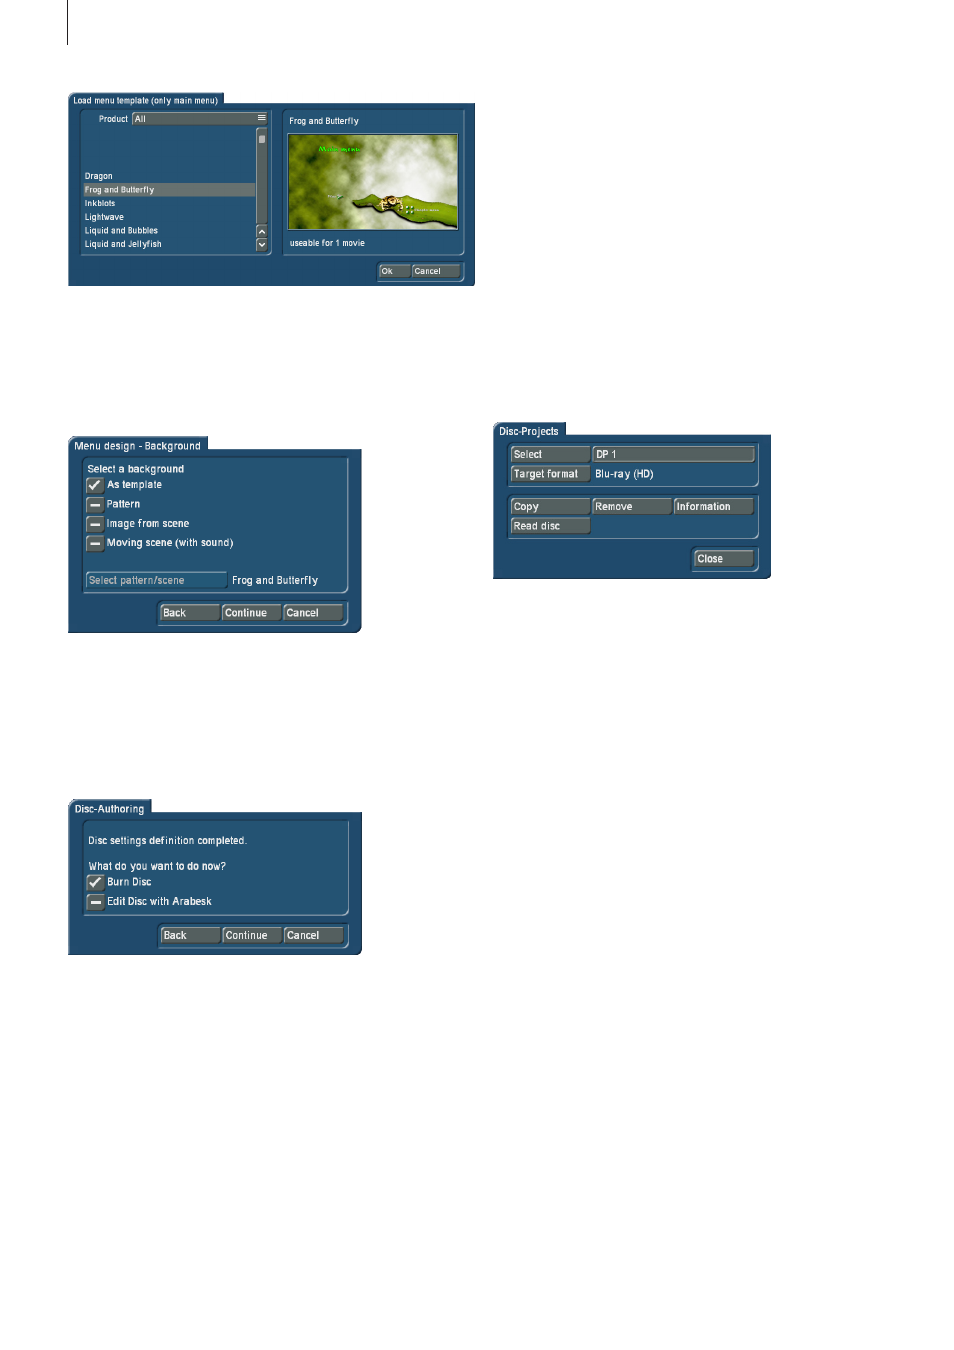
Once you have selected one of these templates, you should
confirm your selection with the OK button to return to the
editing step .
The next editing step, ‘Menu design – Background’, offers you
several options to create a background for your main menu .
Place a checkmark next to the desired option . If you select
the options Pattern, ‘Image from scene’ or ‘Moving scene (with
sound)’, the ‘Select pattern/scene’ button will also become
active, and using this button will take you to the corresponding
dialog window in order to add the desired pattern or the de-
sired scene/scene image as a background to the main menu .
When you have done this, the Continue button will take you to
the last editing step of the assistant . This will allow you to set a
checkmark to indicate if the disc should be burned right away
or if you prefer to switch to the manual editing mode of Ar-
abesk 6 (possible from the Bogart SE Silver Edition onwards) .
If you have selected the ‘Burn Disc’ option and you click on
the Continue button, you will be asked to insert a writable disc
in the drive of your device, if this has not yet been done . Apart
from that, the device will now start with its calculations and
burn the disc .
If you have selected the ‘Edit Disc with Arabesk’ option, you
will be returned to the main menu of Arabesk 6 . The settings
made by the assistant will be preserved and can now be ad-
justed individually .
2.2.2 Disc projects
With Arabesk 6, you have the possibility to work on up to 10
disc projects in parallel and independently from each other .
However, this is only so for users of the Bogart SE Gold Edi-
tion .
The ‘Disc Projects’ menu is used to manage these individual
disc projects .
Tip: The disc projects are only available within Arabesk. These
are not Bogart SE projects.
Select: Use the Select button to select a disc project for
editing your disc, in the same way you already know from the
Bogart SE project selection . You can of course also give the
disc project its own individual name, by clicking on the text
field next to the Select button .
Target format: The format in which you want to burn your
movie can be set with the ‘Target format’ button . The target
format for your disc can be selected in the corresponding
dialog window by setting a checkmark . When you switch the
target format, a message will appear asking you if you want
the change the target format . If you want this, confirm the
dialog window with Yes . If not, click No .
When you change the target format, the display in the main
menu of Arabesk will be adjusted accordingly .
Tip: The target format is not the storage medium (CD, DVD
or BD) on which your movie is to be burned, but the format in
which the movie is to be burned to a disc. We recommend you
use a storage medium that officially matches the target format
(DVD/DVD DL for Video DVD and Blu-ray 25/50 GB for Blu-ray).
Other combinations are possible, but may lead to problems
when playing the disc.
Copy: Menus or disc projects you created can also be copied
and used for other movies that have to be burned to a disc .
When you click on the Copy button, this will open a dialog win-
dow with the currently empty disc projects . There, you will be
able to select in which disc project you want to store a copy of
the currently active disc project .