MacroSystem Arabesk Ver.6 User Manual
Page 15
15
Arabesk 6 User manual
Tip: To create menu templates that are as universal as pos-
sible, you should take into account as many of the following
points as possible:
• Use an HD project and add only HD movies
• Most templates should include 1-4 movies
• Always create a main menu and a fitting chapter menu (if
several movies have been added, only the chapter menu of
the current movie is determinant; for a chapter menu, only
the first page is relevant)
• For all texts, use only the \ shortcut, for example \cm or \tm
• The position of button texts should not be ‘custom'
• Do not insert any additional text that applies to specific mov-
ies (it will not disappear when the movie is not present)
• Put a button for the chapter menu (for each movie) in the
main menu
• Insert the buttons for the previous and next pages in the
chapter menu (should be there automatically)
• Put a button in the chapter menu for switching to the main
menu
• Make buttons on which text is to be put, such as \cm ('Chap-
ter menu’) so wide, that they can contain at least German,
English and French texts
• Do not place the elements too close to the border (keep a
generous area free for the overscan area)
• Set Naming for the chapters to numbered
• Do not include any information concerning the number of
movies or chapters in the names of the templates
Insofar as you don't need it for your personal use, some of
these items can, of course, be ignored.
Delete: This is used to open the dialog field ‘Remove menu
template’ . It is structured in the same way as both dialog fields
that precede it in this menu item . To delete a menu template,
you should select it in the list and then confirm this selection
with OK .
Tip: Only templates you have created yourself can be deleted.
Self-created templates are saved and reloaded via the backup
function of Bogart SE . You will find this function in Bogart SE
under Settings - Archive . When backing up, you can select
the storage medium you prefer (USB media must be inserted
beforehand), confirm the selection with OK and start the data
export . Similarly, data that were stored this way can also be
reloaded .
Tip: If you use an image from a scene from one of your Bogart
SE projects in a self-created menu template, this scene will not
be saved with it, only a reference to it. If you delete the corre-
sponding Bogart SE project, the scene will also be lost in the
saved template.
This can be avoided if you first store the scene or the pattern
from the scene in the Bogart SE imagepool and then use this in
Arabesk.
2.4.2 Main and chapter menu
Since designing main menus and chapter menu is largely
similar, the operation and possibilities are discussed together
in this chapter .
It speaks for itself that differences will be discussed .
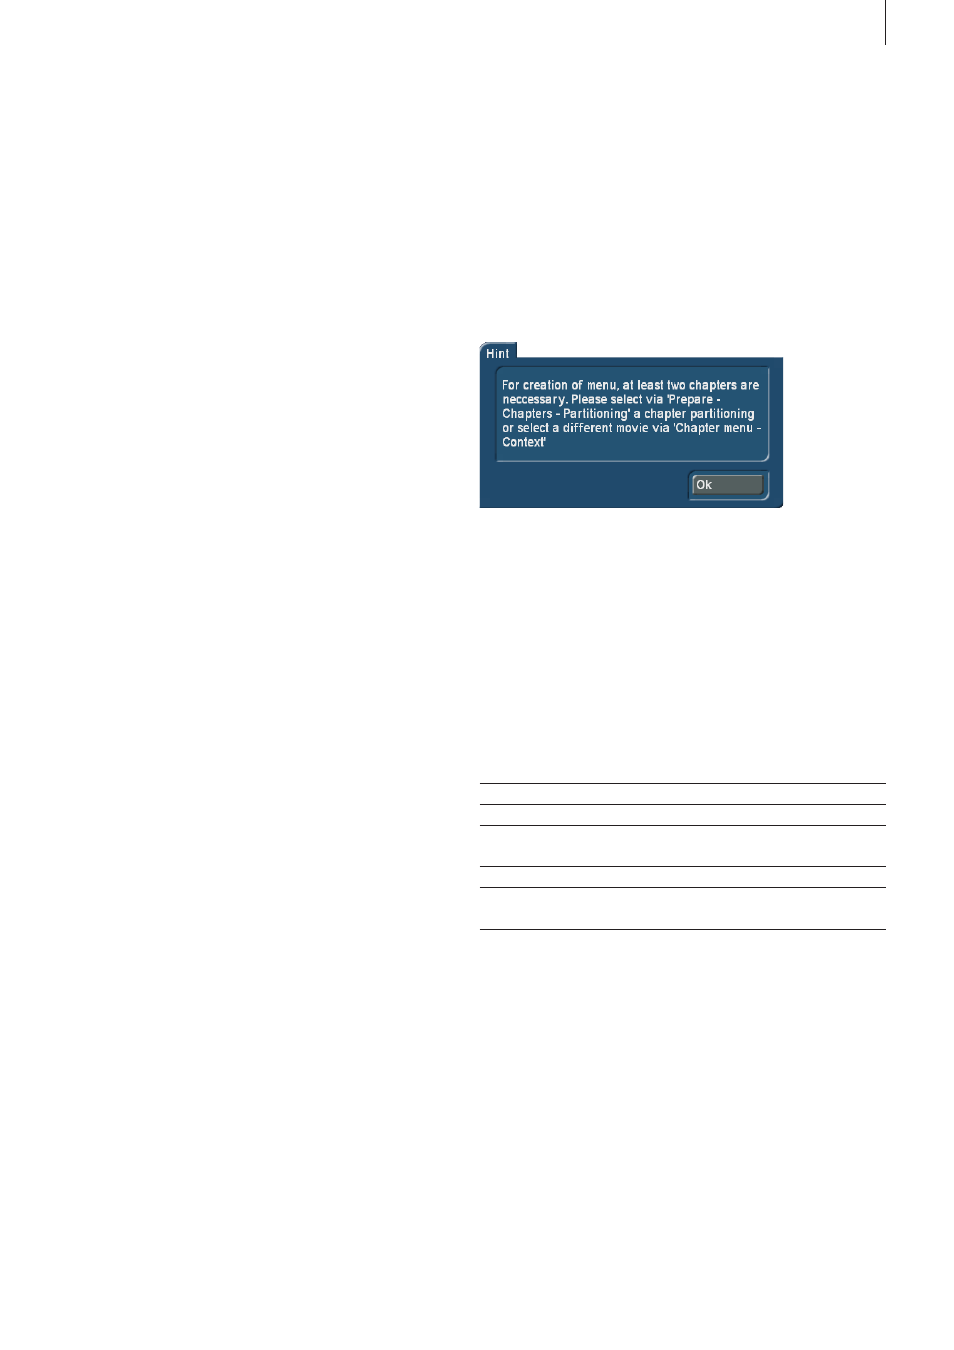
Creating chapter menus is only possible with the Gold Edition .
In order to create a chapter menu, chapters must first be
created under Prepare – Chapter . If this has not happened yet
when the ‘Chapter menu’ menu is called up, you will receive
the following message:
2.4.2.1 Designing menus with the design window
With Arabesk 6, you have now, for the first time, the ability to
select individual elements in the design window for the main
menu or the chapter menus and switch to the corresponding
options of the toolbar . When designing, this saves some man-
ual switching work .
Click the elements with the left trackball button to switch to
the corresponding option . The following table shows for which
options this is possible and how they can be selected:
Menu item
Click on...
Background
A free area, with no button or text nearby
Text
The desired text
Buttons
The desired button (more or less in the
middle)
Button text
The text of the desired button
Button borders
The border (or where it is supposed to
be) of the desired button
Button shadow
The shadow of the desired button
The currently selected button or text is highlighted with a
dotted border .
More information about the different options can be found in
the ‘Designing menus with the toolbar’ chapter . All options are
comprehensively explained here .
In addition, you can also use the design window to change the
size of a button by going with the mouse pointer to the bot-
tom right corner of the currently selected button . The mouse
pointer will then change to a double arrow and you can now
click and roll the track ball to change the size of the button .
Tip: When you change the size manually, starting with a default
size (small, medium, big), it will be changed uniformly, i.e. the