MacroSystem Arabesk Ver.6 User Manual
Page 22
22
When you have made the settings you want, you should con-
firm them with the Close button . It can be found at the bottom
right of the dialog window .
Audio can be selected with all data rates for Video DVD . In
this case, you will be able to select between ‘uncompressed’
and MP2, even with the individual data rate . Uncompressed
delivers a better sound quality than MP2, but it needs about
eight times more space on the disc . Therefore, as long as there
is enough space free, you should prefer ‘uncompressed’ .
If you are using the RenderBooster to create a Video DVD, the
uncompressed option for the sound is not available .
For Blu-ray, the sound quality will be ‘Dolby Digital
®
’ for all
data rates .
In the bottom part of the dialog window, the capacity meter
for the currently selected storage medium will be displayed as
a bar and as a percentage and will change according to the
settings . You will, of course, also be able to use the ‘Select
reference media’ button to change your reference medium at
any time .
Tip: Changes in the data rate also affect the disc capacity
needed. The higher the data rate, the more space a disc proj-
ect needs on a disc. This may also help to reduce the data rate,
in case your disc project does not fit on the desired medium.
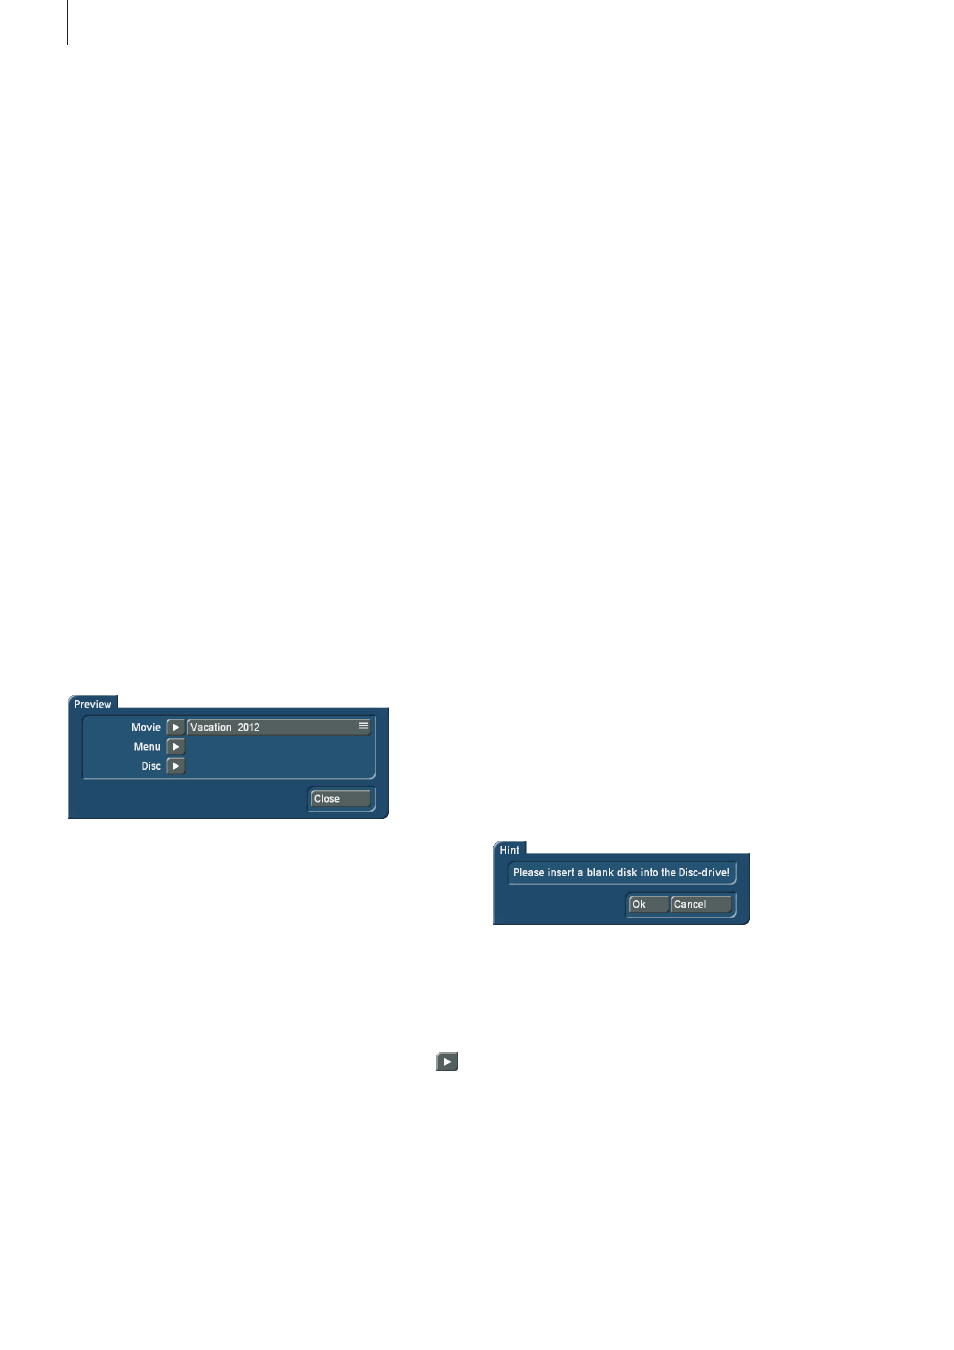
2.5.2 Preview
The Preview menu gives you the possibility to view the cur-
rent disc project before burning your disc . Everything will be
displayed the way it will be burned on the disc later on . This
allows you to not only evaluate the menus, but also the image
quality of the movies and to test several settings before burn-
ing the disc .
If the target format is a Video DVD, you will be able to preview
not only the movies, but also the main menu and the chapter
menu . For Blu-ray, only movies can be previewed .
To do this, the Preview dialog window will always have a
button next to the option . When you click on one of these
buttons, the main and chapter menus and the movies will
automatically be calculated, insofar as this is necessary for the
selected preview version .
The time necessary for longer calculations will be indicated
by means of a progress bar . After the calculation, the device
switches automatically to the Media Manager and plays the
desired part . From there, one or two clicks on the right track-
ball button will return you to Arabesk .
The Movie option has a selection button with which you can
select the movie you would like to play, in case there are sev-
eral movies included in the current disc project . If there is only
a single movie in the disc menu, the selection button will not
be active . With this version, only this one movie is calculated
and played, no menu .
With Menu, all necessary menus are created and you can then
check them in the preview . Movies cannot be played in this
version, but this also saves the oftentimes lengthy calculation
times for the movies .
With the Disc option, the complete disc, including all menus
and all movies, is prepared . After this, the entire disc can be
checked . The calculation time for longer movies will also be
correspondingly high .
Should you wish to burn a Blu-ray, you only have the ability
to view the movies in the current disc project . When several
movies are added to the disc project, you will also have the
ability to use a selection button to select the movie you want .
If there is only a single movie in the disc project, the selection
button will be inactive .
Tip: The switch from Arabesk to the Media Manager, to show
the preview, may take a moment. It is possible that your screen
will not display anything during that time.
2.5.3 Burn disc
Use this button to, as the name says, burn your disc project to
a disc .
If you have not yet inserted a storage medium, a dialog field
will ask you to insert a blank disc in the drive, after you click on
the ‘Burn disc’ button . The drive tray of your device will open
at the same time .
If you have inserted a disc now, you should confirm the mes-
sage with OK (should the message not disappear after the first
confirmation with the button, you should repeat it after a few
seconds .
In case movies or main/chapter menus must still be calculated,
these are now performed automatically . The current state of
the calculations will be indicated by means of a dialog window
with a progress bar .
The device will then start burning the disc . Also here, to inform
you about the current status, there is a dialog window with a
progress bar as well as a time indicator .
If your disc project is too big (required disc capacity >= 100%)
for the selected target storage medium, you will get the follow-
ing message: