MacroSystem DVD-Arabesk 3 User Manual
Page 21
20
21
corresponding film project.
You will now notice that the Select Scene button
is now active. It lets you call up the menu from
which you select the desired project, so that the
scene bin appears, from which you can select a
scene that replaces the default start image.
Click on the Size button and specify the option
medium and click on the Position button and set
the position of the icon.
After you have made these settings for the
first image, you can do the same for the other
images. You might wish to vary some of the
settings, e.g. set another size.
Now enter the menu Film Texts in which you
also activate a stamp icon. After clicking on the
button Text the screen keyboard appears with
which you can rename the marked film. This is
useful when your projects e.g. were named P1
previously, or were titled with an inappropriate
name.(Text entry works according to the same
principle as Title entry or modification.)
Using the button Position you specify the text’s
position in relation to the icon. If you have
entered a multi-line text, the text can appear
only under the stamp icon.
After you have made the settings for the first
stamp, you can do the same for the others.
Now go to the menu Film Text-attributes, in
which you can change the appearance of the
film title with the buttons Select font and Select
Style. The changes you make in this menu are
global, so all the titles of all of the film projects
are affected.
Now go to the menu item Borders in order to
specify the frame type of the films that will be
inactive in the DVD menu, (i.e. have not been
selected to be played).
Set the Size to the value 4 and select a nice
green from Color.
After you have made these settings (that
automatically affect all films) go to the menu
active Borders. Here you can specify the
appearance of the active stamp icon selected
later in the DVD menu.
Use the button Selection Color (that defines the
frame color in its active state) to select a deep
yellow.
Use the button Activation Color to select a nice
blue. This defines the momentary frame color
when the frame is selected. These settings also
apply to all of the stamp icons.
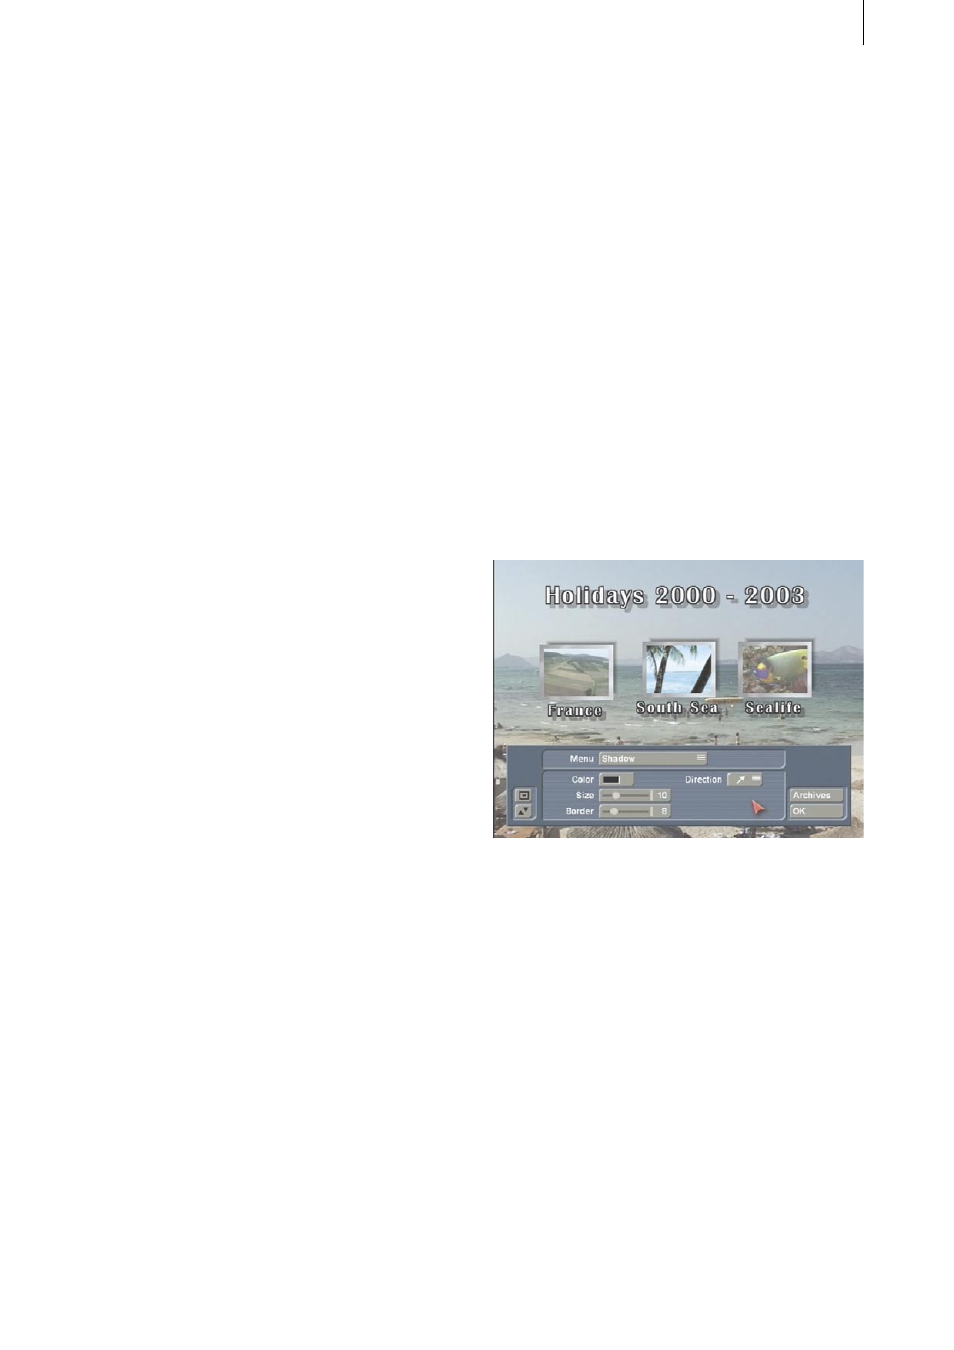
Now you can begin to specify the layout of the
shadows cast by the icons. Make the settings
for a black Color, for Size 10, Border 8 and any
desired Directio, e.g. decreasing below right.
After you have made these setting under the
program item Edit Menu, exit this menu by
clicking on Ok and go to the menu All.
In the All menu, a window opens in which you
can see information on the virtual DVD (on the
hard disk) you have just designated.
Click on the button Create so the virtual DVD
is calculated. The duration of the calculation
depends on the background layout. After the
calculation is finished, click on the Play button to
begin playback of your DVD.
In this example, you first see your leader
because you have set the option Trailer only
under the menu item Control. When the trailer
ends, your DVD menu is displayed.