MacroSystem DVD-Arabesk 3 User Manual
Page 25
24
25
5.1 Animated DVD title text
In this example you will learn to create an
animated heading for the DVD menu without
having to use a supplementary program.
Create a fixed image or a moving scene with a
nice motif from your video material representing
the contents of the films on the DVD. This scene
should be 15 seconds long.
Alternatively, you can use a 15-second pattern
scene from the image pool.
Insert this scene into the storyboard and go to
the menu Titling.
Select Horizontal Scroller, insert this effect into
the storyboard and set the effect length to 15
seconds (function complete scene).
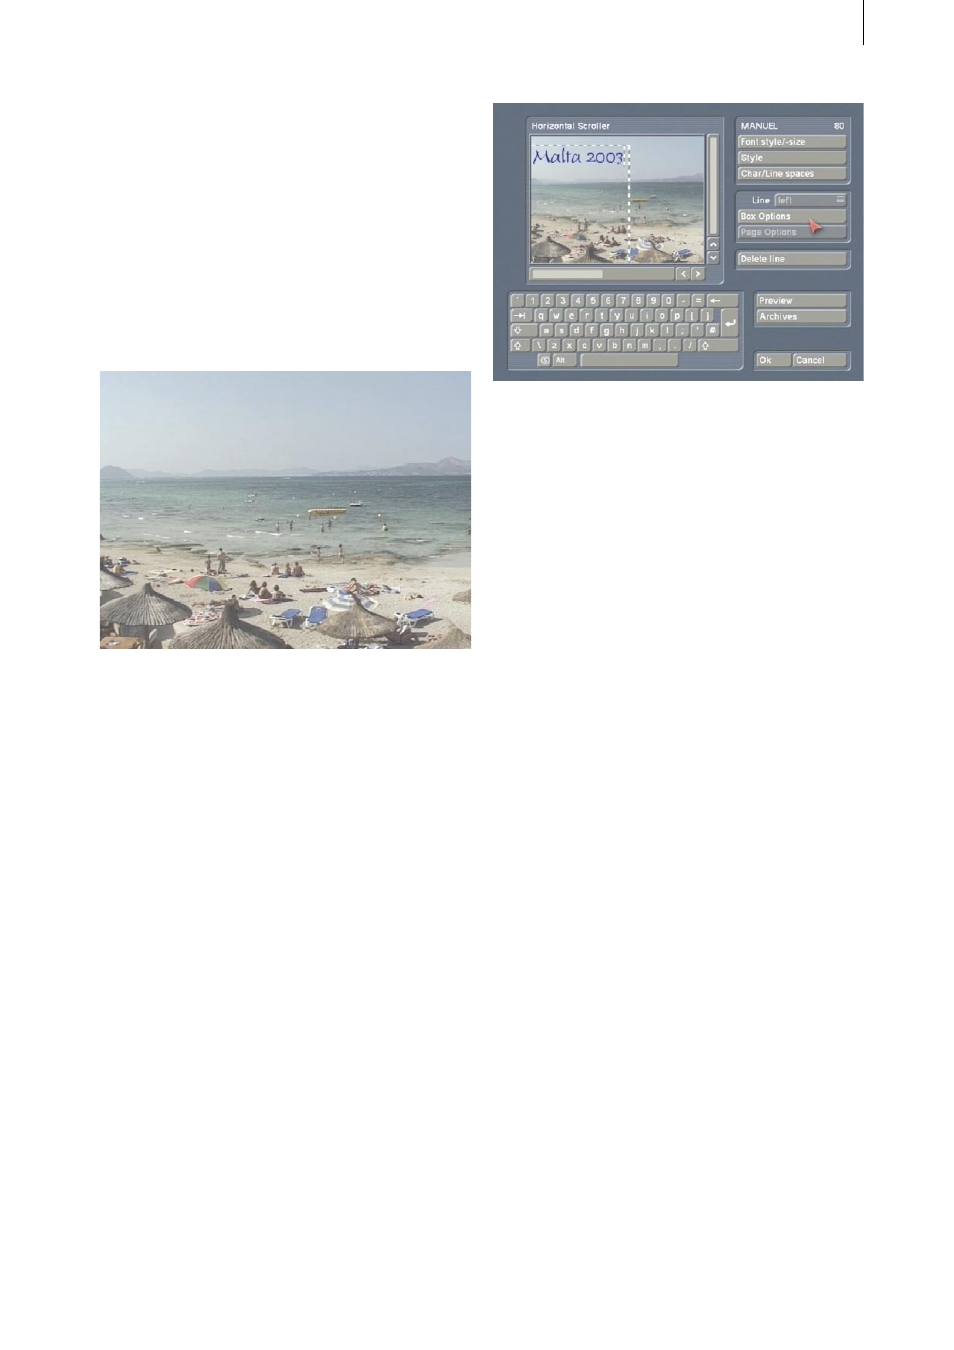
Then click on Enter/edit text to enter the text-
entry menu and delete the existing text panel.
For your DVD menu enter a heading
representing the films on the DVD, e.g. “Trip to
Malta 2003” and specify the font (e.g. Manuel)
and the font size (80 in our example).
Position the new text panel to an appropriate
position with the help of the function Move box.
It should neither cover up video material of the
background picture nor be at a spot where the
stamp icons will later be placed.
Calculate the heading and create a scene from it,
so that the scene titled with “horizontal scroller”
is in the active frame of the scene bin.
Start DVD-Arabesk 3 and click on Edit Menu.
Select the menu item Background, and then
select the function Type under Scene and call up
project selection with the button Select. Confirm
the activated project so that the corresponding
scene bin appears, and confirm the selection of
the previously created scene by clicking on Ok.
Then set the function Animated under Type,
because using scrolled text - even if only for a
fixed image - means that an animated scene is
being used!
Select the menu item Title and call up the
keyboard by clicking on the button Text. Delete
the existing text and confirm with Ok.
You do not yet see your new heading because it
is a scrolled text that is at the moment off-screen
to the right.
Insert your projects and create your DVD menu
by e.g. titling the projects or putting frames
around them, as described in Chapter 3.
When you calculate your DVD and play it in the
built-in player, you will see the heading moving
into the picture from the right.