Automatic kiln set up – Skutt KilnMaster Kilns Manufactured between 2000 and 2006 User Manual
Page 10
Automatic kiln set up.
P
LANNING
T
HE
L
OCATION
OF
Y
OUR
N
EW
KM-S
ERIES
K
ILN
.
Location.
For safety and convenience fol-
low these basic rules.
1. Locate your kiln near your present elec-
trical outlet or where a new circuit can
be installed with least cost. Position the
kiln to the left of your electrical outlet so
the cord will have an easy run and will
not place a strain on the plug or outlet.
2. Install it in a well ventilated, sheltered
area such as a carport, garage, utility or
hobby room. It should be convenient to
your clay working area, and out of the
way of other traffic.
3. Allow at least 18” of space between
your kiln and adjacent walls.
4. Keep curtains, aprons, plastic or other
flammable materials away from your
kiln.
5. Never fire your kiln within a four sided
cabinet or closet. The fourth side must
always be open to room air to prevent
the kiln from overheating surrounding
surfaces. It is best to leave at least two
sides open for easy access to controls
and peep holes. Fully automatic kilns
should not be located in a room that
exceeds 105˚F (41˚C) or is less than 32˚ F
(0˚ C) as damage to the electronic com-
ponents may result.
8
6. Always locate the kiln on a non com-
bustible floor such as cement or ceramic
tile.
7. When installing a kiln in a room with a
fire control sprinkler system, please
check the sprinkler head rating to insure
that heat emitted from the kiln will not
activate the sprinkler system.
U
NPACKING AND
C
HECKING
T
HE
K
ILN
Checking your kiln for damage.
Your
kiln has usually traveled a long way by
rail car or truck to get to you. Even though
it was carefully packed at the Skutt facto-
ry, it could have been mishandled in ship-
ping. If you find any problems as you
unpack, do this.
1. Call your freight agent and ask for an
inspection.
2. Save all the packing materials.
3. Contact the dealer where you bought
your kiln.
4. Don’t assemble or fire your kiln until
your damage claim has been inspected.
Fortunately, few Skutt owners will experi-
ence any problems.
For information on setting up Skutt PK
Production Kilns, see Appendix 7 beginning
on page 45.
Unpacking the kiln.
1. The bottom tray of each carton is
attached to a wooden pallet. The kiln
rests on foam packing material which is
on the bottom tray. The bottom portion
of the carton is stapled to the tray. After
removing the staples from the tray, the
carton can lift straight up exposing the
assembled kiln. There is foam packing
material that will fall loose from the kiln
when the carton is lifted. Remove the
plastic sheet and paper shields.
2. Open the lid, remove the plastic cover
and carefully remove the kiln stand and
“goodie bag” from the inside of the kiln.
Close the lid.
3. For larger, heavier kilns you may
choose to remove the lid from the top
section. This will reduce the overall
weight. To do this remove one cotter
pin from the lid rod and slide the lid
rod out of the lid hinge assembly. Also
remove the thumbscrew and lid brace.
Place lid on a clean, flat surface.
4. Remove the black plastic feet from the
“goodie bag” and put them on the
stand legs. Set the stand in the location
you have designated for the kiln. See
the section on locating your kiln if you
are not sure about the safety require-
ments for the kiln site.
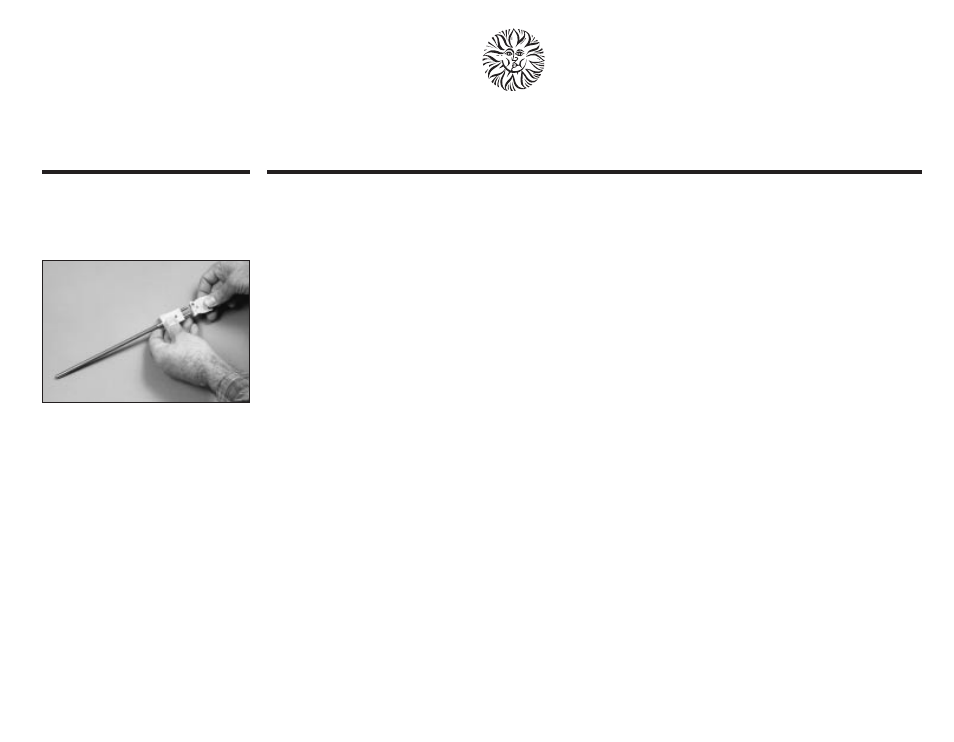
a new MI cable thermocouple into the
receptacle mounted on the cord from
the Wall Mounted Controller.
If a problem persists, call the factory to
make arrangements for return of parts.
When the controller is received we will
evaluate the problem and call you with a
cost estimate.
Send to Skutt Ceramic Products, 6441
S.E. Johnson Creek Blvd., Portland,
Oregon 97206-9594. Our telephone num-
ber is (503) 774-6000, Fax (503) 774-7833.
See page 35 for details on replacing the
thermocouple elements on KM kilns,
which have a slightly different mount.