Smithy Ez-Trol2 User Manual
Page 63
www.smithycnc.com
| 57
3
Left click on the “Settings” tab.
4
The upper right portion of the screen is dedicated to coordinate system offsets.
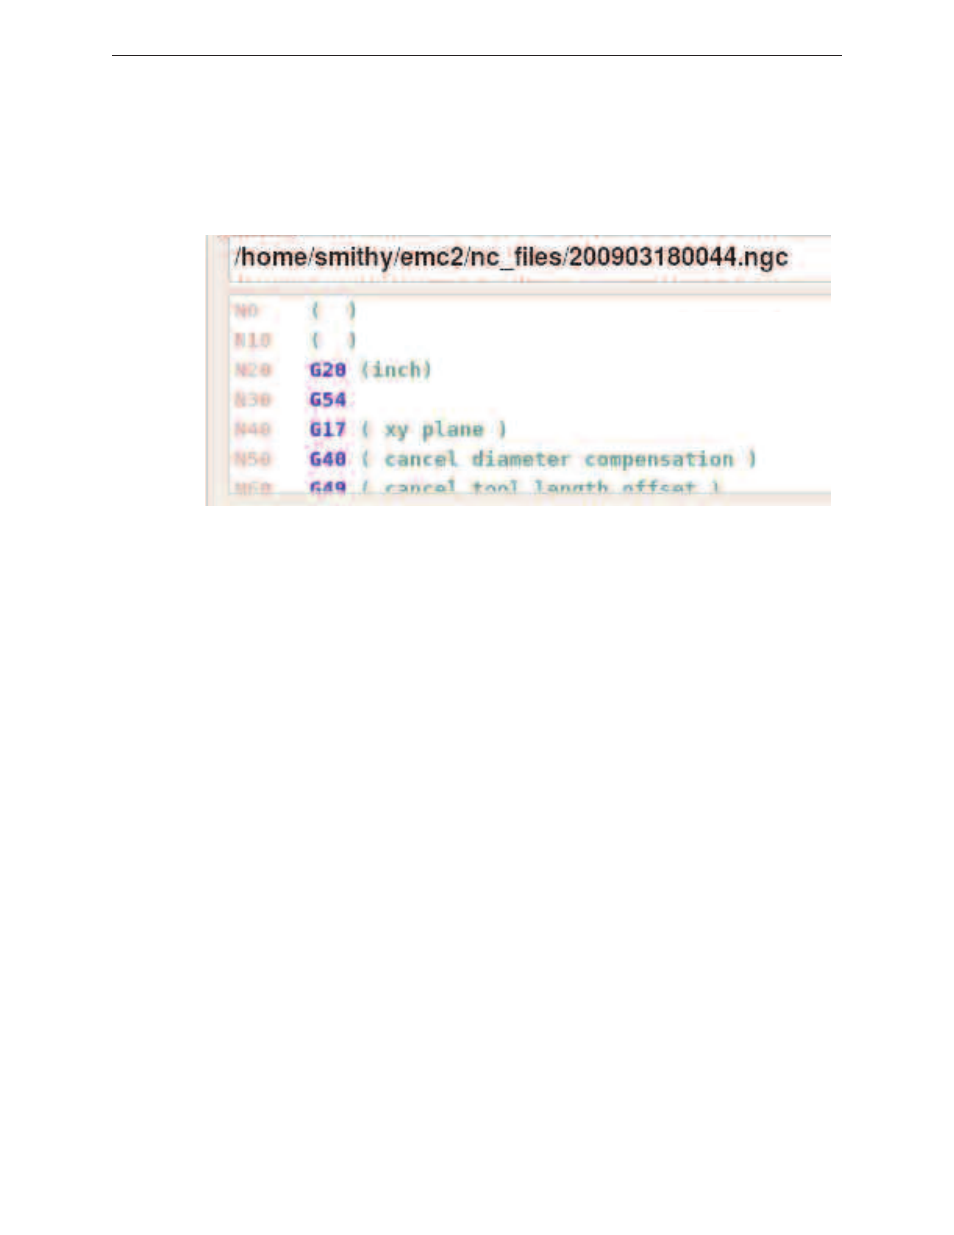
Looking first at the list of coordinate systems (G54, G55, G56, etc.), make sure that the
selected coordinate system matches the coordinate system used in the part program. If
no coordinate system is explicitly specified in the part program the first system (G54)
is used. If the part program uses more than one coordinate system, each will have to be
set individually using this same procedure.
Figure 13.1 Settings Tab Display Area
5
To the right of the list of coordinate systems is a list of the axis names, each of which
has a text entry field to it's immediate right. For each axis that has been positioned at
the part origin, enter the position value that corresponds to the physical position of the
axis. In almost all circumstances the axis position is being set to zero, and that is the
number to enter. Since zero is the most often used part origin, there is an "All Zero"
button below the list of axis names that will set all the axis position text entry fields to
0.000.
6
For each axis that has been positioned at the part origin, click the mouse into the
corresponding field next to the axis, left click the "Teach" button next to each text entry
field. Once the teach field is clicked the positron will change to zero and the text field
will populate with the axis position relative to the home position.
7
Repeat steps 1 through 7 as required until both the X and Y-axis relative positions are
correct.
8
To set the Z-axis offset, left click on the "Manual" tab.
9
If a unit length reference tool from which all the other tools are gaged is to be used,
load this tool now. If there is no reference tool, then it assumed that the Z-axis would
be offset in the active coordinate system such that the bottom surface of the spindle
nose touches the zero height surface (nearly always the top or uppermost surface) of
the work piece at Z0.0.
10
Jog the X and Y-axes until the spindle centerline is directly over the zero surfaces.
11
Jog the Z-axis in a negative direction toward the zero surfaces until a gage block will
just slide between the tip of the reference tool or the spindle nose and the zero
surfaces.