Accessing the hard drive on the duplicator, Creating an iso dvd/cd image file – Vinpower Digital Xerox Standard User Manual
Page 72
Xerox Duplicator
72
Step 3: Restart the duplicator when prompted.
Step 4: Connect the duplicator to your PC using USB 2.0 Cable.
Step 5: Your PC should now have a drive partition ready to access.
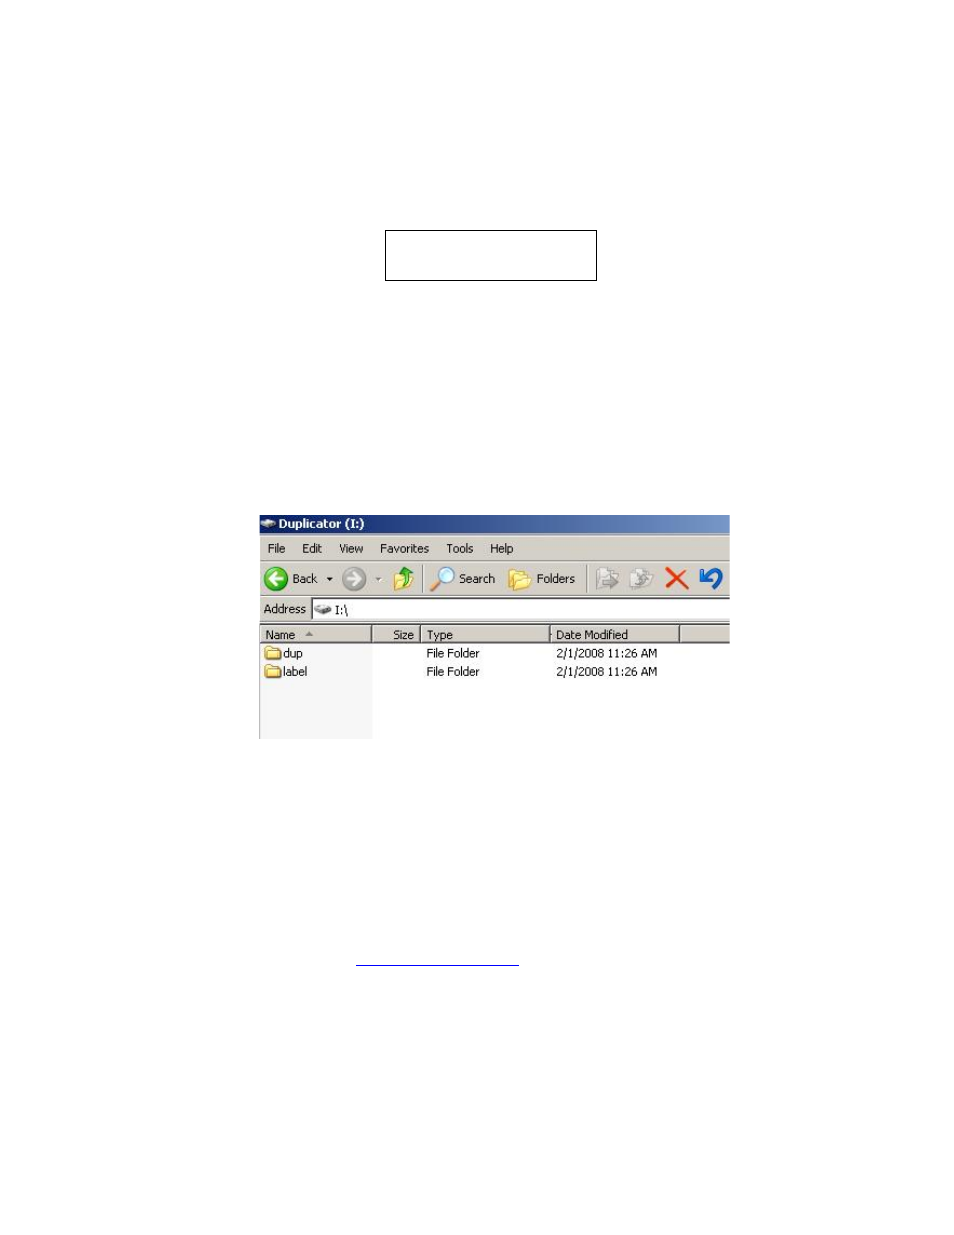
Accessing the Hard Drive on the Duplicator
Step 1: Make sure your PC recognizes the duplicator’s Hard Drive and
that a drive letter was assigned on the PC correlating to the duplicator’s
Hard Drive.
Step 2: Open the “dup” folder located on that drive:
Step 3: You can now do following:
■
Rename or delete any existing pre-loaded ISO DVD/CD Image file(s)
or duplicator’s existing DVD/CD Image file(s).
■
Copy/move an existing ISO DVD/CD Image file or duplicator’s exist-
ing DVD/CD Image file(s) to and from the “dup” folder.
Creating an ISO DVD/CD Image file
http://www.imgburn.com
for more information).
To install the
ImgBurn program:
USB Connection
On