Consolidate project – Grass Valley EDIUS v.5.1 User Manual
Page 68
68
EDIUS — User Reference Guide
Section 1 — Getting Started
Note
Rendered files cannot be copied if the project to be imported has a frame size,
aspect ratio or overscan size that differs from the current project.
Enter the desired folder name to which the files should be copied. This
folder will be created under the current project folder.
3.
Click the
OK
button, to import the project/sequence using the
designated import settings.
Consolidate Project
Project consolidation removes unused clips or portions of clips from the
project folder. Consolidation is also useful in creating a smaller copy of the
project file to, for example, transfer the project to removable media for
archival.
Note
See File Formats Supported In Trimming Operations
Appendix C-Input/Output Formats for more information on file format
support in trimming and consolidation operations.
To consolidate a project, do the following:
1.
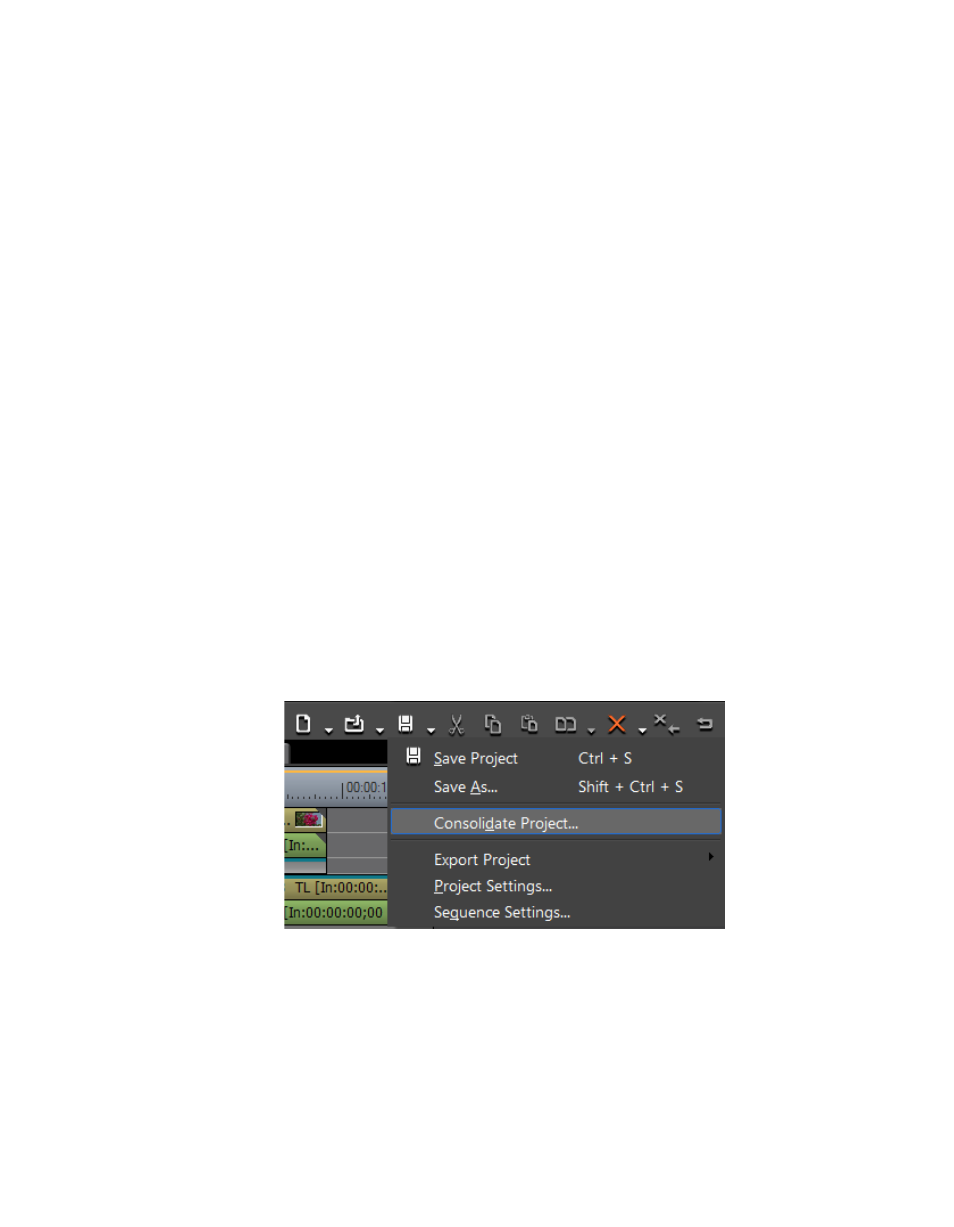
Click the list button [V] of the
Save Project
button and select
“Consolidate Project” from the menu as illustrated in
Note
An alternative method is to select File>Consolidate Project from the preview
window menu bar.
Figure 53. Timeline Save Project Menu - Consolidate Project
Note
If the message “Not enough disk space for consolidating” appears, change
the project saving destination to a drive with more available space.