Export to tape, Output to hdv (generic hdv) device – Grass Valley EDIUS v.5.1 User Manual
Page 702
702
EDIUS — User Reference Guide
Section 8 — Exporting/Project Output
6.
Select the folder location, file name and file type in which to save the
exported image(s)
7.
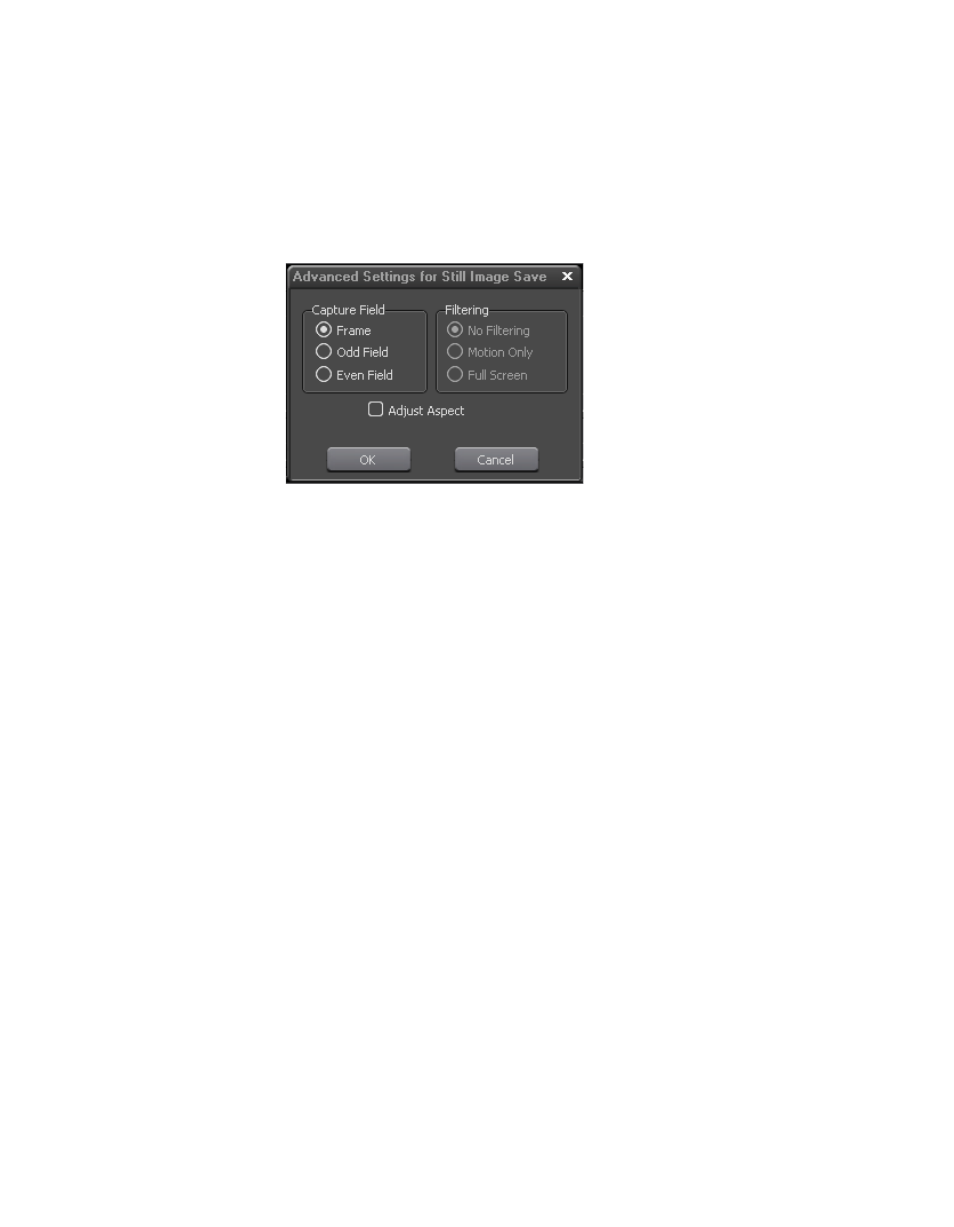
Select advanced still image save parameters, if desired, by clicking the
Advanced
button. The Advanced Settings dialog in
appears.
Figure 854. Advanced Still Image Save Settings
8.
Click the
Save Single Picture
button or the
Save between In/Out in sequential
files
button to save still image(s) to the selected location.
Save Single Picture
Exports the frame at the Timeline cursor position as a still image.
Save Between In/Out in Sequential Files
Exports all frames between In and Out points on the Timeline as still
image files. 8-digit sequential numbers are added to the end of each file
name.
Images are exported as explained above depending on the selected file save
button.
9.
Click the
Close
button to close the Still Image Exporter.
Export to Tape
Projects may be exported to tape on any device than can be connected to
and controlled by the EDIUS computer and many devices through which
control via deck settings is not possible.
Output to HDV (Generic HDV) Device
To output an HDV file (.m2t format) to a tape in an HDV device, do the fol-
lowing:
1.
Connect the HDV device to the IEEE1394 port on the EDIUS computer
with a FireWire/IEEE1394 cable.