Beurer GL 50 evo (mgdl) User Manual
Page 20
20
Beurer GL50 evo mg/dL
5
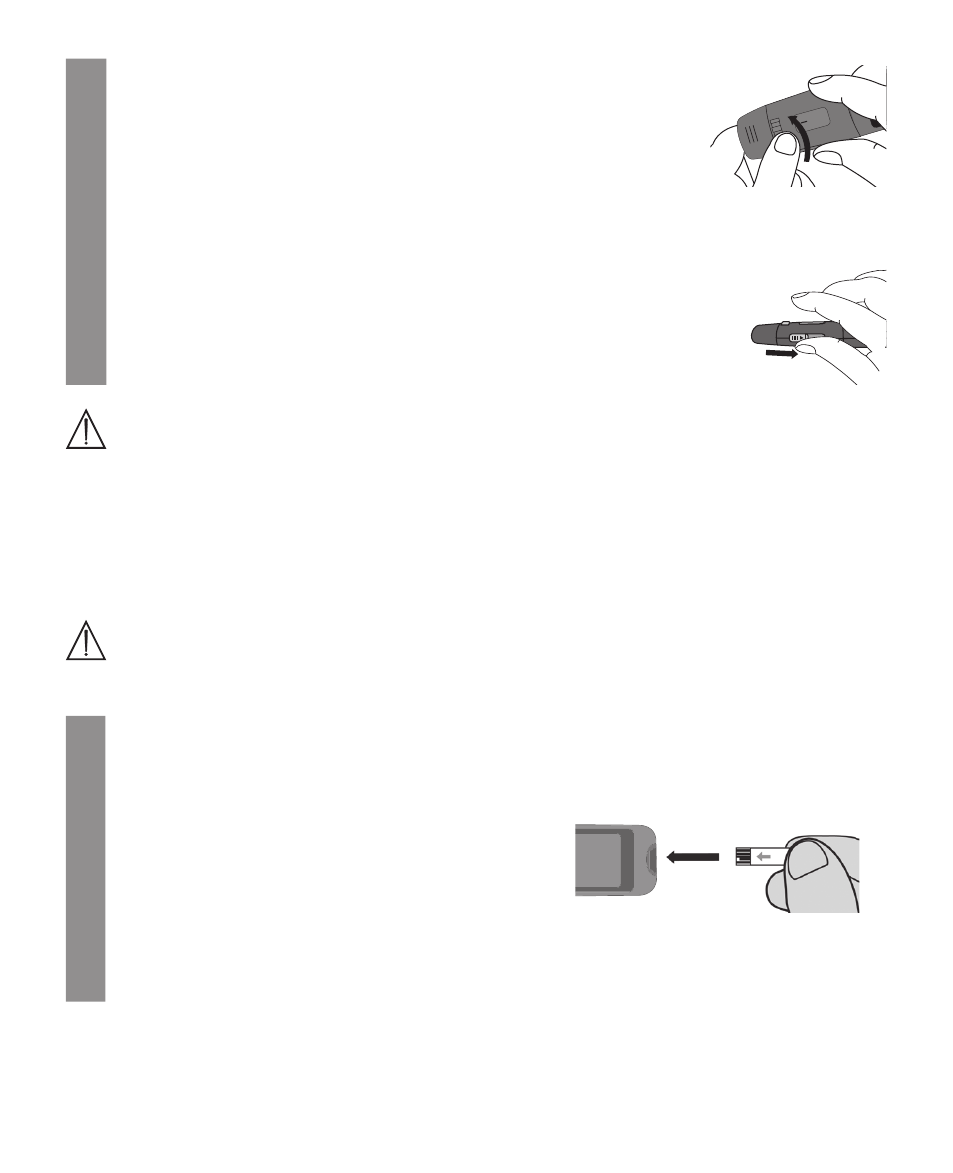
Select the penetration depth
You can set seven diff erent penetration depths on the lancing device
using the dial with raised bars. The length of the bar represents the re-
quired penetration depth.
• 1 to 2: soft or thin skin
• 3 to 5: normal skin
• 6 to 7: thick or callous skin
Turn the dial until the required bar is in the centre of the black marking.
6
Tension the lancing device
Pull the slider in the direction of the arrow (to the right in the image) un-
til it stops and then release. The slider automatically springs back into
position. The lancing device is now tensioned.
5.3 Taking a blood sample and measuring the glucose level
Warning
• Change the puncture area each time you take a measurement, e.g. use a diff erent fi nger or the other
hand. Repeatedly using the same area may cause infl ammation or scarring.
• If the cap is not in place, there is a risk of injury from the exposed lancet.
• Do not squeeze your fi nger to obtain a larger drop of blood. If squeezed, the blood is diluted with
tissue fl uid and this may lead to an incorrect result.
• Please note that insuffi cient blood circulation at the puncture area, e.g. caused by cold temperatures
or illness, can lead to incorrect results.
Important
Do not apply any blood samples or control solutions to the test strip before inserting it in the monitor.
1
Prepare the test strip
Take a test strip from the box/fi lm packaging and immediately close it again. Use the test strip
within three minutes of removal.
2
Insert test strip
Take the monitor in your left hand. Hold the blood glu-
cose monitor so that the display is facing you and the
Beurer logo is on the right-hand side.
Insert the test strip into the slot on the rear end of the
blood glucose monitor with the contacts fi rst. Make
sure that the front of the test strip is facing you. You can
touch any part of the test strip with clean, dry hands.