Chapter 4: additional hardware & operation, Installing ir eye – Smart Avi SmartNet-V User Manual
Page 17
Page 17
MNSNV102005Ver1.0
Chapter 4: Additional Hardware & Operation
Chapter 4: Additional Hardware & Operation
Chapter 4: Additional Hardware & Operation
Chapter 4: Additional Hardware & Operation
Chapter 4: Additional Hardware & Operation
Installing IR EYE
Installing IR EYE
Installing IR EYE
Installing IR EYE
Installing IR EYE
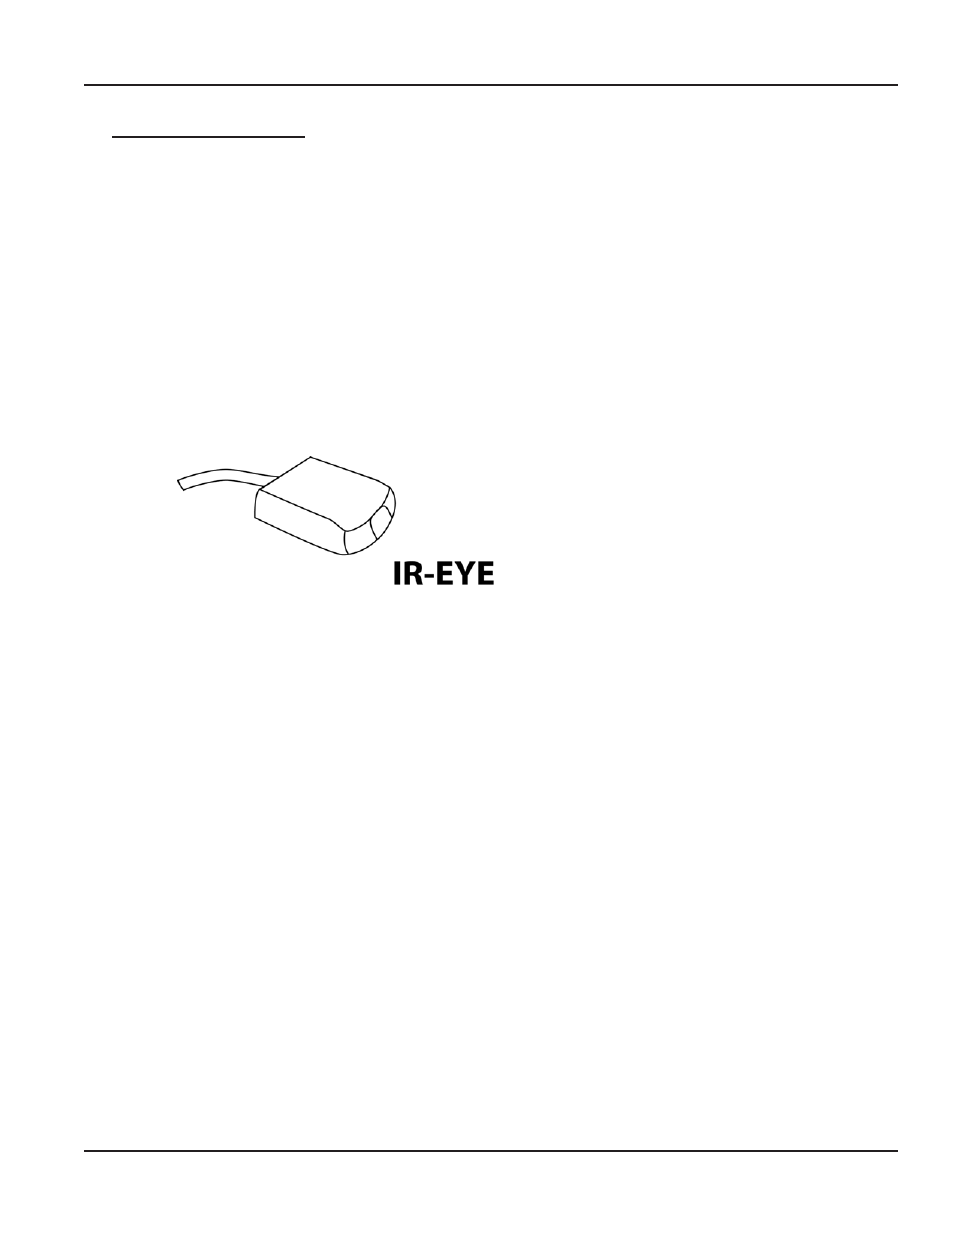
This option is available on the SLI-RX100-E receiver unit. Using the optional IR Eye provides a
transparent link back to the switch. By using a standard IR handset the user can switch the video
connection that is being displayed. He may switch it to any of the 16 available channels.
When the IR EYE is used in conjunction with the IR Blaster, the user can also control any of the
Remote video input units.
If the user switches to a channel that has no video input, he will simply see a blank screen.
To connect the IR Eye to the receiver unit (SLI-RX100):
1.
Connect the small miniplug connection of the IR Eye into the SLI-RX100 receiver unit. Make
sure that it is plugged in securely.
Programming your remote control
1.
Press and hold the SAT button whilst at the same time holding down the OK button.
2.
After approximately 2 Seconds the SAT button will remain illuminated.
3.
Release both buttons.
4.
Enter the three-dig it code 027.
(The SAT button will blink with each button press.)
5.
Press the SA2e button once more.
6.
Your handset is programmed. The SAT button should blink three times. If it does not, a
mistake has been made somewhere in the steps above.
*Batteries not included