Auto track increment, Fades, Monitoring – Teac DV-RA1000 User Manual
Page 26: Coaxial input aes/ebu and analog inputs, Fades monitoring, Figure 4.4: setting fade times, 4 – cd playback & recording
4 – CD playback & recording
26
TASCAM DV-RA1000 Owner’s Manual
Auto track increment
When recording, this allows the automatic division of
the recorded material into separate tracks when the
following conditions occur (this also applies to non-
DSD DVD+RW recording):
Coaxial input
The PQ code (digital signals from
CD, MD and DAT only) is used to determine the
track divisions. In cases where other coaxial digital
audio sources are used, the threshold level deter-
mines track divisions, as explained below.
AES/EBU and analog inputs
The threshold
level (see “Setting the threshold level” on page 25) is
used to divide tracks. A new track is started when the
level rises above the threshold level after having
fallen below that level for the previous four seconds.
TIP
It is also possible to divide a recording into tracks manu-
ally, by pressing the
RECORD
key during recording.
On a CD, two seconds of silence automatically follow
such a track division (no audio data is lost—the input
signal is buffered before being written to the disc).
Note that tracks produced in this way must conform to
the Red Book standard (be more than four seconds
long) and there can be a maximum of 99 tracks on a
disc.
Fades
It is possible to create linear fades in and out when
recording or playing back.
Press the
FADE
key briefly to cycle auto fading on or
off or in rehearsal (the indicator shows the status,
with flashing indicating rehearsal).
In rehearsal mode, no recording actually takes place,
but the effects of the fade can be previewed and the
fade times can be set (in playback mode, there is no
difference between rehearsal and the “real thing”).
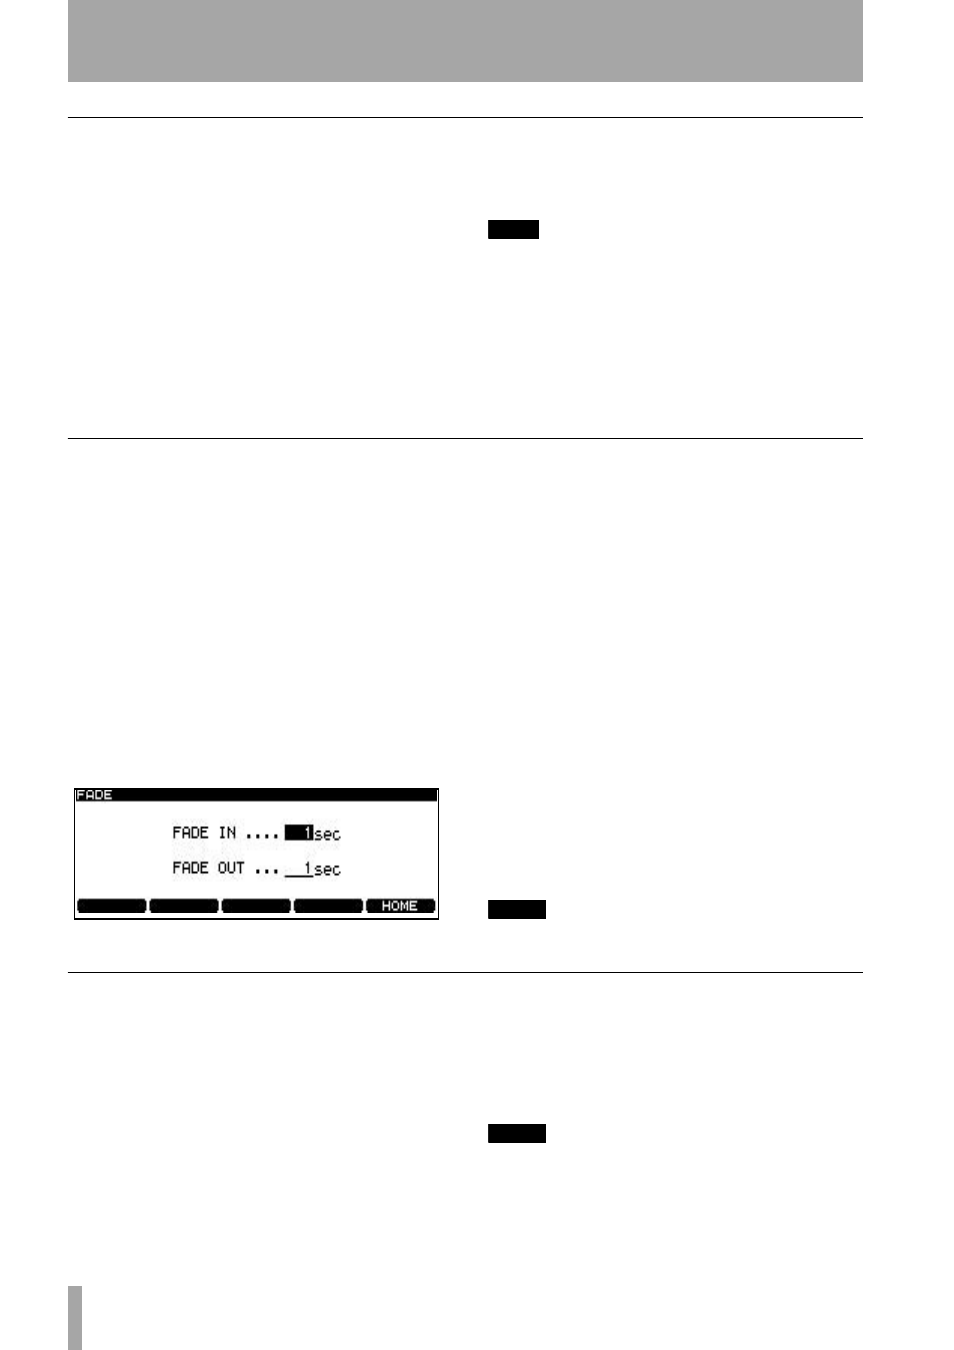
Use the
F1
and
F2
cursor keys and the wheel to set
these values (between 0 seconds and 24 seconds).
Fade times are set independently for fade-in and
fade-out operations.
The fade time setting screen can also be accessed
with a long push of the
FADE
key.
Press
ENTER
to confirm the fade time settings.
•
When recording starts and fade mode is
selected, the
RECORD
key flashes while the
fade in is taking place. It lights steadily when
the fade is complete.
When playback starts and fade mode is
selected, a fade-in starts.
•
When recording stops and fade mode is
selected, the fade continues for the set time,
and then recording stops. If
STOP
is pressed
during the fade out, recording then stops
immediately.
When playback stops (with the
STOP
key) and
fade mode is selected, the fade-out starts. If
the
STOP
key is pressed during the fade, play-
back stops immediately.
NOTE
This feature can also be used with DVD recording.
Monitoring
While not recording, it is possible to switch between
monitoring the input signal (the
MONITOR
indicator
is on) and the playback of the disc.
Use the
MONITOR
key on the main unit or the RC-
RA1000 to switch this function on (as shown by the
indicator lighting).
Note that this function is automatically turned on (i.e.
monitoring the input) when recording.
Also note that the VFP
MONO
function (“MONO” on
page 17) can be used to turn monaural monitoring on
and off (but this does not work in DSD mode).
NOTE
This feature also works with DVD recording.
Figure 4.4: Setting fade times