Adding a new project, Adding notes to a project, Changing the current project – Teac DV-RA1000 User Manual
Page 33: 5 – dvd playback & recording
5 – DVD playback & recording
TASCAM DV-RA1000 Owner’s Manual
33
CAUTION
We do not recommend that recording is carried out
while the background format is carried out, to avoid
the possibility of attempting recording on an unformat-
ted part of the disc.
We strongly recommend that you use discs exclusively
with the DV-RA1000 and do not use discs which have
been used on a computer, or for any other purpose.
Adding a new project
As a disc can contain more than one project, you can
also use the menu system to create a project on a disc
that has already been formatted, and contains a
project.
1
Press
MENU
and use the wheel and
ENTER
to
select the
DVD
menu. From there, select the
PROJECT
sub-menu.
2
Highlight
CREATE
and press
ENTER
.
This brings up the screen allowing you to
enter the name and properties of a project, as
described in the previous section.
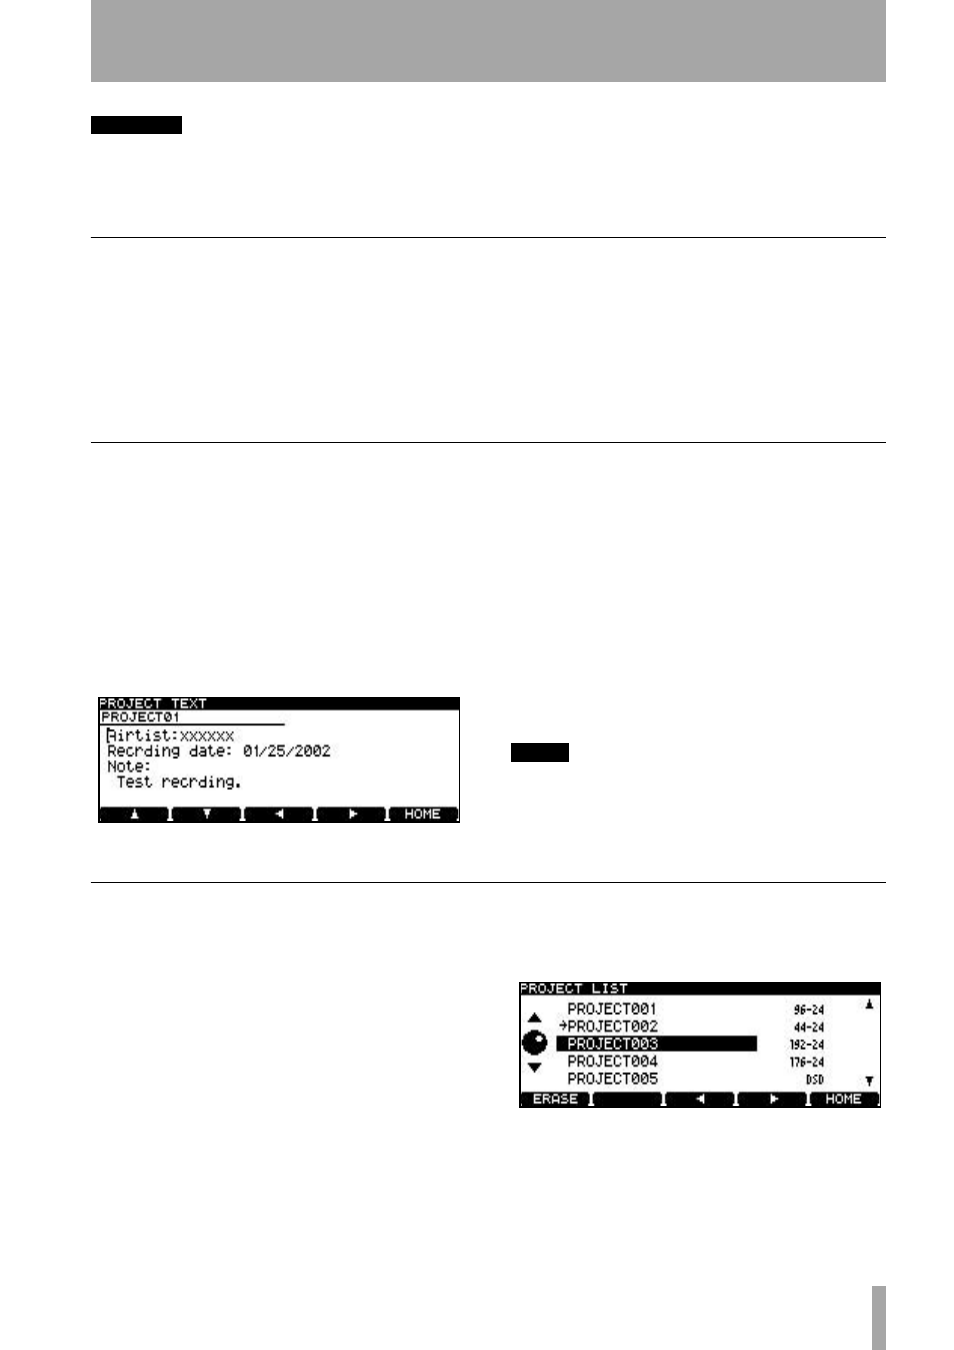
Adding notes to a project
Add notes on artists, recording details, etc. to a
project. Unlike a written disc insert or tape label,
these notes will always stay with the disc! You can
enter up to 1000 characters for session notes, etc.
1
Press
MENU
and use the wheel and
ENTER
to
select the
DVD
menu. From there, select the
PROJECT
sub-menu.
2
Highlight the
PROJECT TEXT
sub-menu and press
ENTER
.
3
Use the soft keys and wheel (or an attached
PS/2 keyboard) to enter the text (“The DV-
RA1000 has two types of “home screen”,
depending on whether a CD or DVD disc is
being used.” on page 14). You can add more
lines to the notes than you can see on screen
and scroll up and down to view them.
4
Press and hold
ENTER
for a second or so, to
store the project text (brief presses of
ENTER
add a carriage return). Press and hold
CANCEL
to exit without saving (brief presses
of
CANCEL
act as a delete key).
NOTE
Remember that this text will not be stored on disc until
you write the UDFMI (see “Important note on the file
system” on page 31).
Changing the current project
1
Press
MENU
and use the wheel and
ENTER
to
select the
DVD
menu. From there, select the
PROJECT
sub-menu.
2
Highlight the
OPEN
sub-menu to show a list of
the names of all projects on the disc, together
with their sampling frequencies.
The current project is shown with an arrow
beside the name.
3
Use the wheel to move the cursor to the
project to be loaded, and press
ENTER
. The
selected project is then loaded (the sampling
frequency is automatically changed).
Figure 5.3: Adding notes to a project
Figure 5.4: Loading a project