Part 1: basic setup – Teac HS-P82 Quick Start Guide User Manual
Page 2
Page 2 of 38
Part 1: Basic Setup
This section is an introduction to the basic operation of the TASCAM HS-P82 recorder itself. These steps
will guide you through the initial setup of the machine and explain the primary touchscreens and
controls that you will need for film/video applications.
One of the nice features of the TASCAM is the redundancy of control settings. As you explore the layout
of the touchscreen software, you will find that many of the same settings are accessible from multiple
screens. In the field, this advantage can really streamline your workflow.
Powering Up
The TASCAM can be powered from internal batteries, AC adapter, or external 12vDC via industry
standard XLR 4-pin connector.
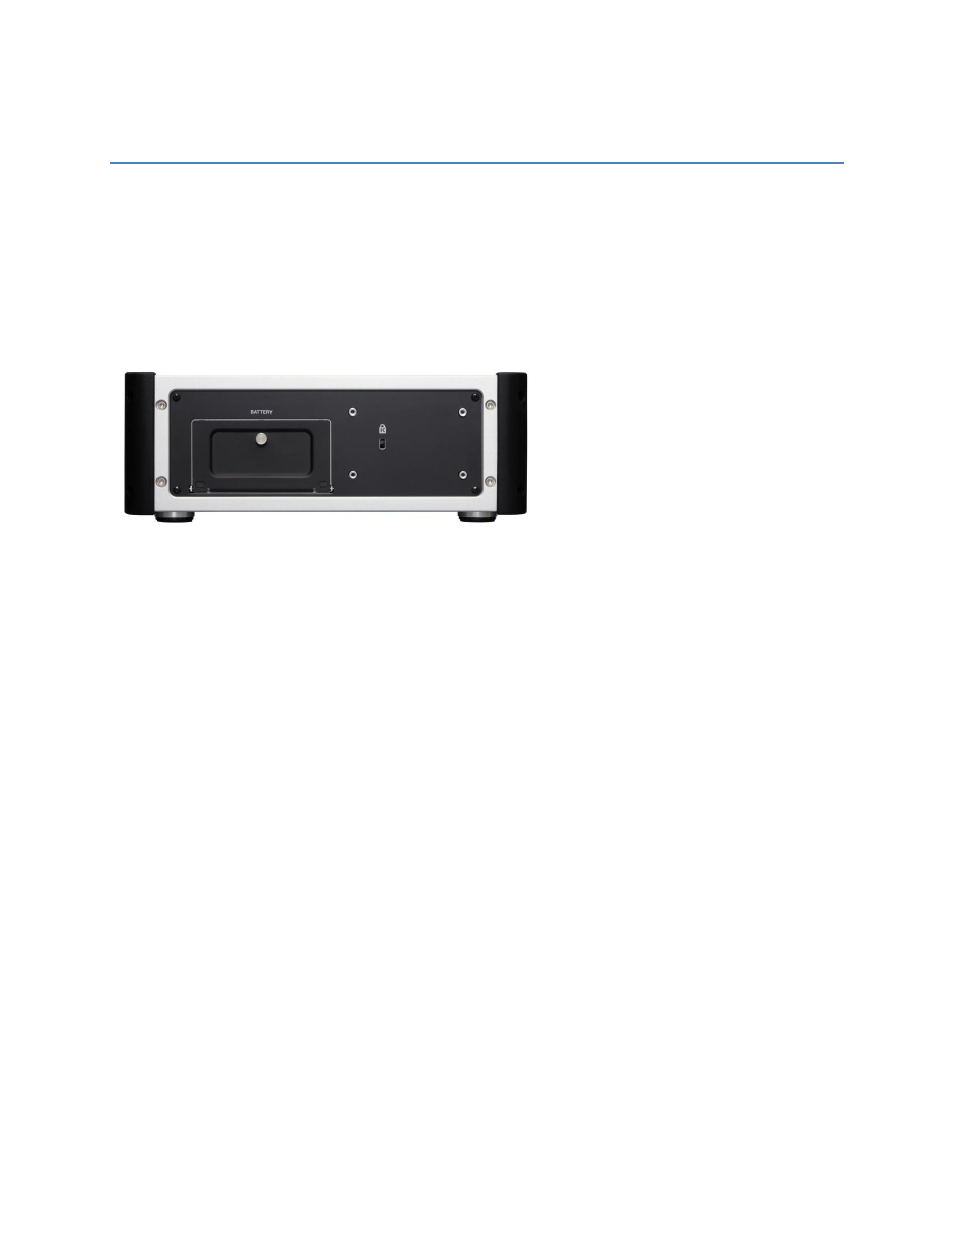
The unit comes with an NP style Battery pack that takes 10 AA alkalines. Even if you are planning to use
AC or external power, it is a good idea to load up the battery pack and install it; it will serve as a power
backup should your external power be interrupted.
If you have access to them, you could also use standard NP style, rechargeable video batteries.
Factory supplied AC adapter outputs 12vDC via its donut connector.
Owners (not renters) of this TASCAM are encouraged to have a technician replace the OEM
donut connector with an XLR 4-pin, as the XLR 4-pin is a more secure connection.
External 12v DC or battery pack equipped with standard XLR 4-pin. Note that the industry standard for
the XLR 4-pin is pin 1=positive, and pin 4=negative. Pins 2 and 3 are not used.