Using cascaded units, 7 – recording/playback with cascade connections – Teac DA-3000 User Manual
Page 45
TASCAM DA-3000
45
7 – Recording/playback with cascade connections
Using cascaded units
When operating cascaded units, the following general rules
apply to recording and playback.
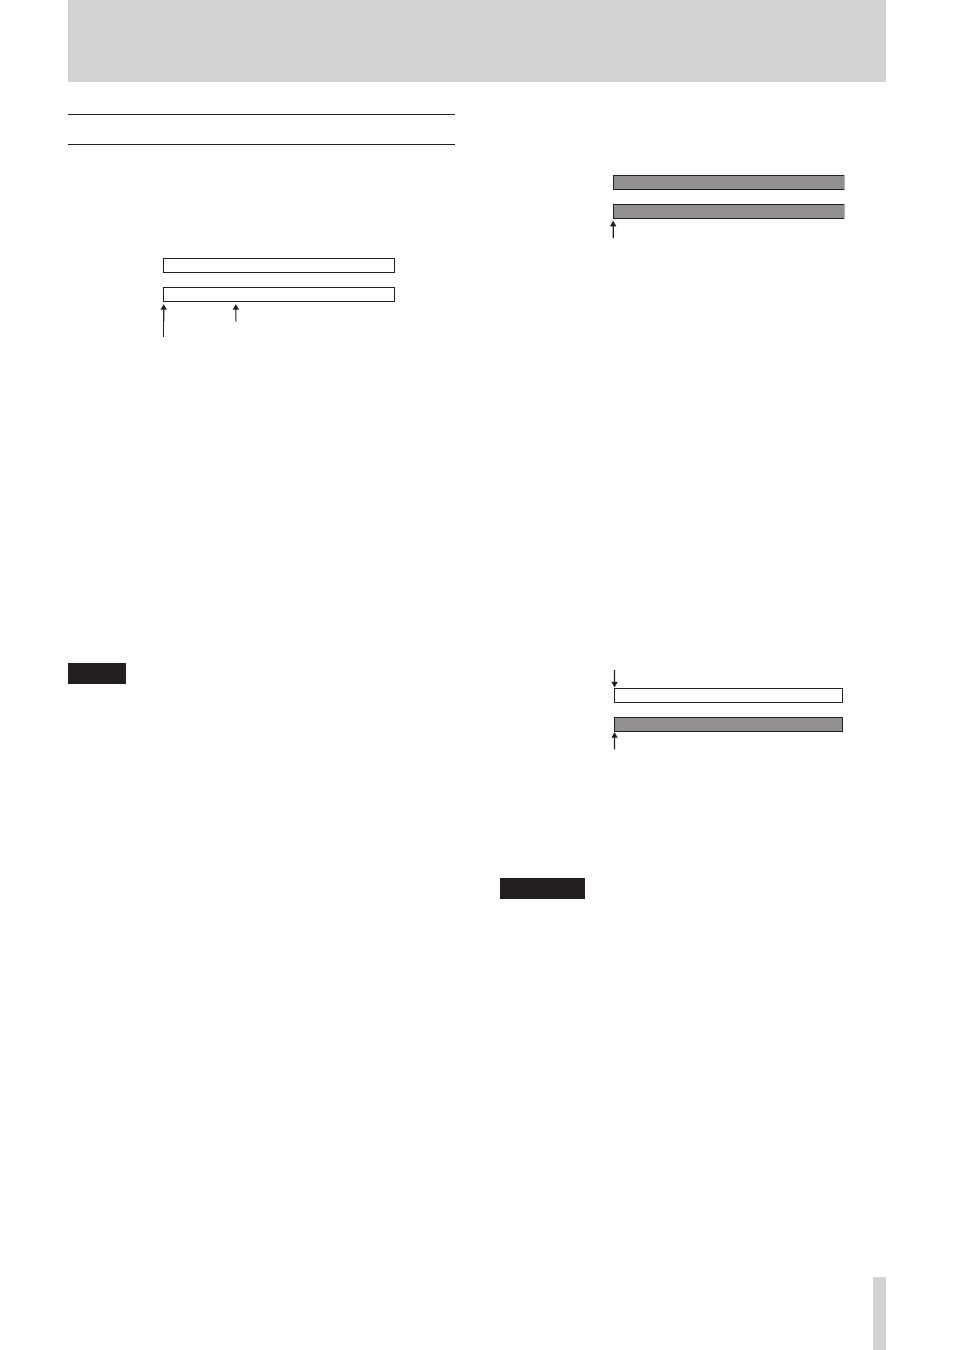
Playing back both master and slave units
Synchronized playback from both the beginnings and the
middles of tracks is possible.
Master unit
Slave unit
Synchronized playback from beginning
Synchronized playback from middle
Operation:
o
Press the master unit PLAY button to start playback of both
master and slave units and its STOP button to stop synchro-
nized playback.
o
During synchronized playback, press the master unit PAUSE
button to pause playback.
o
Use the master unit m[.]/,[/] buttons to skip
tracks, and press and hold the m[.]/,[/] buttons
to search backward/forward. (See “Skipping to the previous
or next track” on page 39.) (See “Searching backward and
o
Press the master unit MULTI JOG dial to add marks to the
master and slave units. (See “Adding marks during playback”
o
Turn the MULTI JOG dial to move to marks set on the master
unit. (See “Locating to marks” on page 40.)
NOTE
• When searching backward/forward, differences in operation
speed might occur between the master and slave units.
• Moving to marks set on a slave unit is not possible.
Recording to both master and slave units
Synchronized recording from the beginnings of tracks is
possible.
Synchronized recording starts
Master unit
Slave unit
Operation:
o Press the master unit RECORD [TRK INC] button to put both
the master and slave units into recording standby. Then,
press the master unit PLAY button to start recording. Press
the STOP button to stop synchronized recording.
o During synchronized recording, press the master unit PAUSE
button to pause recording.
o During synchronized recording, press the master unit
RECORD [TRK INC] button to increment the track number
(create a new track and continue recording).
o During synchronized recording, if the master unit auto track
function is set to SIZE, tracks will be incremented automati-
cally. (See “Creating a higher numbered track manually” on
o Press the master unit MULTI JOG dial to add marks to
both the master and slave units. (See “Adding marks when
Playing back with the master unit and recording with
a slave unit
Playing a track on the master unit from its beginning and simul-
taneous recording on a slave unit is possible.
Master unit
Slave unit
Synchronized playback
Synchronized recording
Operation:
Press the slave unit RECORD [TRK INC] button to put it in
recording standby. Then press the master unit PLAY button
to start master unit playback and synchronized slave unit
recording.
CAUTION
During the above synchronized operation, a recording slave
unit will not synchronize with the following operations
i
Pressing a m[.]/,[/] button to skip tracks
i
Pressing and holding a m[.]/,[/] button to
search backward/forward
i
Turning the MULTI JOG dial to move to a mark