ARM Electronics RDVR16A User Manual
Page 55
51
1)
Preset:
Press this button to set the preset points of the PTZ.
Use the “
“ “
“ to move the cursor.
Use the “ENTER” button to enter the submenu, and confirm the selection.
Use the “MENU” button to enter the menu mode, confirm the change and exit
the menu mode.
* ADD: add the preset points,
maximum is 16 preset points.
* INS: to insert the camera preset.
* EDIT: to edit the preset points
* DEL: delete the preset points
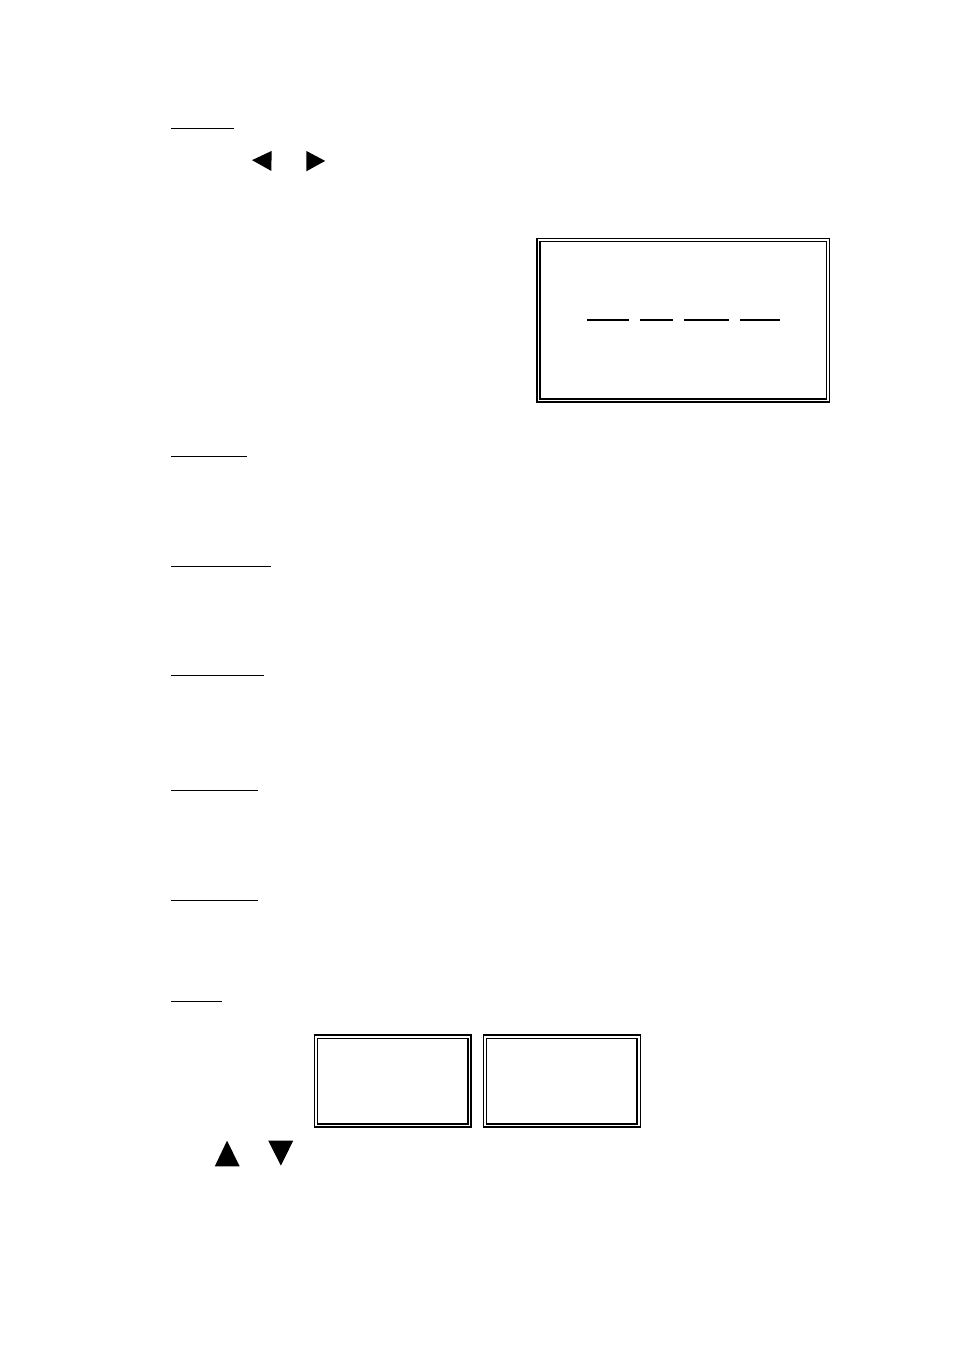
PRESET
ADD INS EDIT DEL
01 : A
02 : B
CAMERA
3)
Zoom max:
Press the “Zoom max” button, then the image of the PTZ will zoom in to a
maximum size.
4)
Zoom min:
Press the “Zoom min” button, then the image of the PTZ will zoom out to a
minimum size.
5)
Zoom + :
Press the “Zoom +” button,
to change the optical zoom in ratio of the PTZ.
6)
Zoom - :
Press the “Zoom -” button,
to change the optical zoom out ratio of the PTZ.
7)
Auto :
Press the “Auto” button, to enter the auto mode.
Use “
” “
” to select between “Auto Pan” mode and “Sequence” mode,
and press “Menu” button to confirm the selection.
* In the “Auto Pan” mode, PTZ will pan automatically.
* In the “Sequence” mode, PTZ will pan according to the preset point settings.
AUTO MODE
AUTO PAN
AUTO MODE
SEQUENCE
2)
Camera:
In the PTZ control mode, press the “CAMERA” button + “ID number of the PTZ”,
and then press “ENTER” to select and control the PTZ camera.