Shaping the image to match the projection screen – Casio YA-S10 Setup Guide User Manual
Page 19
Getting Ready
E-18
7.
Next, perform the procedure under “Shaping the Image to Match the Projection
Screen” (page E-18).
Important!
Important!
Important!
z During the adjustment procedures from this point onwards, do not alter the position of the
projector(s) or the screen, and do not change a projector zoom or focus setting. If any one of
these is altered, return to step 2 of the procedure and perform the other steps again.
This is the final stage of the adjustment process. Here, you make adjustments that shape the projection
images to match the projection screen in order to produce an image that is not distorted looking.
Shaping Types
Shaping of the projection image makes it possible to correct keystoning due to the relationship between
the screen and projectors, and image distortion caused by projection surface unevenness. You can
select one of the shaping methods described below.
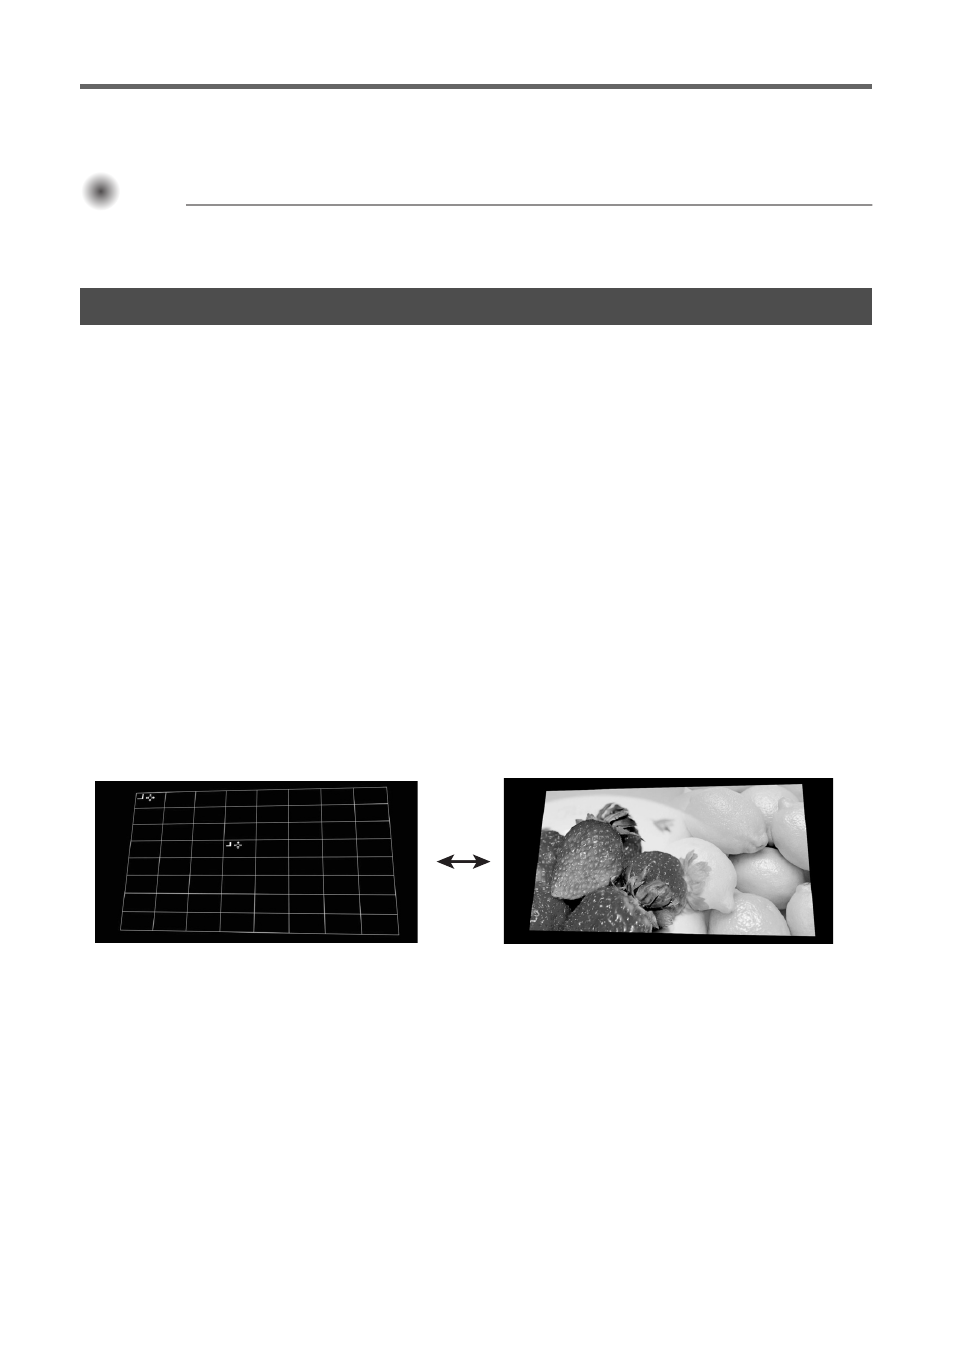
Changing the Projected Image View while Shaping an Image ([IMAGE] Key)
While you are performing image shaping on a projected image, you can use the [IMAGE] key to toggle
the projected image between the grid and the input source image.
Shaping the Image to Match the Projection Screen
Flat
: This shaping type is mainly for correcting for keystoning that occurs when projecting onto
a flat surface.
Cylinder
: This shaping type is best for correcting for distortion that occurs when projecting onto
cylindrical columns and other curved surfaces. There are two options for cylindrical
shaping. Cylinder 1 is for vertical cylindrical shapes, while Cylinder 2 is for horizontal
cylindrical shapes.
Free Style : This shaping type displays a 9 × 9 grid on the projection screen. You can shape the image
by moving the intersects of the grid lines (up to 81 points) up, down, left, or right. Use this
shaping type when projecting onto a surface that has smooth irregularities.
Grid
Input source