Getting ready – Casio YA-S10 Setup Guide User Manual
Page 22
E-21
Getting Ready
4.
Perform other correction operations as required.
z When “Flat” is selected as the shaping type, you can also perform “Side Correction (Arch)”, “Side
Correction (Parallel Shift)”, and “Center Point Correction”. For details, see “Performing Detailed
Correction” (page E-27).
5.
If required, adjust the aspect ratio of the projected image.
z For details, see “Adjusting the Aspect Ratio of the Projected Image” (page E-30).
6.
After image shaping work is complete, display the “Image Shaping” menu and then
press the [ESC] key.
z This will display the “Image shaping will be ended.” dialog box, which contains the two options
described below.
7.
After selecting the option you want, press [ENTER].
z This exits the dialog box and causes the image from the input source to be projected.
(9)
After Projector B image alignment is the way you want, press the [A⇔B] key.
z This will cause the light blue Projector B image shaping cursors to disappear and be
replaced by yellow Projector A image shaping cursors.
(10) Repeat steps (2) through (9) (toggling the movement speed between slow and fast with the
[CORRECT] key) as many times as required to fine tune the adjustment.
Adjust the Projector A and Projector B images until they satisfy the conditions below.
z The four corners of the two grids align as precisely as possible with the four corners of the
target screen.
z The single thick yellow positioning mark line centered between the two thin blue positioning
mark lines.
(11) To exit Corner Correction, press the [ESC] key.
z This will display the “Image Shaping” menu.
Display both menus stacked.:
Select this option after you have been able to correctly align the Projector A and Projector B
images. With this setting, pressing the [MENU] key will display both the Projector A and Projector
B menus.
Display one menu only.:
Select this option if Projector A and Projector B image alignment is incomplete (which makes
stacked menus difficult to read) and you want to re-adjust them later. With this setting, only the
Projector A menu is displayed.
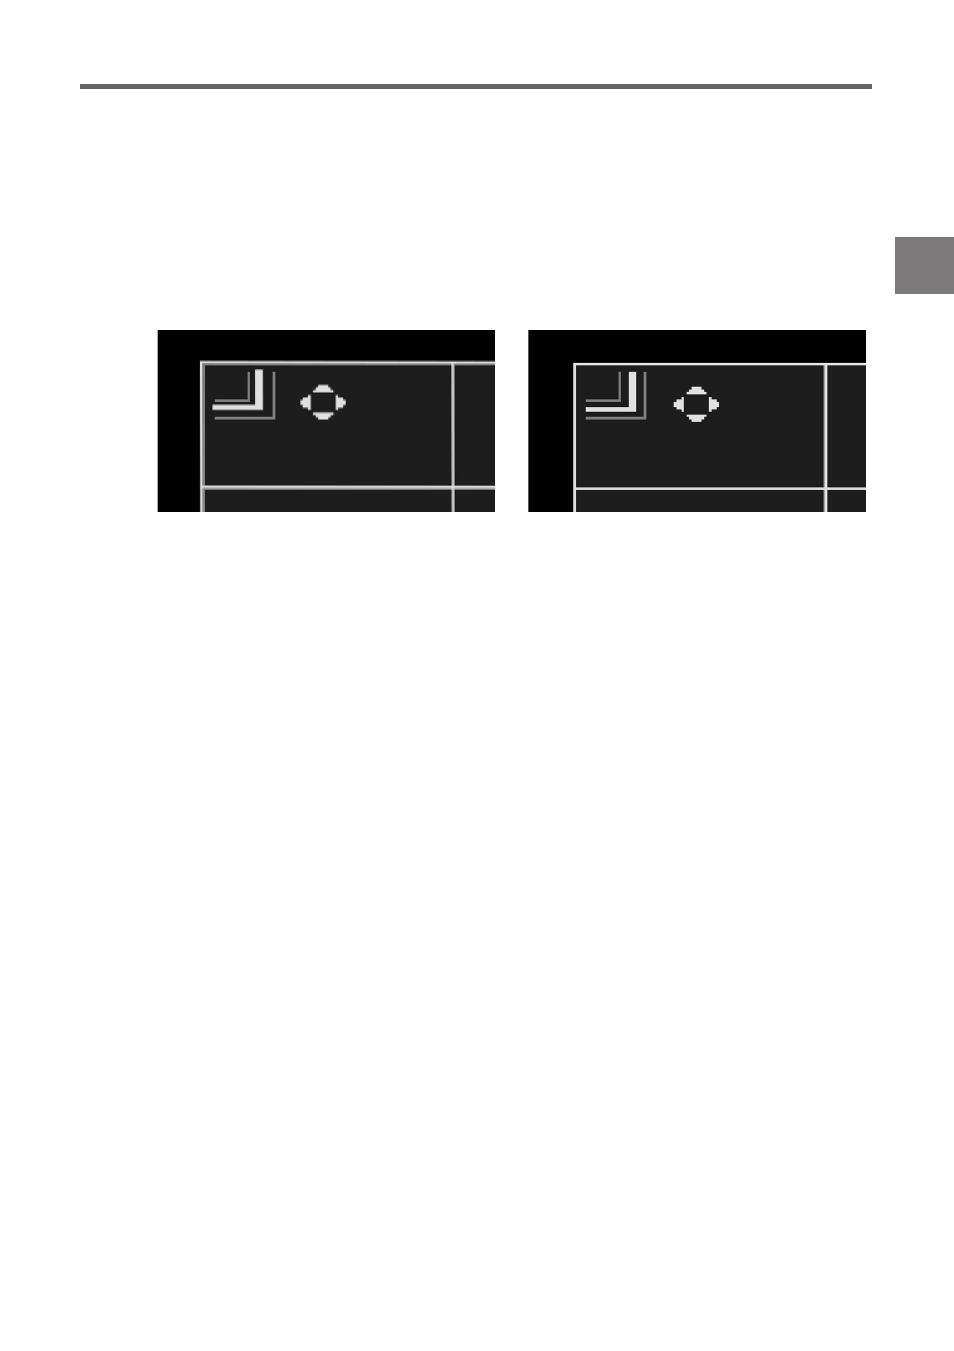
Improper positioning
Proper positioning