Performing detailed correction, Using shaping functions – Casio YA-S10 Setup Guide User Manual
Page 28
E-27
Using Shaping Functions
This section provides details about the various types of corrections that can be applied with the “Image
Shaping” menu. Starting a correction operation causes a grid to appear on the projected image. The
operations in the table below can be performed while a grid is displayed.
* This operation is not available when a single projector is connected to the Control Box.
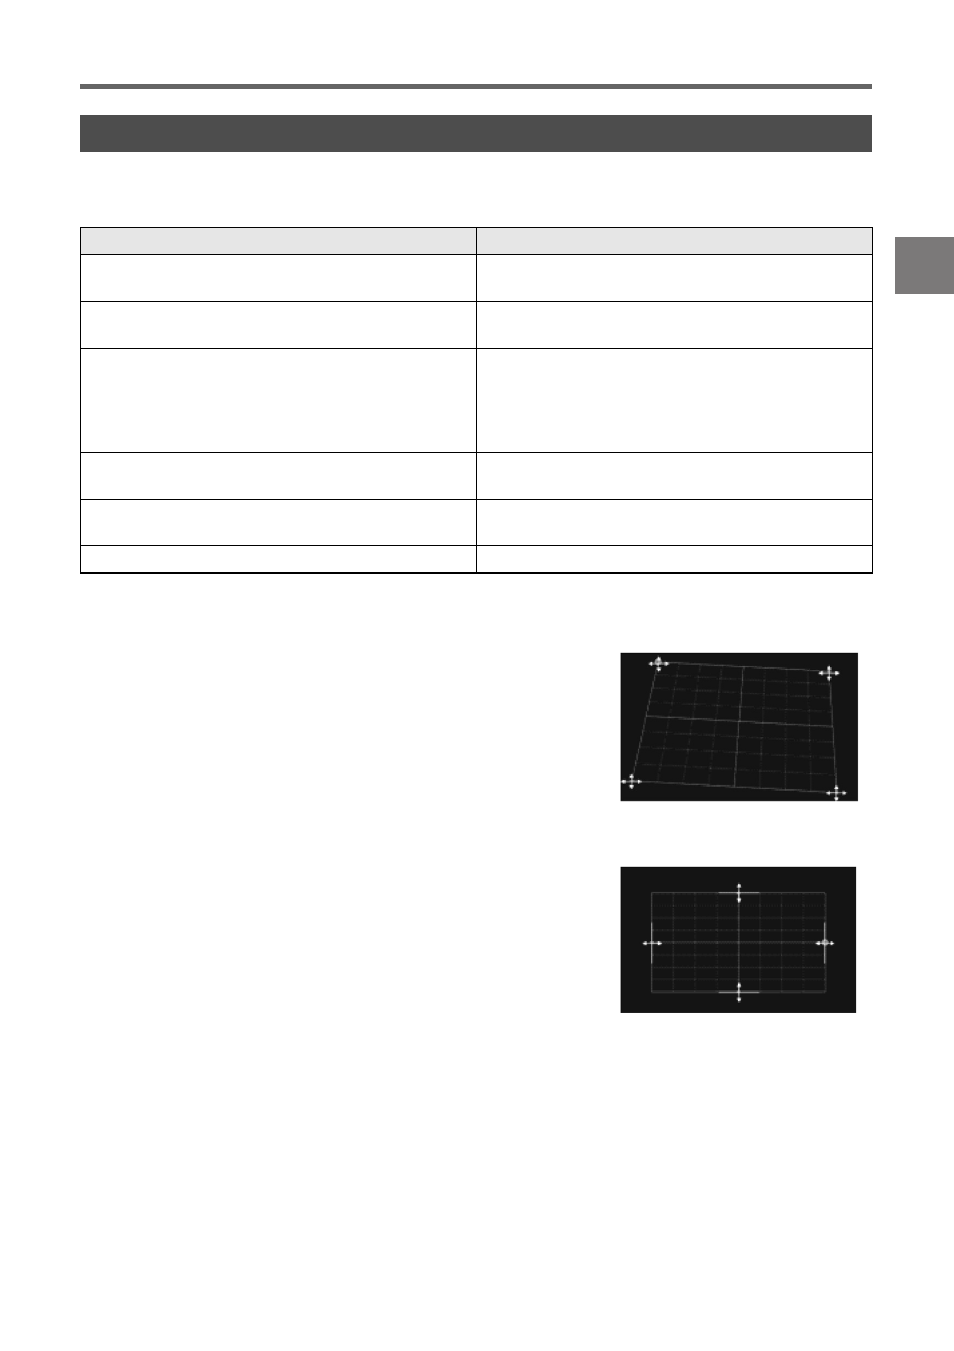
Corner Correction
Side Correction (Parallel Shift)
Performing Detailed Correction
To do this:
Perform this operation:
Move the shaping cursor to a point or line
Use the [S] and [T] keys to move vertically.
Use the [W] and [X] keys to move horizontally.
Toggle cursor movement speed between fast and
slow
Press the [CORRECT] key.
Reposition the shaping cursor
Press the [POSITION] key. This will cause the
shaping cursor to flash. Use the [S], [T], [W], and
[X] keys to move the cursor. After moving the
shaping cursor to the desired location, press the
[CORRECT] key.
Toggle between the Projector A image and
Projector B image.
*
Press the [A
⇔B] key:
Hide the grid of the image of the projector that is
not selected.
*
Press the [BLANK] key.
Display the Image Shaping menu
Press the [ESC] key.
Use it for this:
To reduce keystoning that occurs when the screen is at an angle to
the projectors. When projecting onto a horizontally rectangular
screen, you align the four corners of the projected image with the
corners of the screen.
How it works:
The four corners of the projected image can be moved up, down,
left, and right.
Use it for this:
Basically the same purposes as Corner Correction. When alignment
of the sides of the projected image is very different from the sides of
the screen, first use Side Correction (Parallel Shift) to make general
adjustments, and then use Corner Correction for finer adjustment.
How it works:
The four sides of the projected image can be moved up, down, left,
and right.