Casio YA-S10 Setup Guide User Manual
Page 20
E-19
Getting Ready
To shape the image to match the projection screen (two projectors)
NOTE
z After you finish the procedure under “To adjust the position of the projector (two projectors)” (page
E-15), perform the procedure below.
z For information about which projector is Projector A and which one is Projector B, see “Wiring” (page
E-12).
z Perform the procedure below using the Control Box remote controller.
1.
If you shut off power after finishing the procedure under “To adjust the position of
the projector (two projectors)” (page E-15), turn on Control Box power. If an image
is being projected, press the [CORRECT] key to display the “Image Shaping” menu.
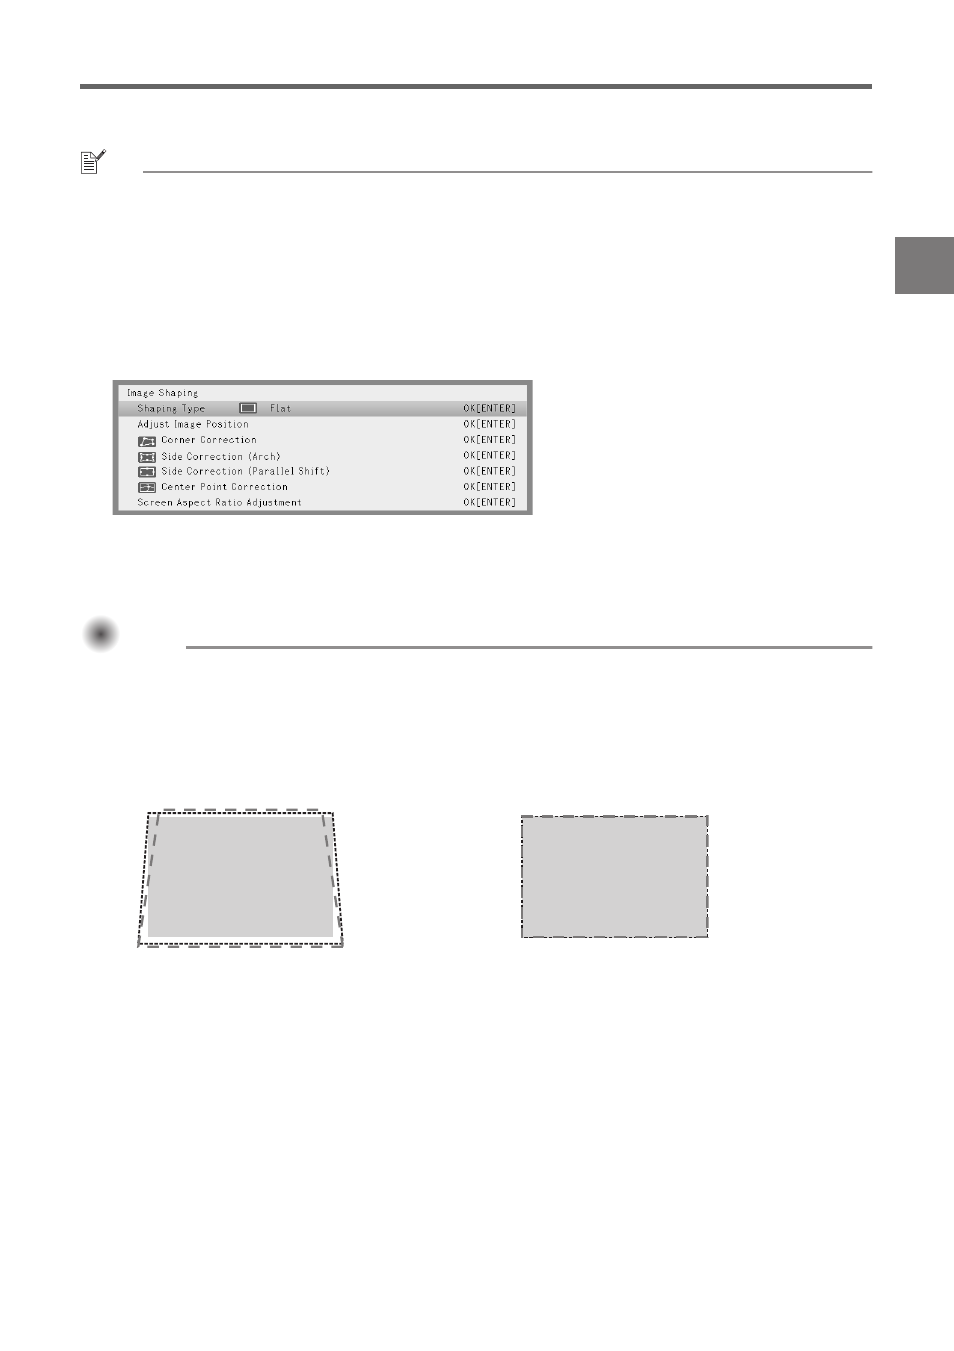
2.
Select a “Shaping Type” setting in accordance with the type of surface you are
projecting to.
z Under initial Default Box settings, “Flat” is selected for “Shaping Type”.
Important!
Important!
Important!
z The steps in the example used for this procedure assume a standard flat screen projection
surface (target screen), with “Flat” selected for “Shaping Type”. For information about how to
deal with other shaped projection surfaces, refer to “Using Shaping Functions” (page E-24).
3.
Perform corner correction.
z The four corners of the Projector A image and Projector B image should line up exactly with the
four corners of the target screen.
3
Target screen
Target screen